Take a basic pair of sneakers, add a few studs and spikes and you’ve got an on trend pair of cool DIY Studded Converse to call your own!
ADD SOME SPIKES >
I’ve wanted a pair of Studded Converse high tops for a long time now. I actually cut out this photo as inspiration last year, (I think around September). So finally, as a DIY birthday present to myself I made a pair! This fall you’ll see studded and spiked boots and shoes everywhere, so why not start a little early with a pair you can wear right now.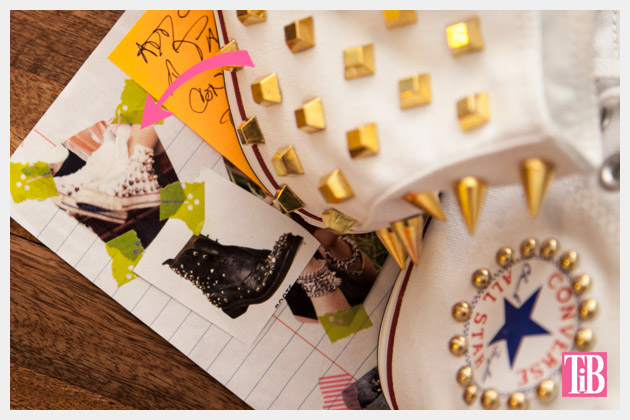
TOOLS & MATERIALS:
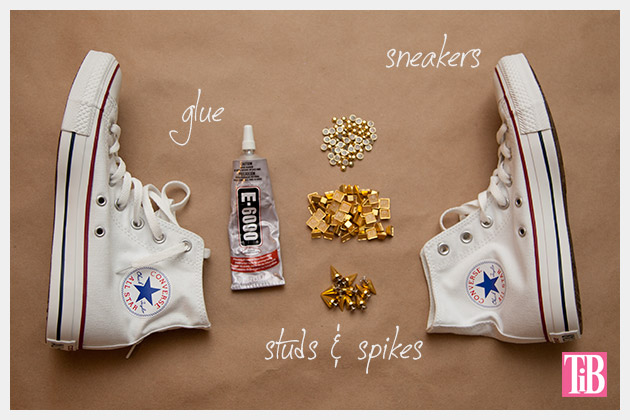
- 1 Pair of high top sneakers (I used converse)
- Studs and spikes (I used these, these & these from M & J Trimming)
- Glue
- Screwdriver (useful if you’re using spikes w/ screws)
- Awl or sharp scissors (to poke holes)
step 1
First things first, decide how and where you want your studs and spikes to be.
I laid out a few ideas and took pictures with my phone before deciding.
step 2
I started with the spikes down the back spine of the sneakers first.
To do this I used a tape measure and a pencil to mark where I wanted the spikes to be.
When you know where you want your spikes, use your awl or sharp scissors to poke a hole through your shoes where you will be putting your spikes. Be careful!!!
This can be a little tricky down around the heel of the sneaker because of the reinforcement, but you can do it!
step 3
As soon as you poke your hole through your sneaker put the screw through the hole. This will keep the fabric from closing in over the hole.
I recommend making all your holes and putting all your screws in first before adding the spikes.
step 4
When you have all your screws through your sneaker you’re ready to add your spikes.
Using a toothpick, put a small amount of glue on the screw part and screw your spike onto the screw.
This is where a screwdriver comes in handy. Make sure your screws are in tight.
Glue and screw in all spikes.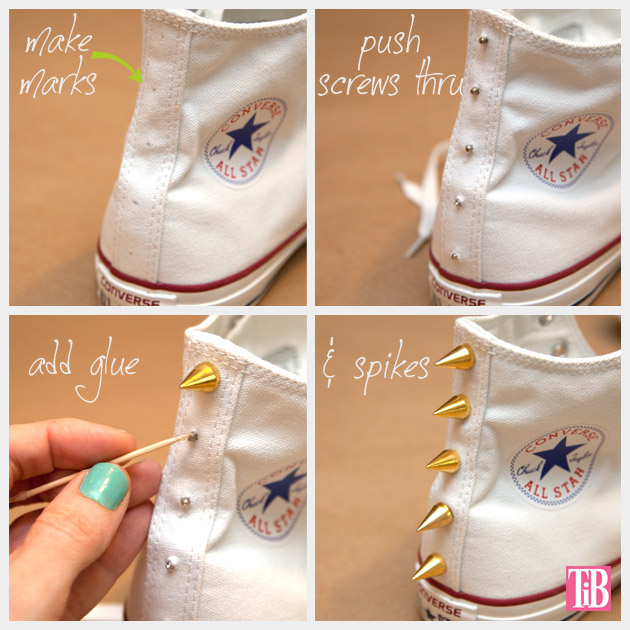
step 5
Now you’re ready to add your studs to the sides of your sneakers.
If you’ve already taken a picture with your phone that will come in very handy here.
I didn’t mark on the sneakers where to put the studs, I just eyeballed it. You can use a tape measure and a pencil and mark them if you want.
TIP: I’ve found that the best way to add glue to your studs is to put some glue on a paper plate and use a toothpick to apply it to your stud before putting it on your sneaker.
Put glue on your studs and add them one by one to your sneakers.
Be careful to not use too much glue so that it squishes out and gets messy.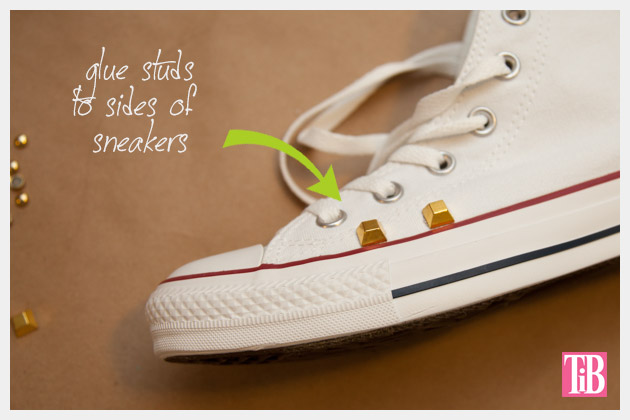
Add all your studs this way.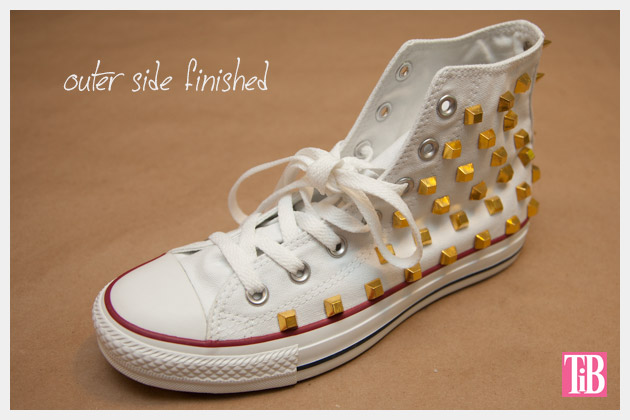
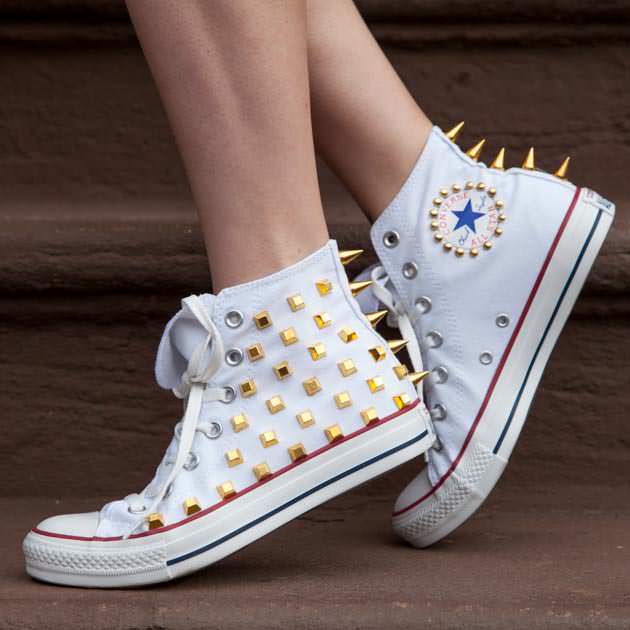
I put my flat top pyramid studs on the outside of my sneakers and a circle of round nailheads around the converse logo on the inside. The shape and size of the studs you use is up to you, have fun and make them your own!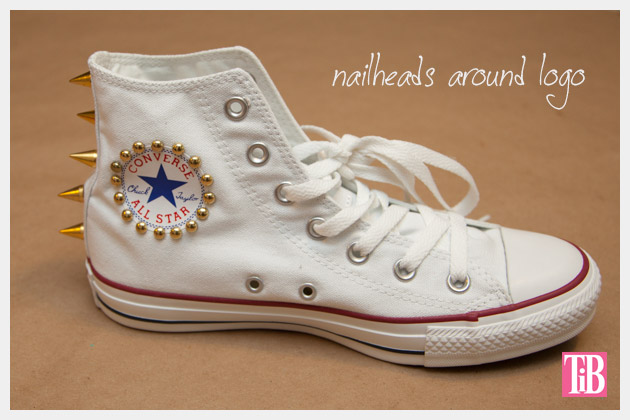
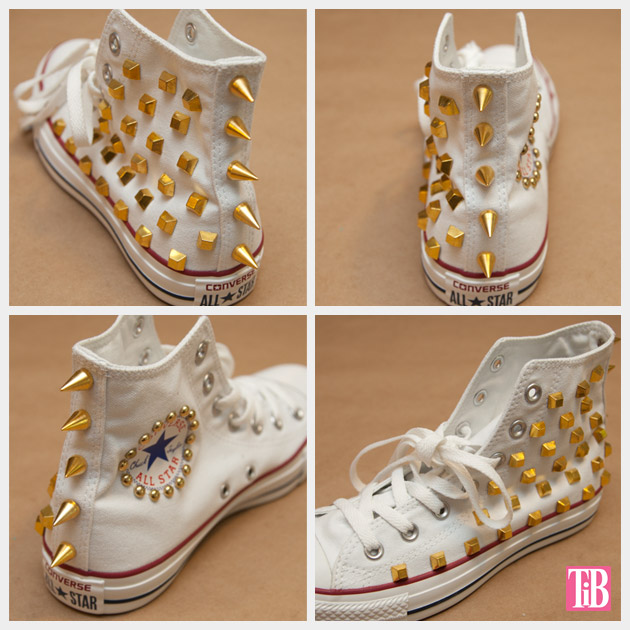
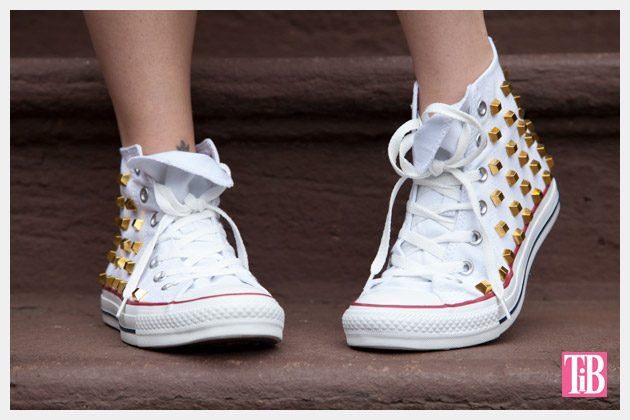
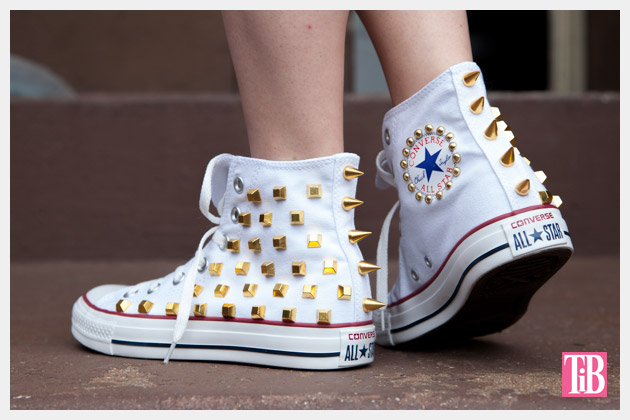
Converse have been DIY’d and embellished almost as long as they’ve existed. There’s something so enticing about the simple style and clean lines that just begs for some form of embellishment. In school we all drew on our sneakers and the few punk rock kids did add a few spikes, but now with the much easier accessibility to studs and spikes we can all go crazy and cover our sneakers, plus it’s much more fashionable now. And for much less than they’re selling for at Barneys too!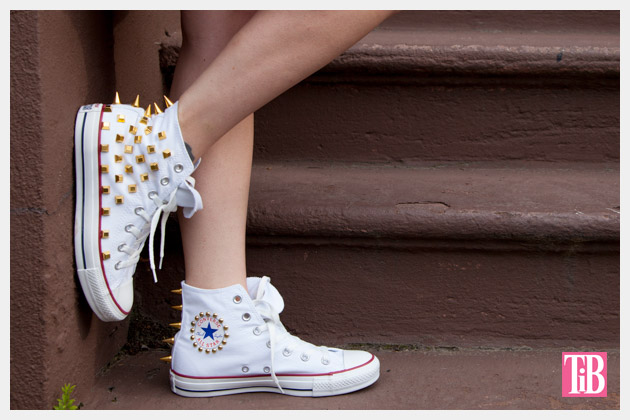


This is the greatest thing ever! I seriously love it so much!
~Sara
Sincerely, Sara
I’m so happy you like them Sara!
Thank you!
xoxo
Cathy
These are great. Studds are very popular on shoes in Turkey too. So I will share this idea on my blog if it is ok with you too. I am sure there will be a lot interest in the post by Turkish bloggers.
Many thanks in advance.
Thank you so much Bergam! Of course you can share these on your blog.
xoxo
Cathy
Wow!! These are awesome!!! I think I’ll use this idea to re-vamp my old sneakers!!! Thankyou so much for this!!!
By the way, your blog is fantastic!! I only discovered it literally 5 minutes ago and its just awesome!!! Keep up the good work!!! :)
I love these..it’s gonna b a cheap Christmas and am looking for great ideas for a 15yr old girl.
Thanks Faith!
They may not cost much to make, but they’ll look like a million bucks! I’m sure she’ll love them!
xoxo
Cathy
I am a mentor to a 14 year old who I’m trying desperately to connect with. I believe this craft could be it. Fingers crossed. Thanks for the great idea.