It’s super easy to make your own DIY Monogrammed Camo Tote using freezer paper to make your stencil and Mod Podge and glitter to add some sparkle. It’s the perfect tote for fall, it goes great with black and most neutrals, it keeps you on trend with camouflage for fall, you can carry it most anywhere, and well, it’s just really cool! Let’s get started!
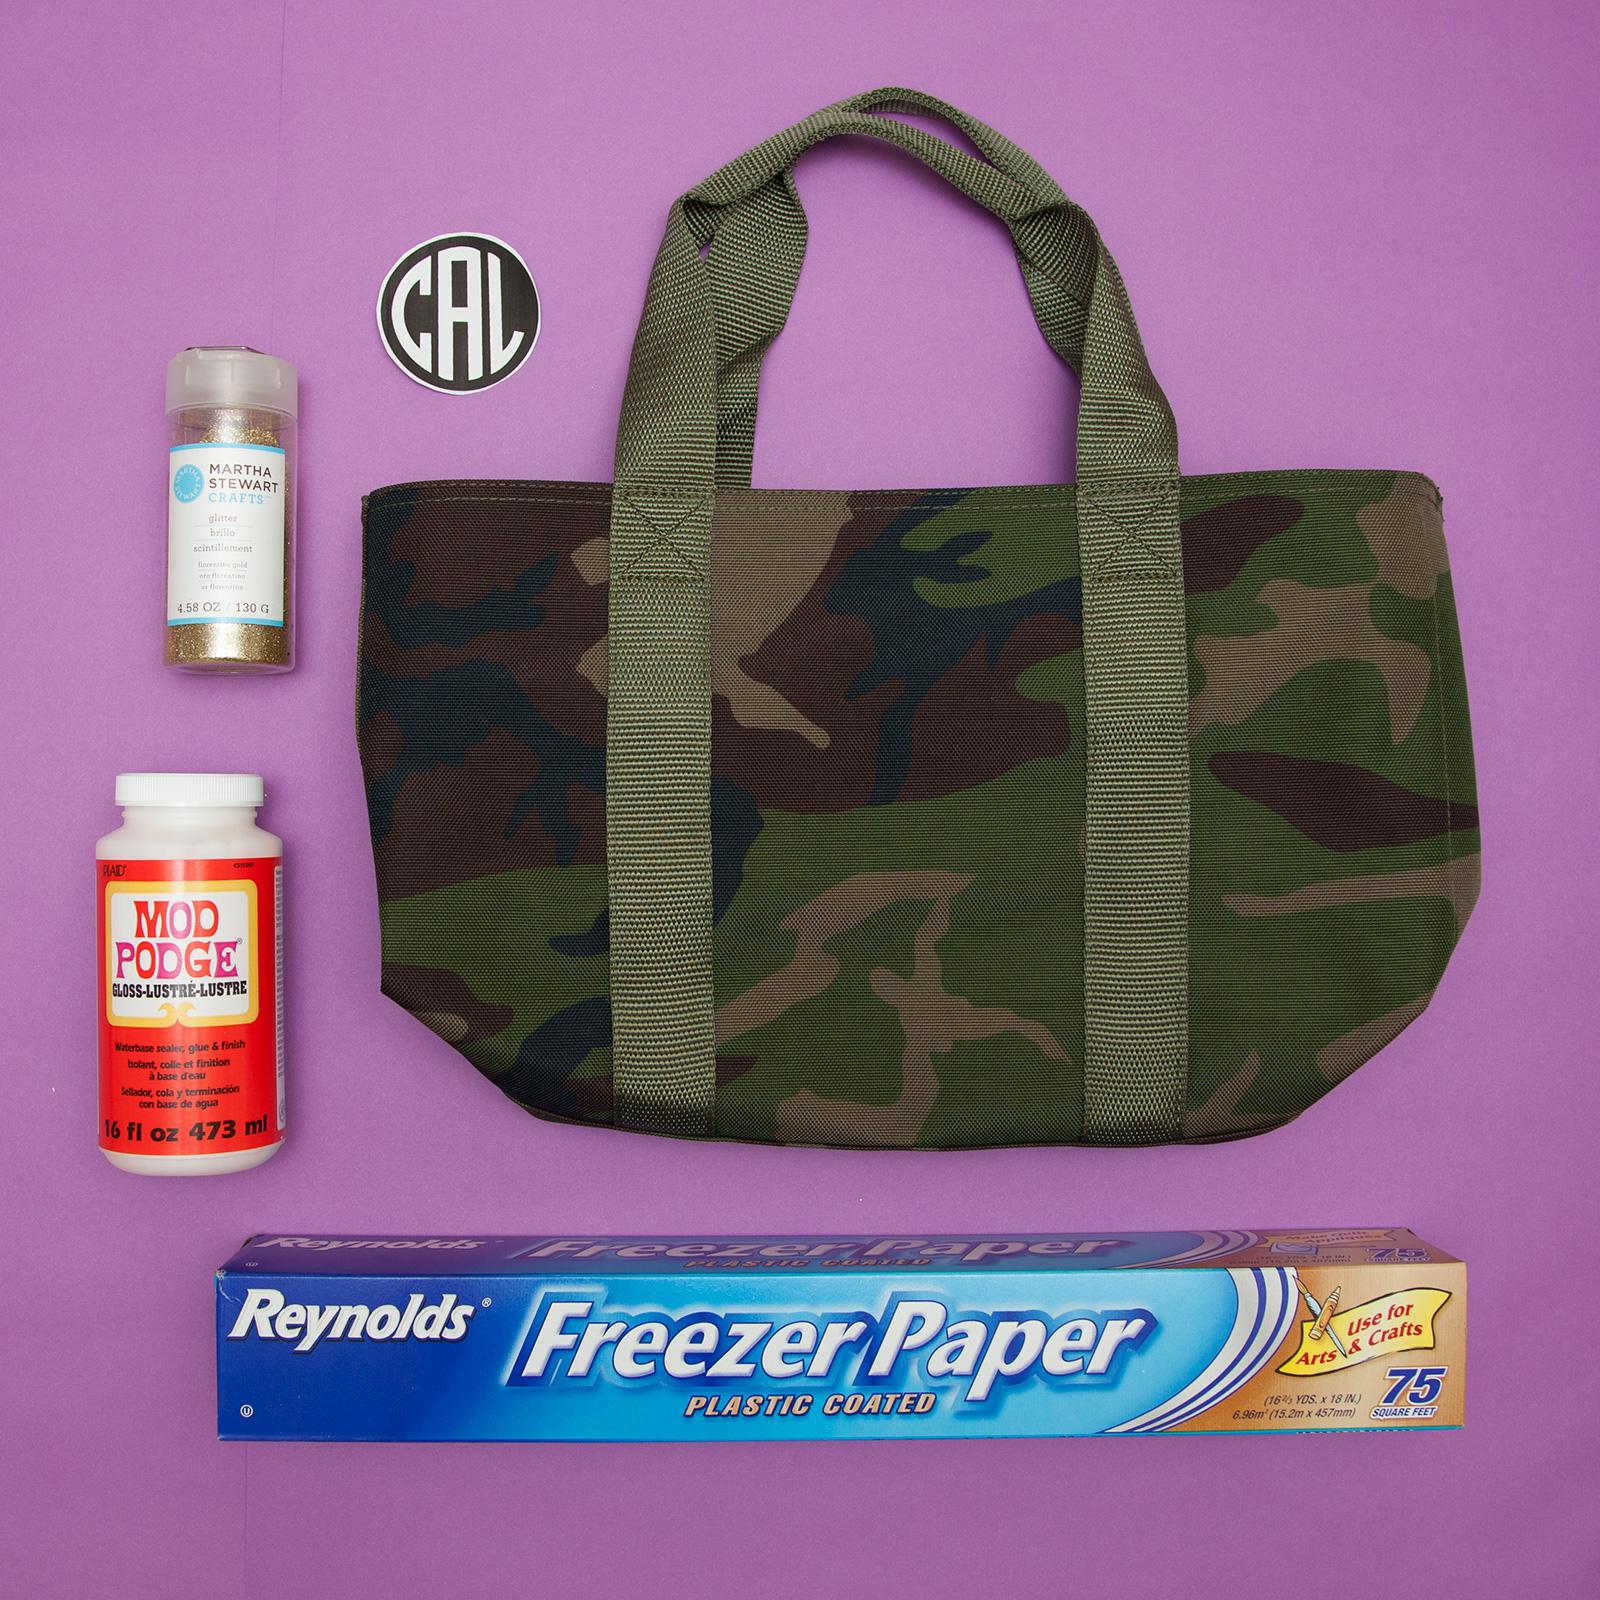
SUPPLIES YOU’LL NEED:
- Tote bag (I bought mine here)
- Mod Podge
- Glitter
- Stencil
- Freezer paper
- Bowl
- Foil
- Paintbrush
- X-acto knife
- Iron
step 1
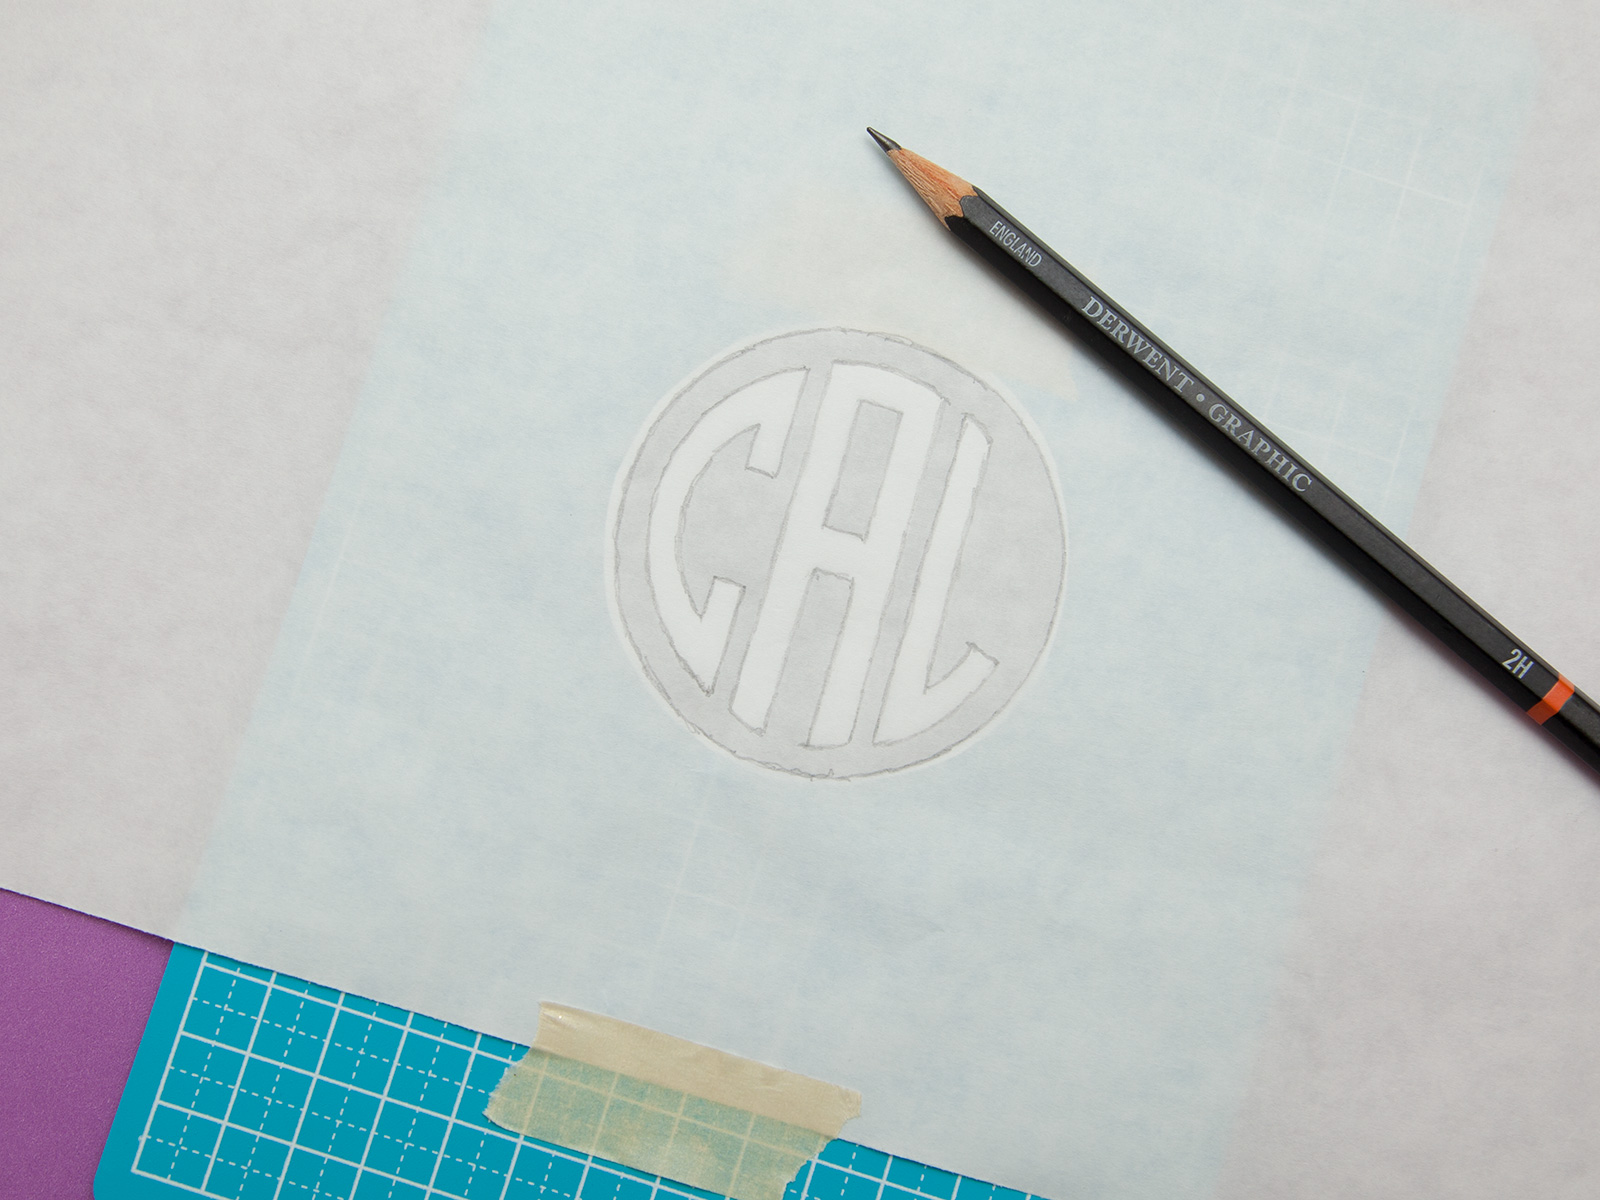
Create your monogram.
Trace it onto your freezer paper. Make sure to trace it onto the dull side of the freezer paper not the waxy side.
step 2
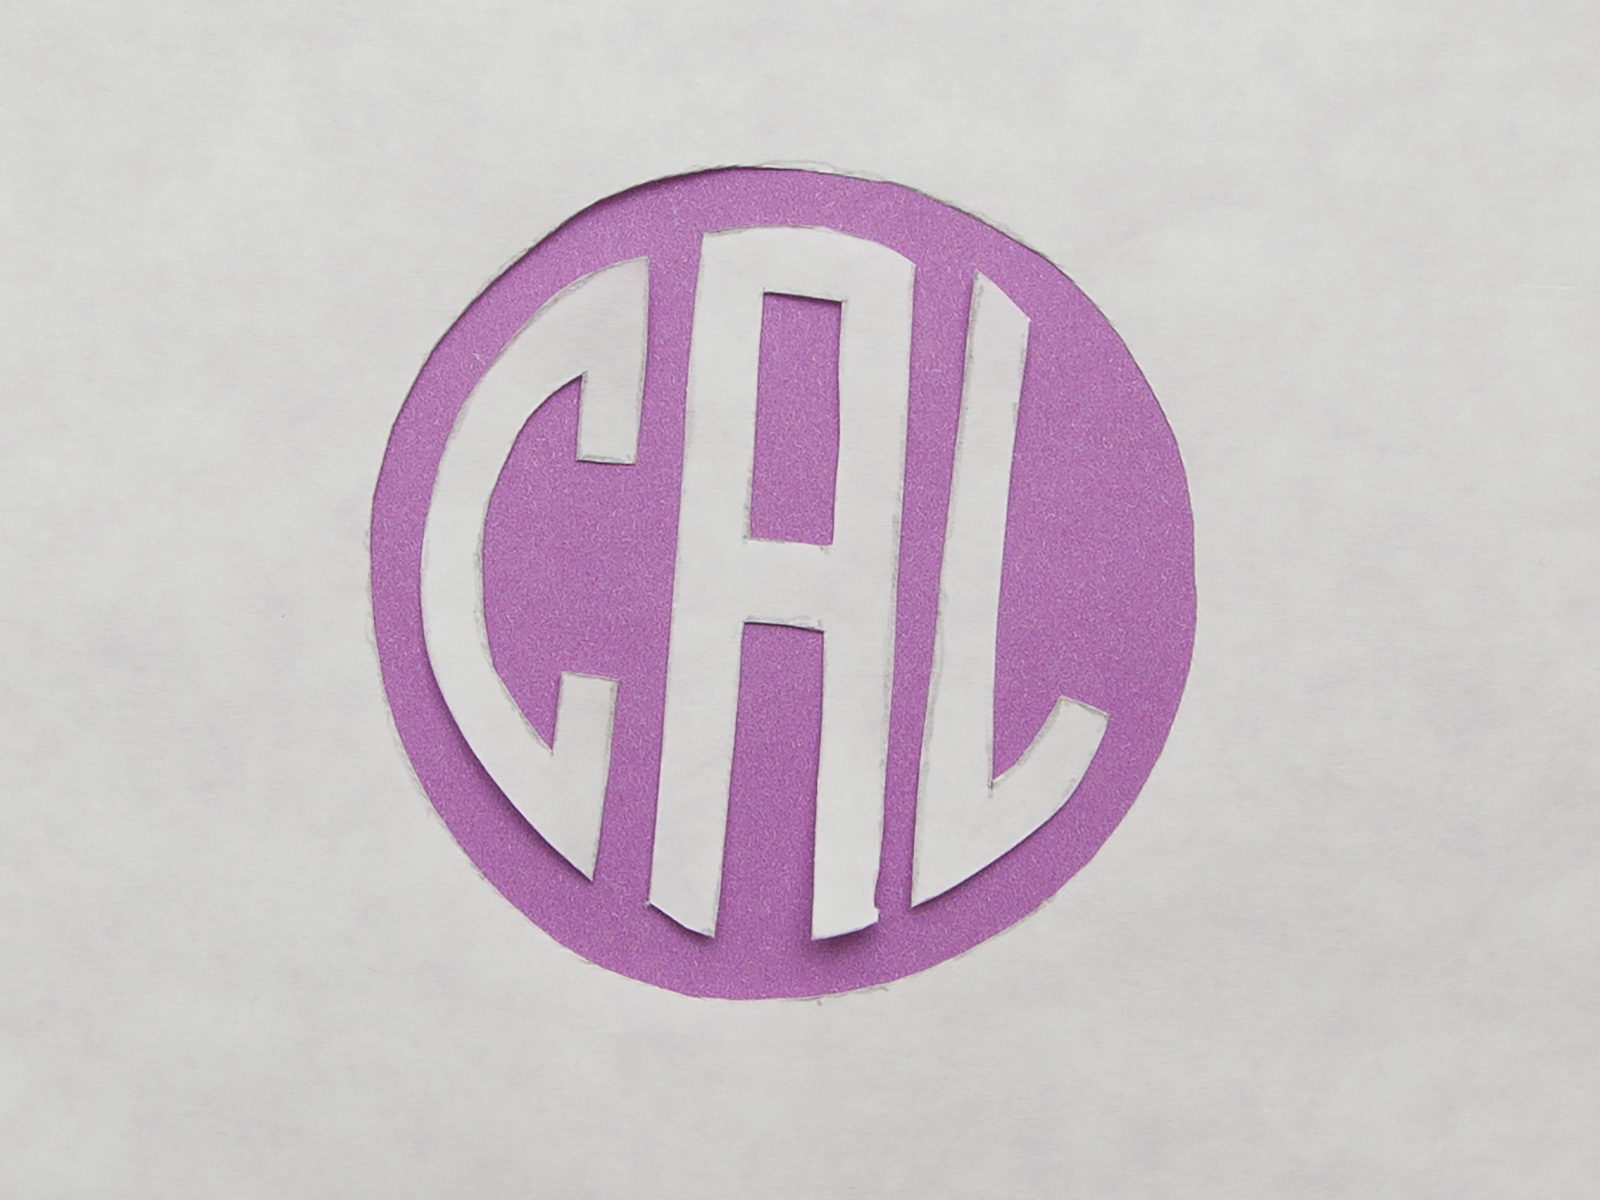
Using your x-acto knife carefully cut out your stencil.
step 3
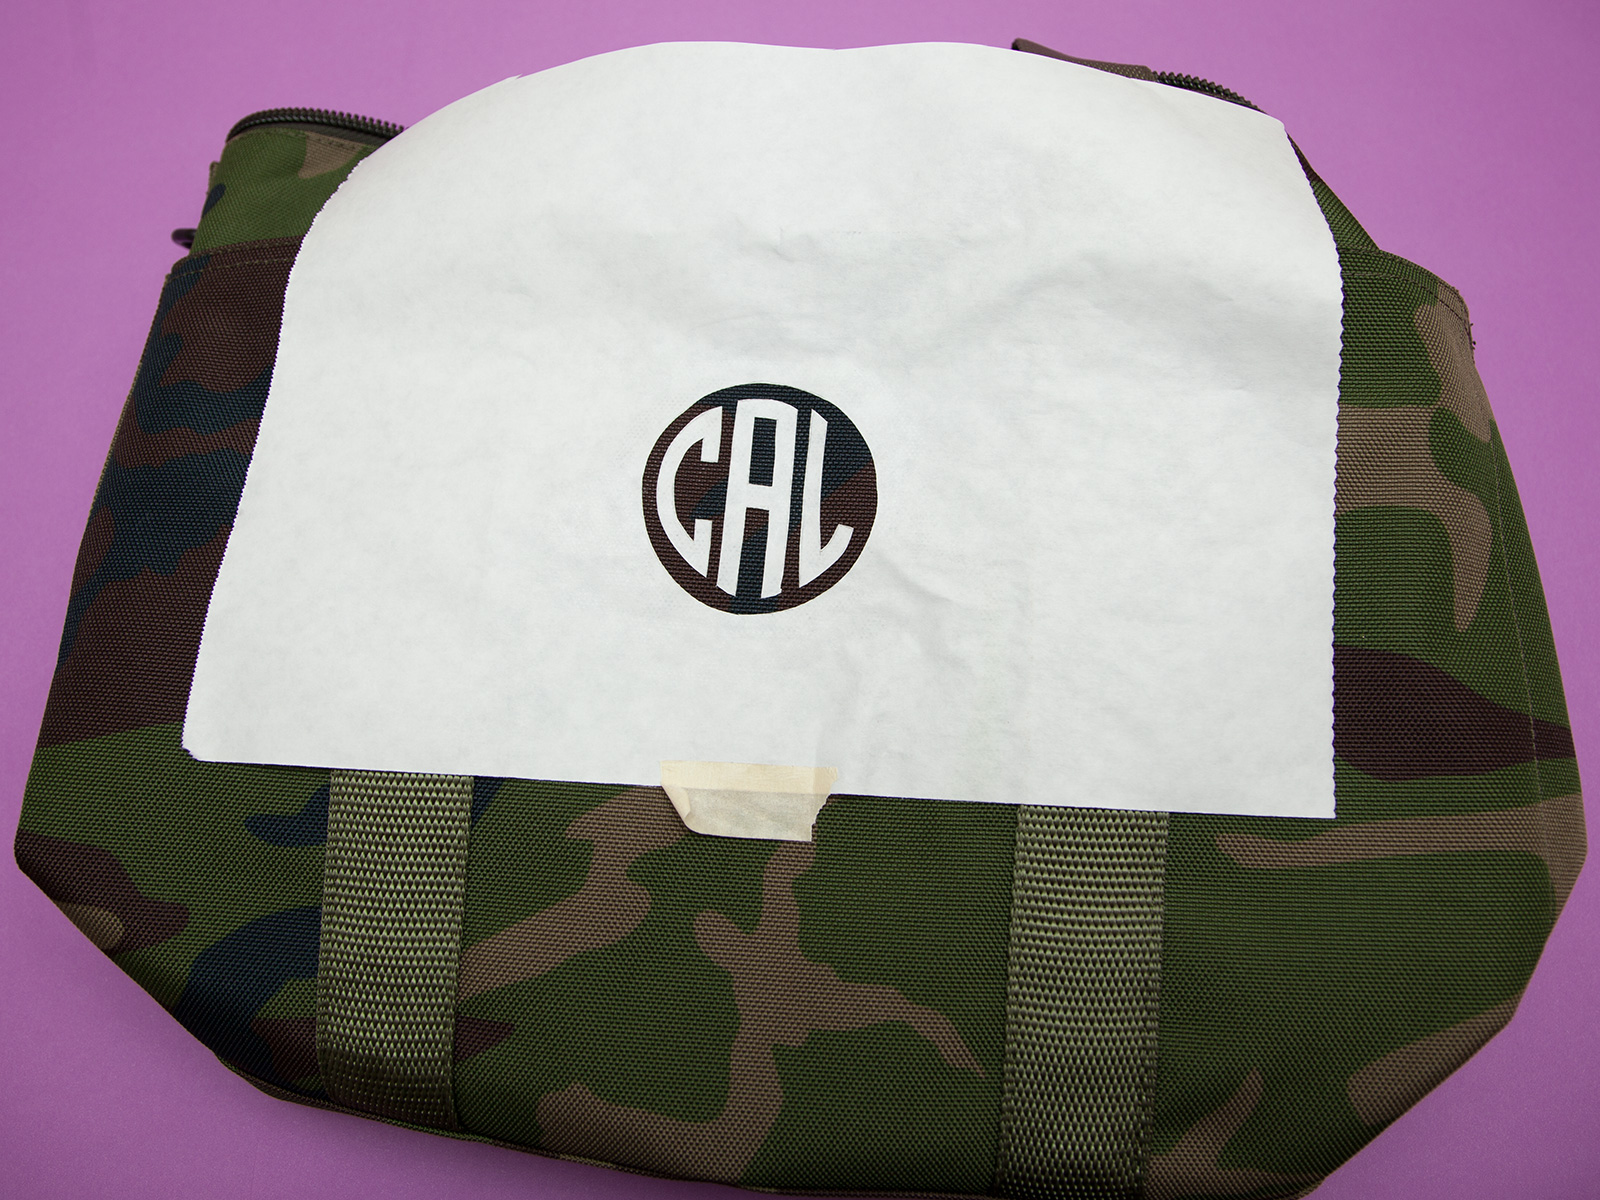
Place your stencil onto your tote (waxy side towards your tote), if necessary use a ruler or tape measure to make sure you are centered.
step 4
Iron your freezer paper onto your tote. Be sure to check the heat settings for the fabric your tote is made of, you don’t want to melt it or scorch it with too high a heat.
step 5
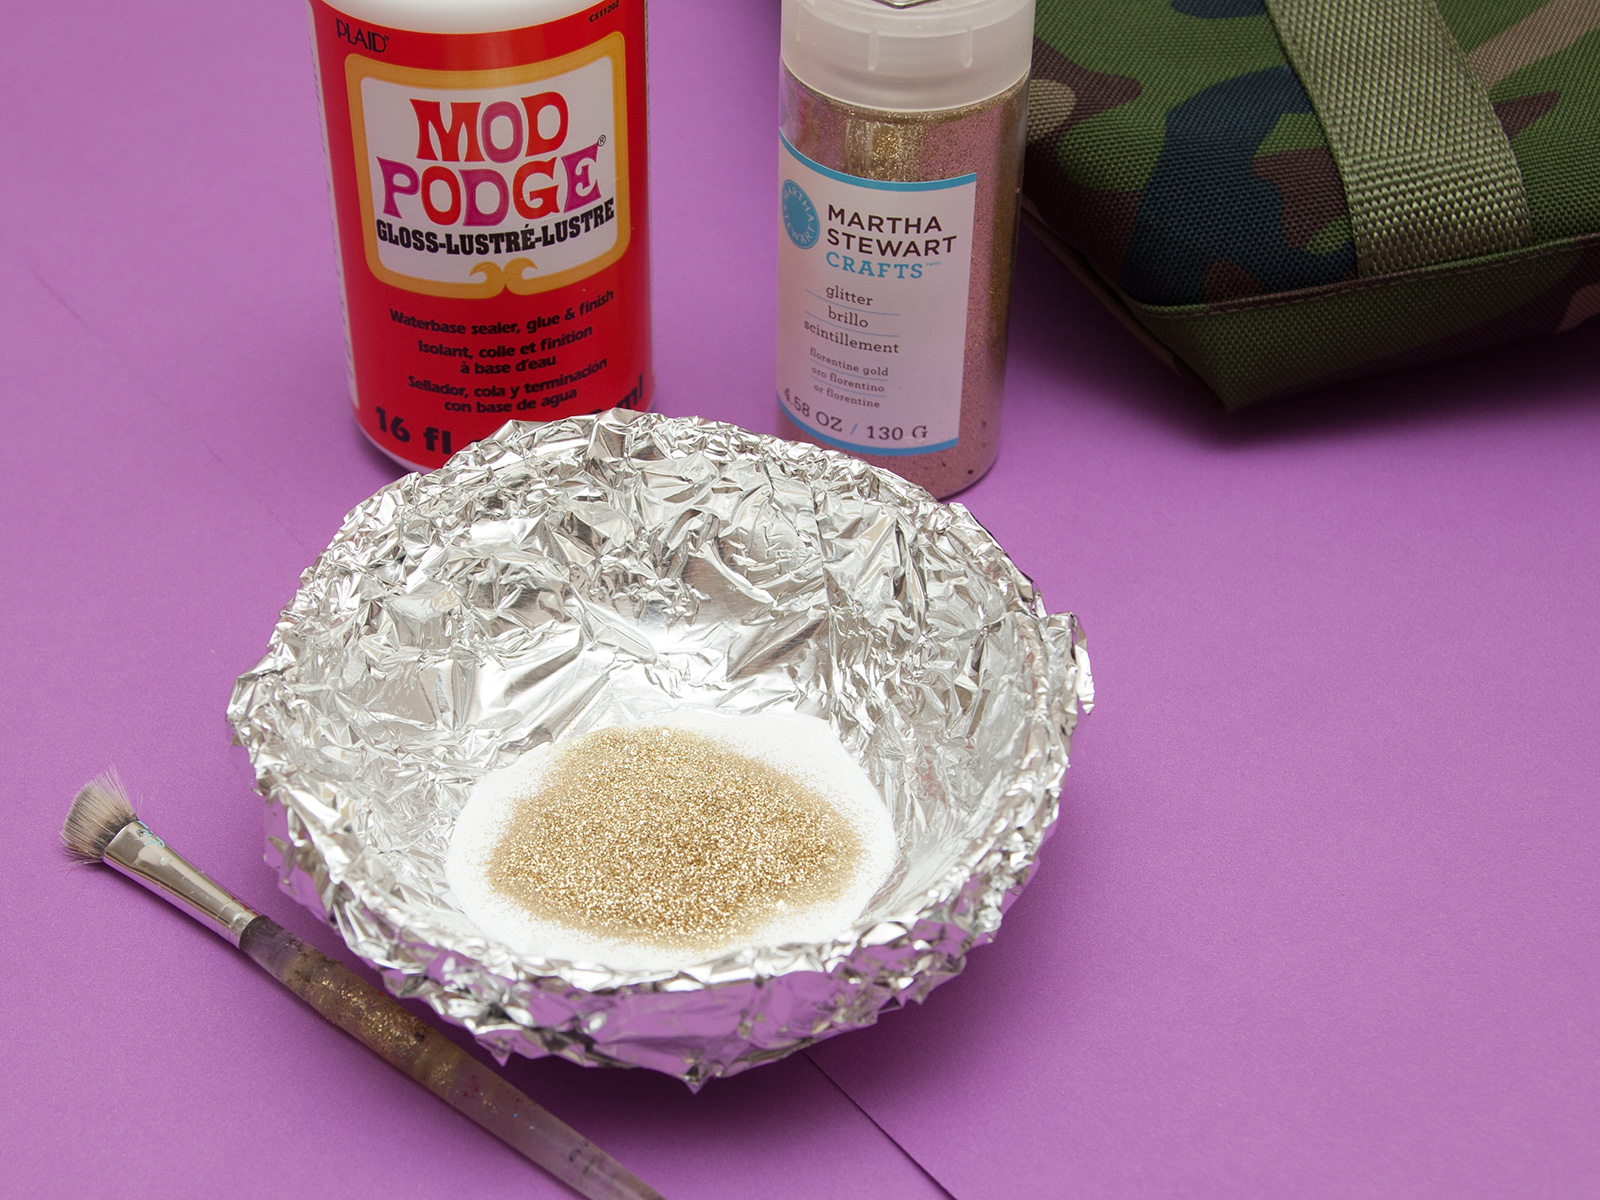
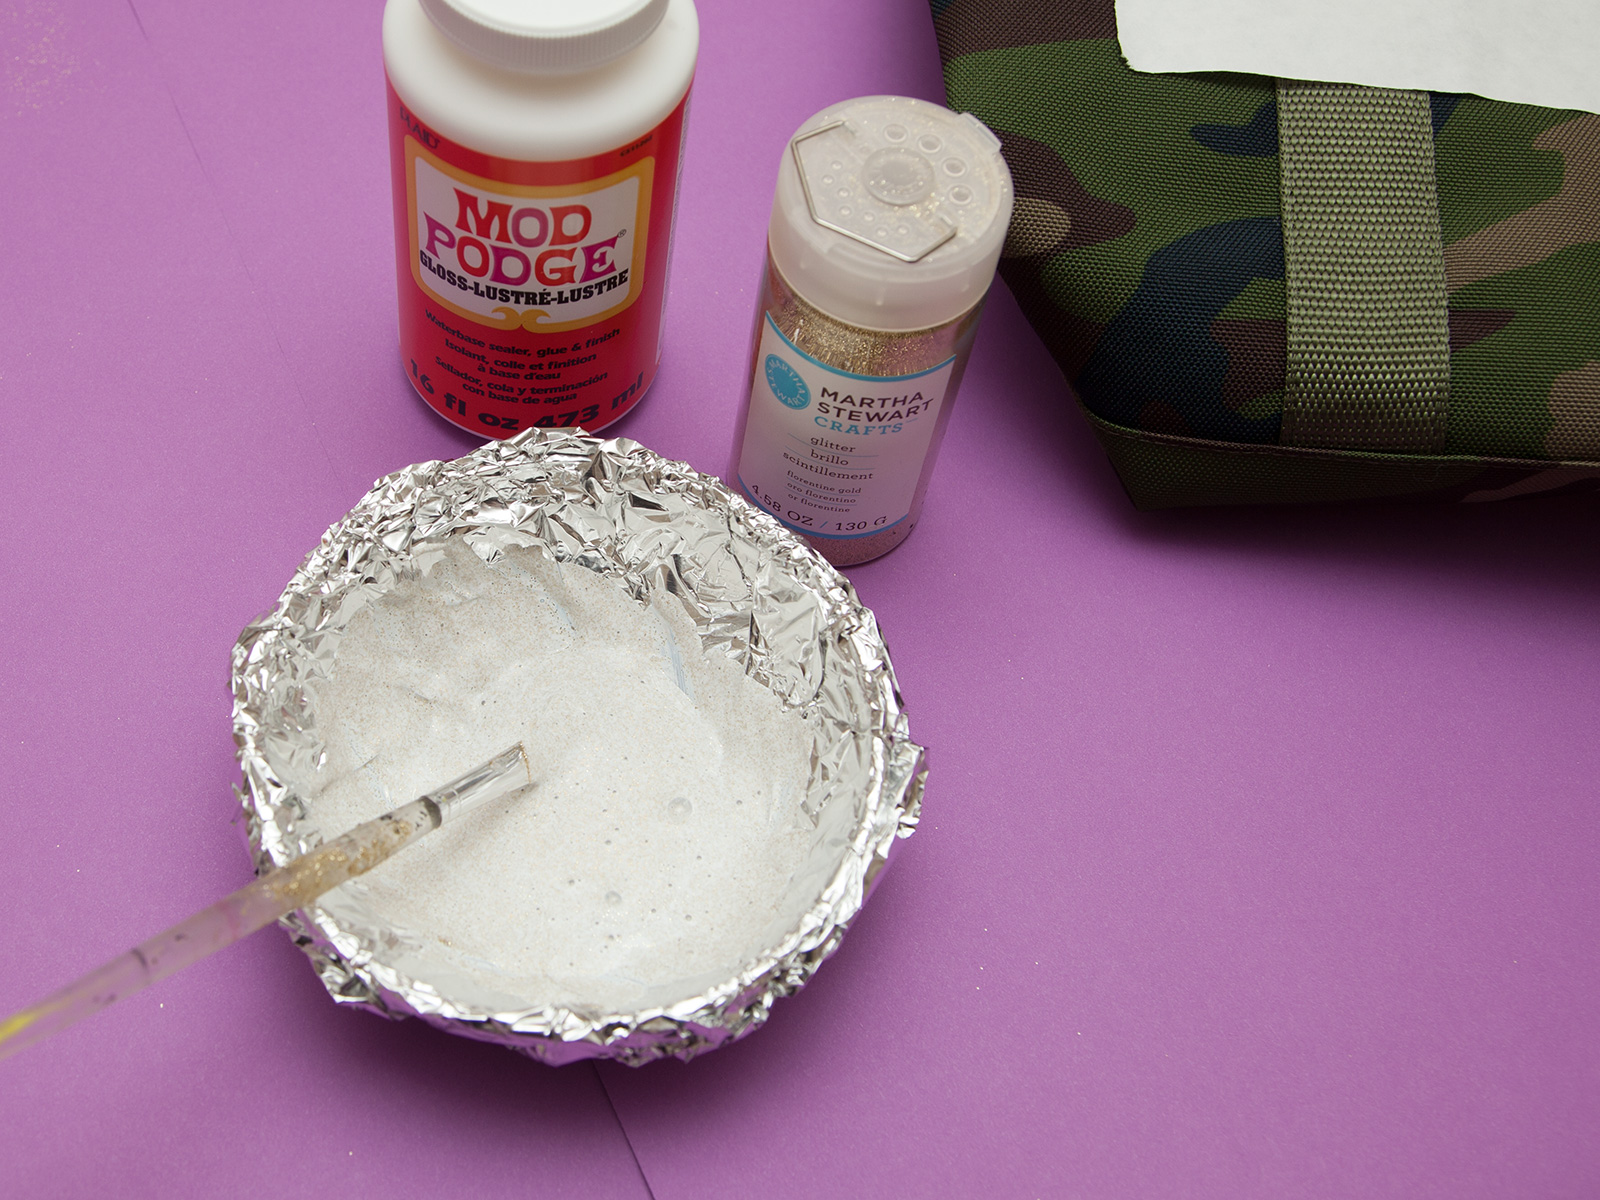
Mix up your Mod Podge and glitter in your bowl. I like to line my bowl with foil, it makes clean up much easier.
step 6
Paint your Mod Podge, glitter mixture onto your tote.
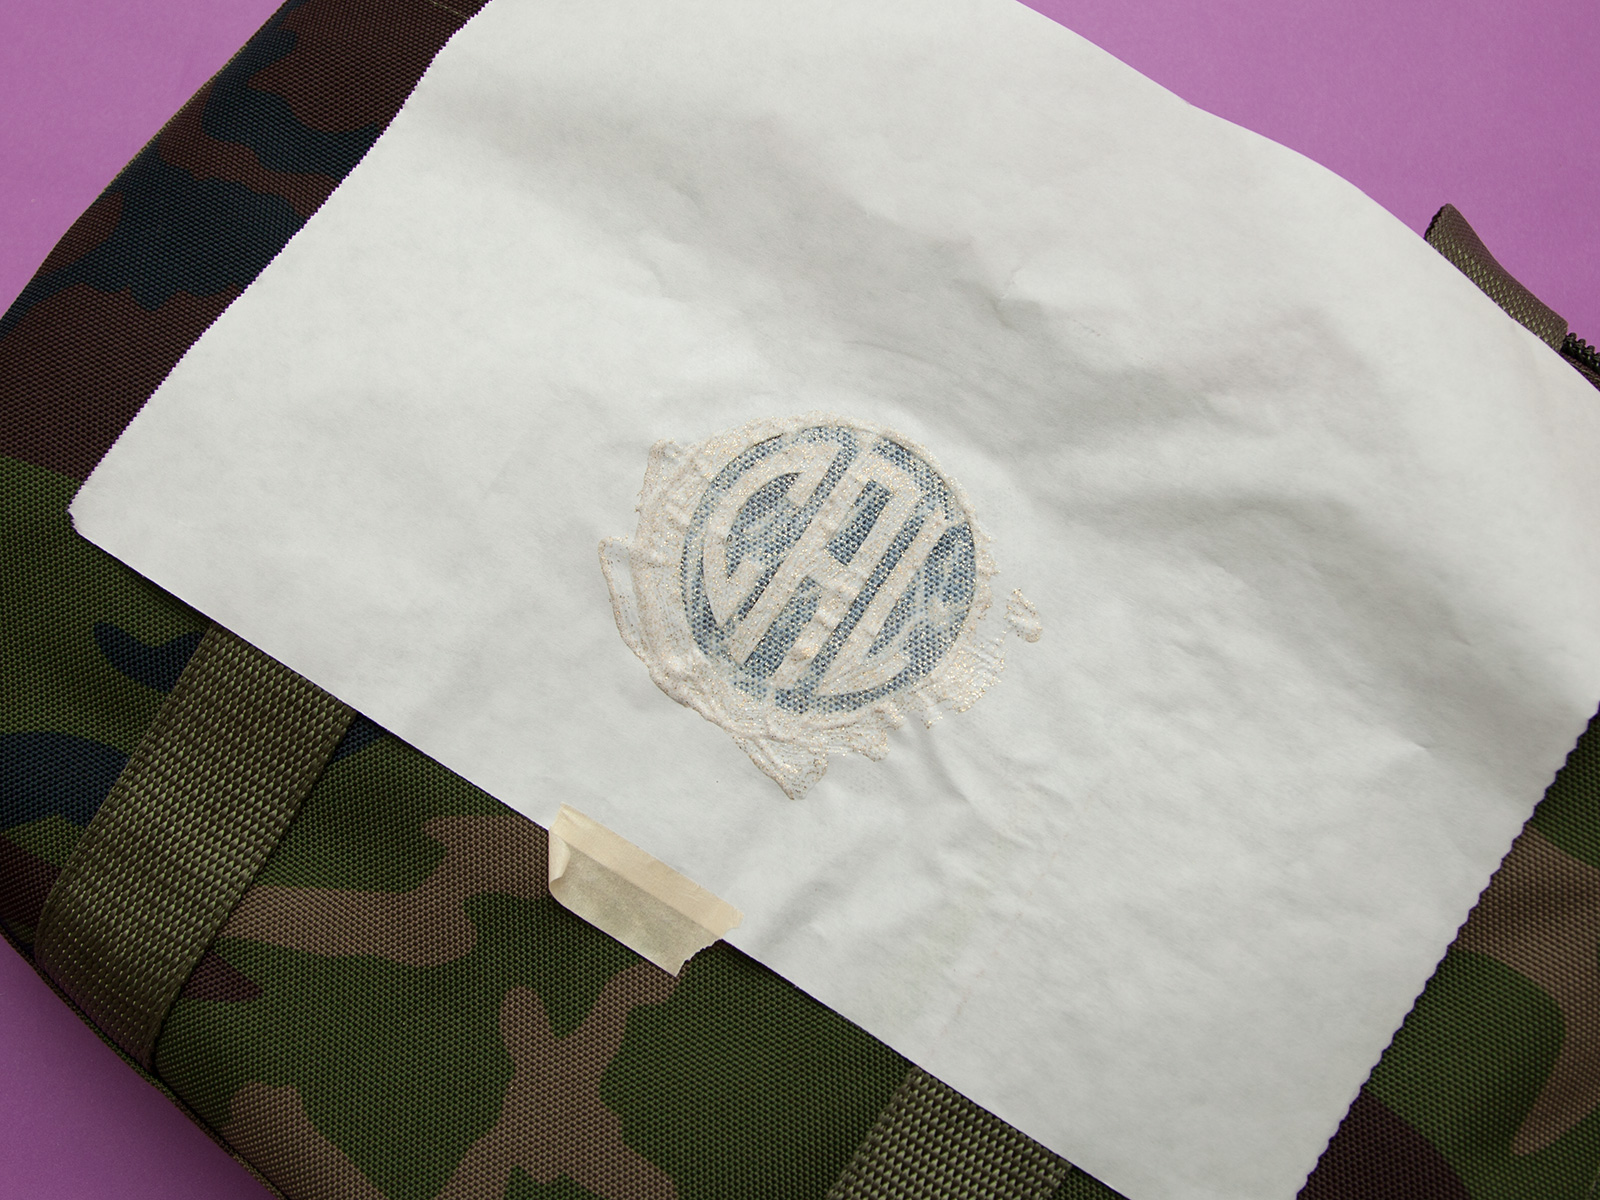
As it dries you’ll see where you need to add more, keep adding until you have the coverage you want.
step 7
Carefully peel off the freezer paper.
Let it dry completely.
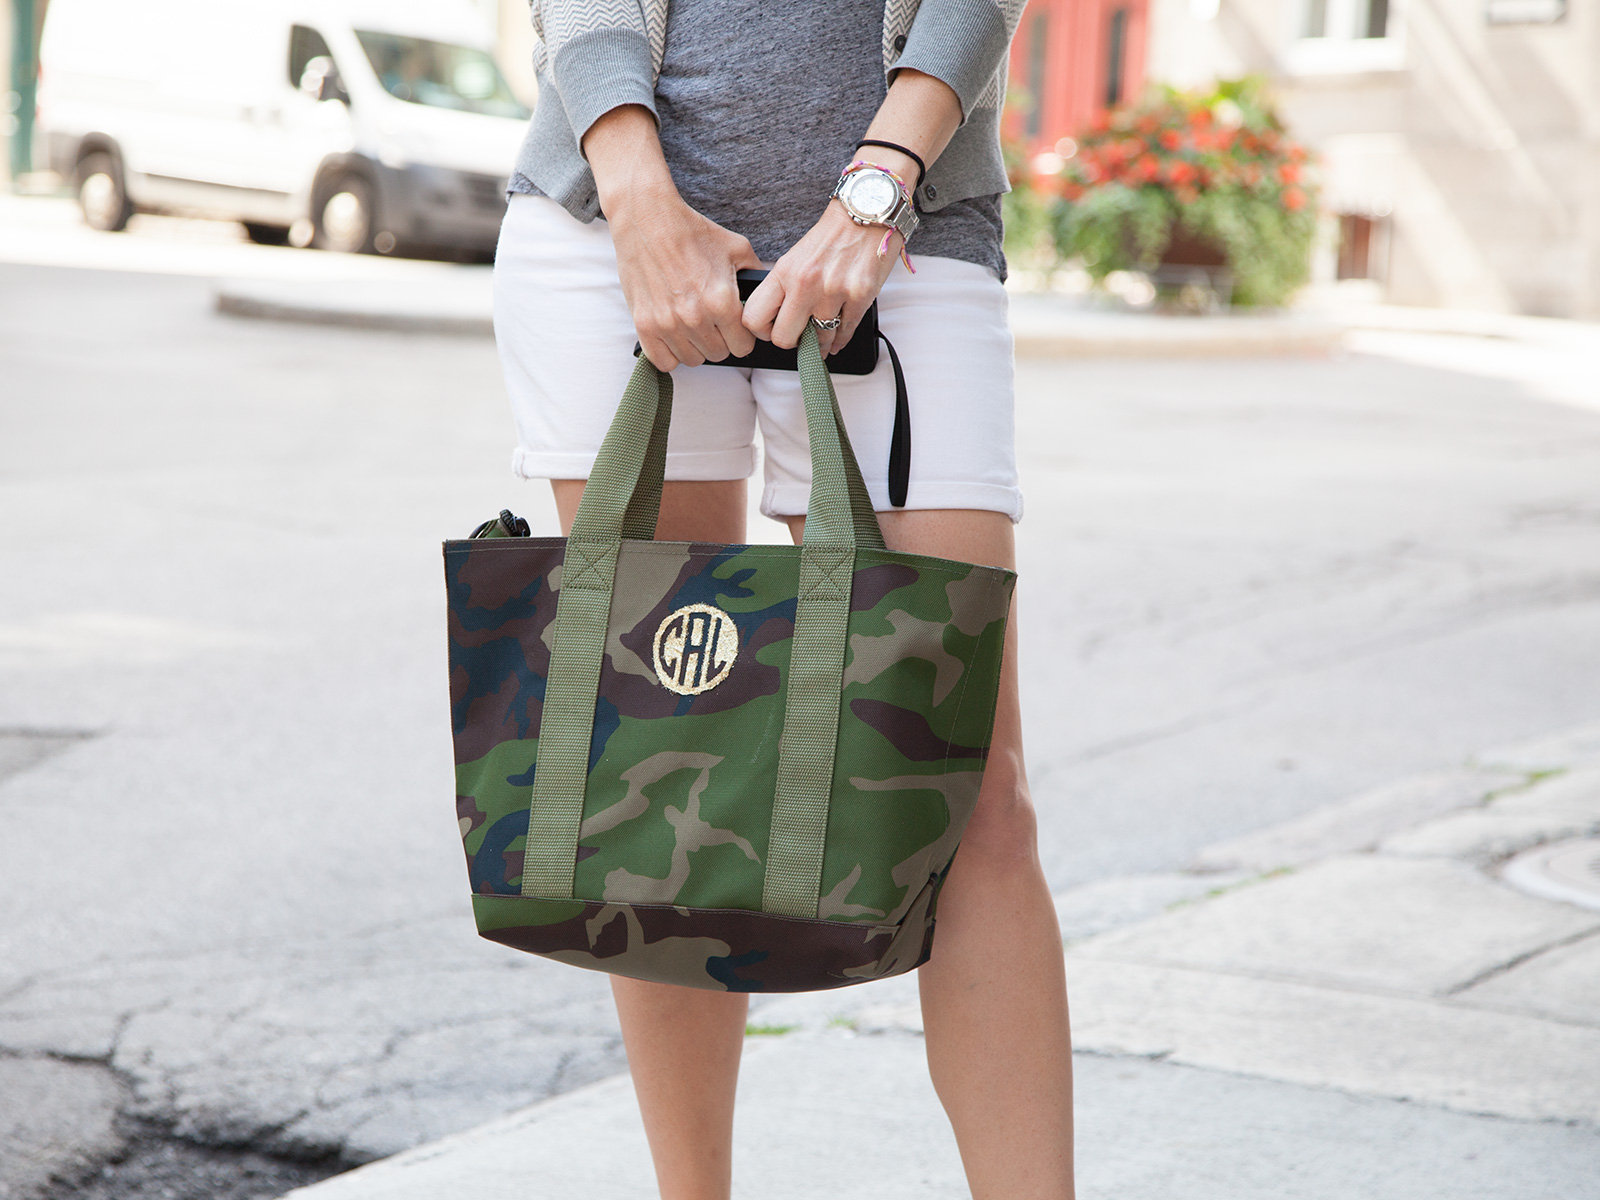
I can’t even begin to tell you how many times I’ve had this project on my to do list and just never did it. I don’t know why it took me so long, but I do know that I’m really excited about it, I know I will use this tote a lot!

For such a busy print camouflage is actually quite versatile and once again it’s a big trend for fall. This tote is a fun way to incorporate camouflage into your wardrobe without going all in.
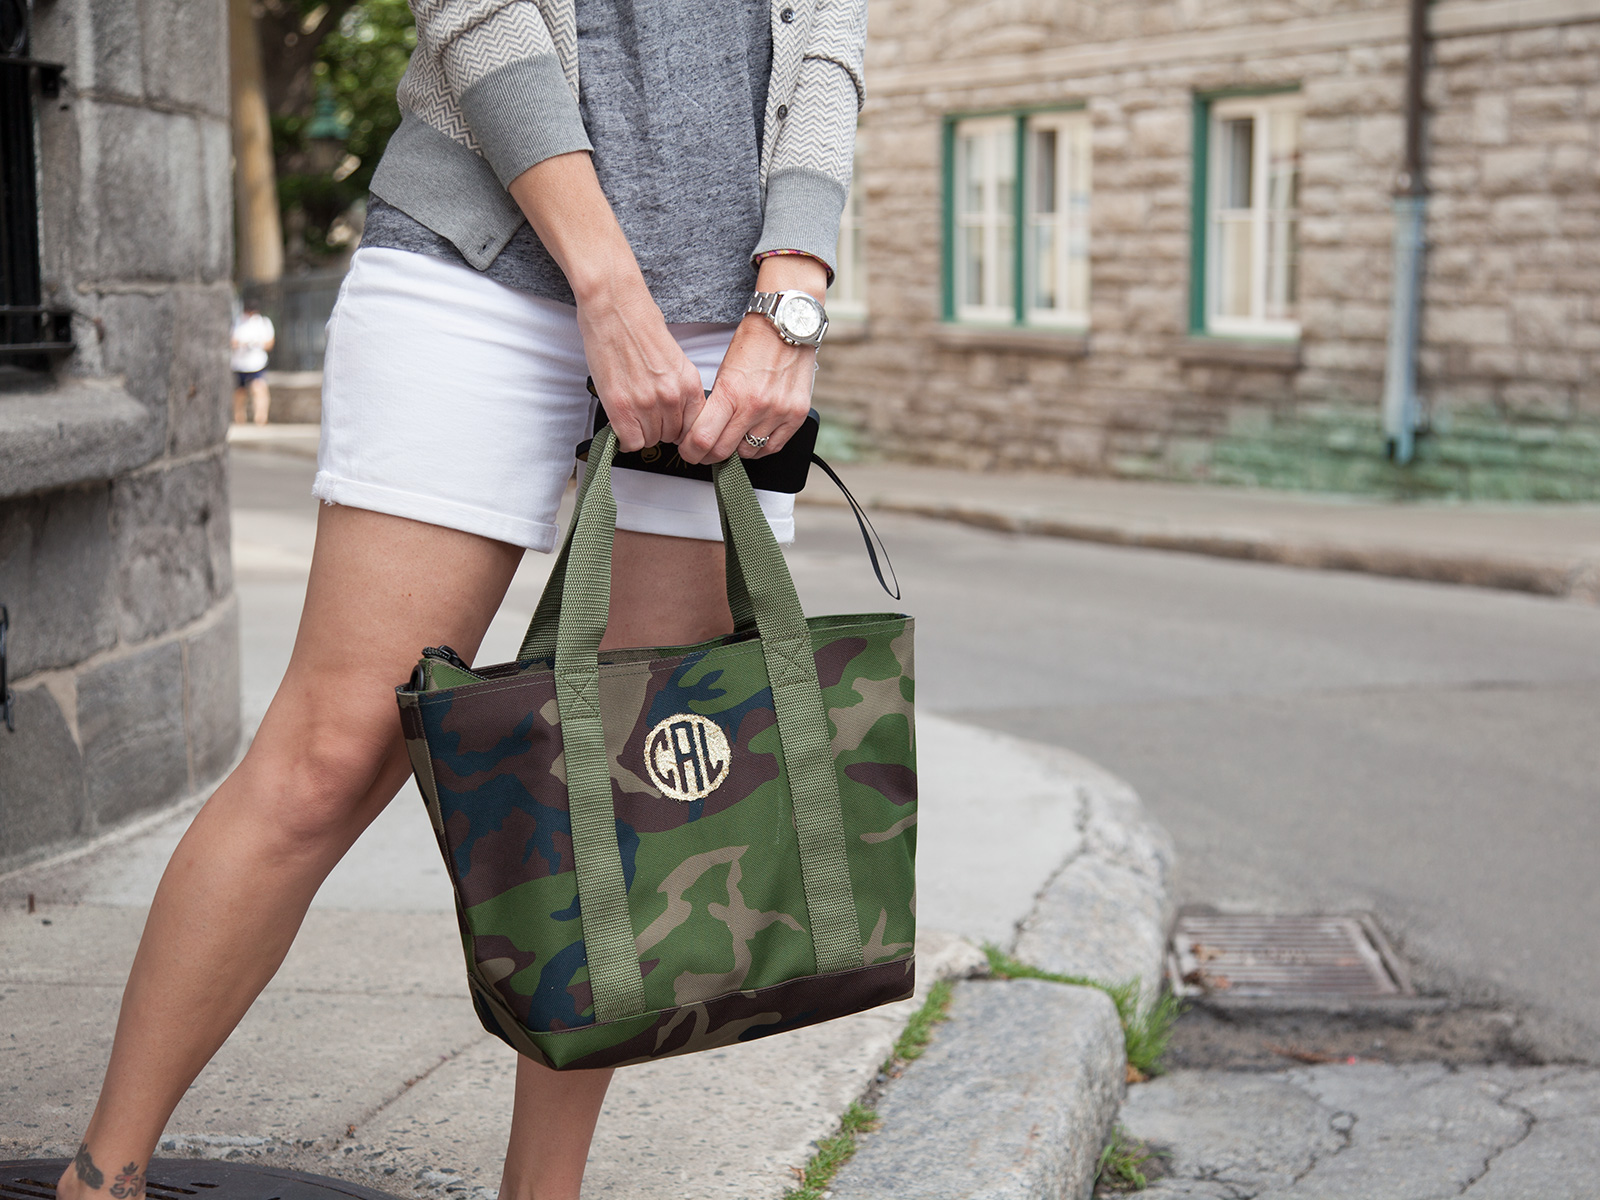
Have fun and let me know how your tote turns out!

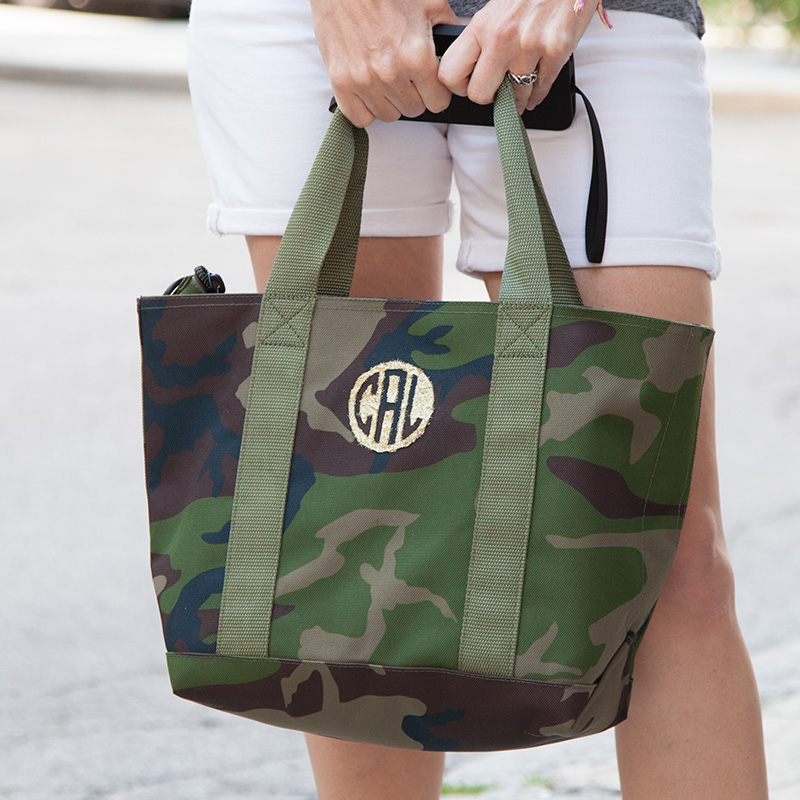

What size is your camo bag? I’m going between the medium or large.