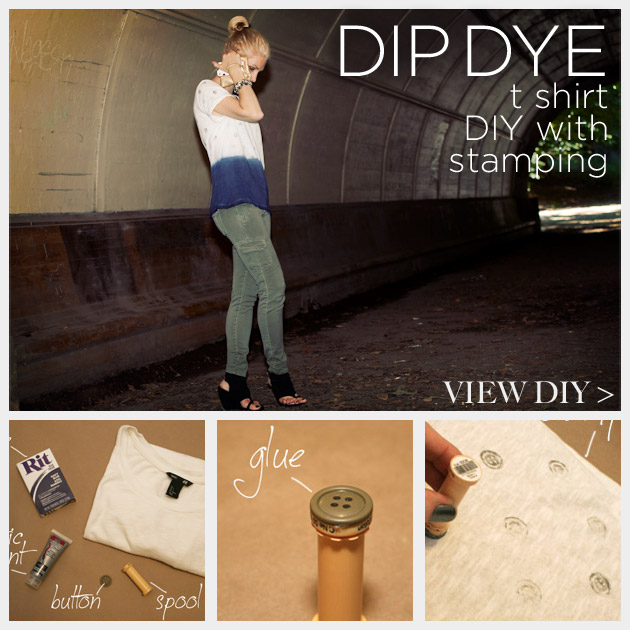
This Dip Dye T Shirt DIY has 2 great things going for it; cool stamping and a beautiful dip dye!
Transition into Fall with a Dip Dye T Shirt DIY and fun stamping!
LET’S GET STAMPING >
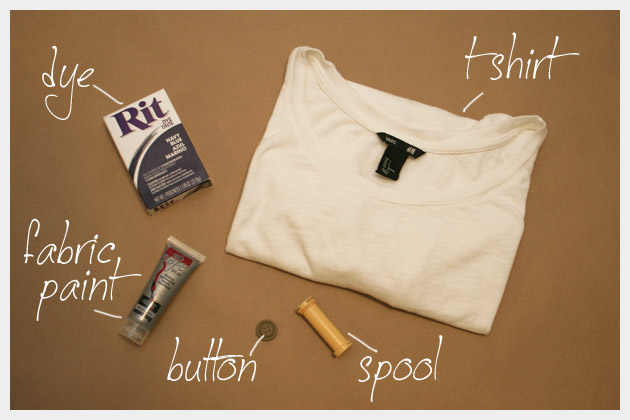
Supplies for your Dip Dye T Shirt With Stamping:
- 1 White T Shirt
- Rit dye – I used Navy Blue
- Tulip Soft Fabric Paint – I used platinum metallic from I Love To Create
- Button or other object to use as a stamp
- Empty spool from thread or cork to attach button to for stamping
- Hot glue or other strong glue
step 1
Take your button and your spool, and glue your button to one end of the spool.
This will make stamping much easier.
Pour some of your fabric paint out on a plate or palette.
On some scrap paper or fabric test your stamp. See how it looks with a lot of paint or a little. I like how it looks when the stamp is not quite so perfect. You can vary the stamps on your shirt, do 2 or 3 stamps before adding more paint.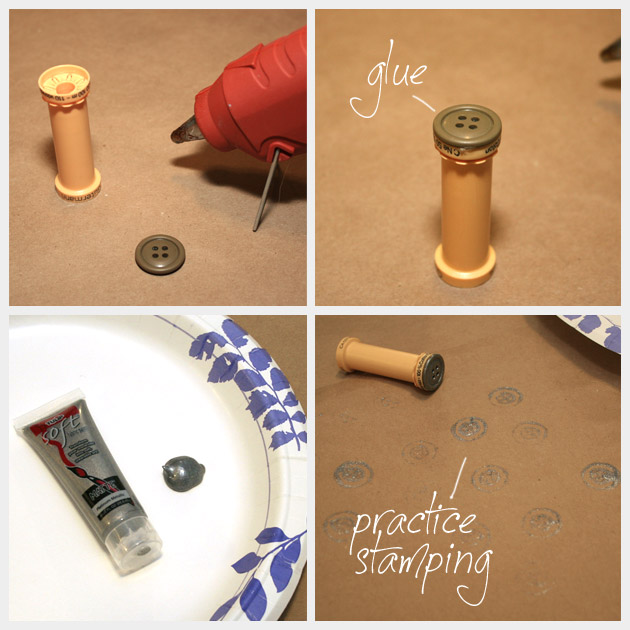
step 2
Lay out your T Shirt on a hard, flat surface.
Youll want to put something inside your t shirt just in case the paint bleeds through. I used a large sketchbook, you can use any large board.
Start stamping your T Shirt. How you space your stamps is up to you. I spaced my stamps about 3 inches apart and staggered them in what is called a half drop. You can stamp this way or do them randomly. Its up to you.
I stamped the front, back and the sleeves.
Once you are finished stamping, let your T Shirt dry for about an hour or so.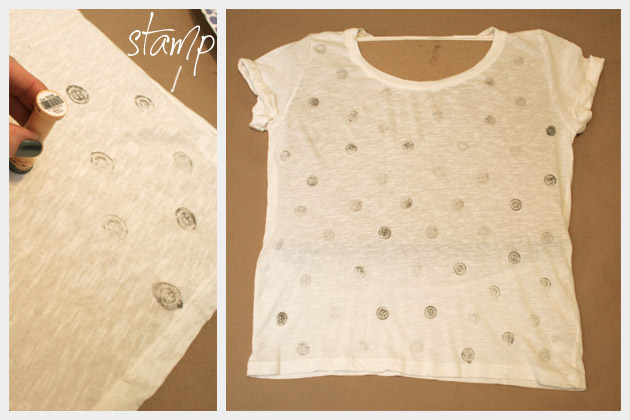
step 3
Mix up your dye bath. I used my sink, you can also do this in a large metal pot.
Make sure you follow the instructions on the package, according to the fabric of your shirt. Natural fibers dye best (like cotton and silk)
If your T Shirt is 100% cotton, boil your water before adding it to your sink or pot.
Then add your dye and mix it in really well.
Add 1 cup of salt to the dye bath and mix well. The salt will help the color adhere to the fabric and make the color stronger.
step 4
Put your T Shirt on a hanger.
Youll want to keep your T Shirt hanging straight and flat as you dip it.
Carefully dip the bottom of your T Shirt into your dye bath and let it sit for a few minutes. Then pull it out to make sure your dip stripe is as high as you want it.
If you want it higher just re-dip your T Shirt and let it sit in the dye bath for a few minutes.
The longer your shirt is in the dye the darker the color. So make sure your water is hot, add salt and let it sit in there for awhile if you want a really dark color.
Remember as your shirt dries your color will get lighter.
Check the dye package for how long to leave your T Shirt in the dye bath.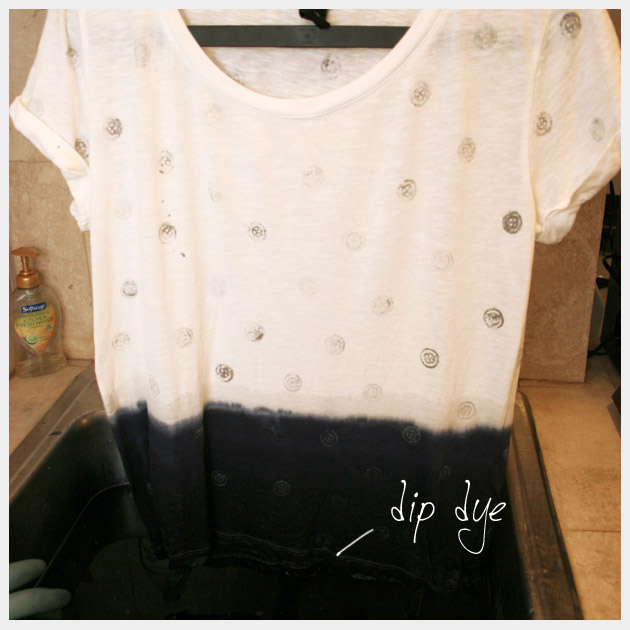
Step 5
Pull your T Shirt out and let it hang above your dye bath to make sure youve achieved the color you want.
When you are happy with your color, drain your dye bath and rinse your T Shirt in cold water.
Make sure you don’t bunch your T Shirt when you are rinsing it. You don’t want to let the dyed part touch the white of your shirt before rinsing it completely, you don’t want the dye to come off on the white part of your shirt.
When your water rinses clear hang your shirt to dry.
Be sure to follow any directions on the package and also your T Shirt for washing.


This is a really quick DIY project, once you know how you want to stamp it youre ready to go. Trust your instincts, almost any stamp will look great!
I love the contrast of the dark navy dye with the white T Shirt. It makes this a great T Shirt for transitioning into Fall.


