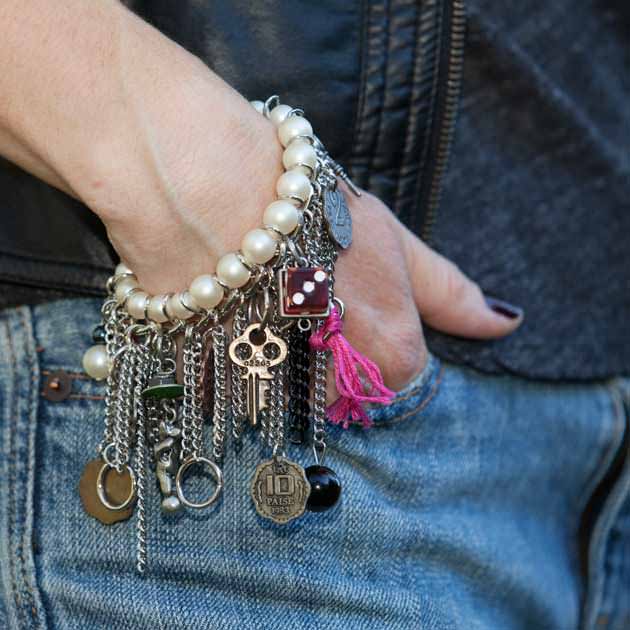
Inspired by Hedi Slimane for Saint Laurent this Charm Bracelet DIY is sure to turn heads and make you feel like a million bucks!
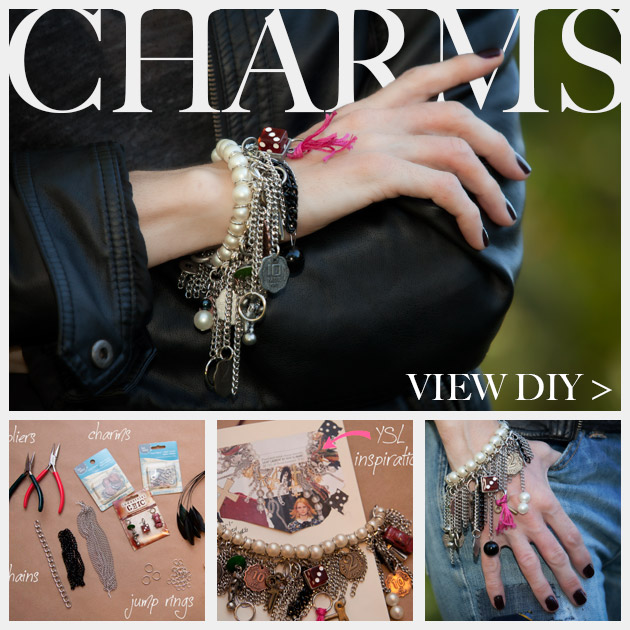
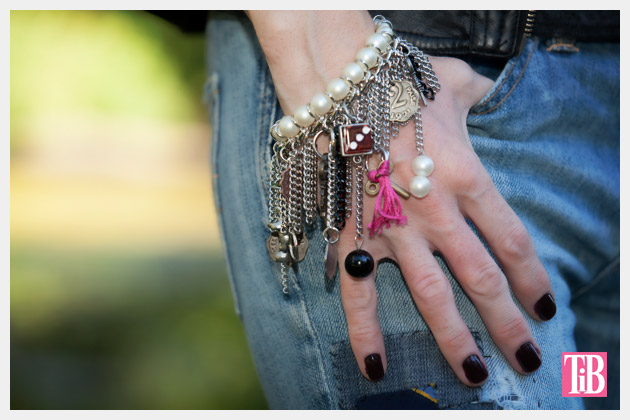
My inspiration for this bracelet came from Hedi Slimane for Saint Laurent. From the moment I saw this bracelet I knew I had to have it, unfortunately the $1795 price tag made it a little (read a lot!) out of my price range! Not one to give up, after a trip to Michaels I found all the chains and charms I needed to make my I own. I hope this inspires you to make your own too!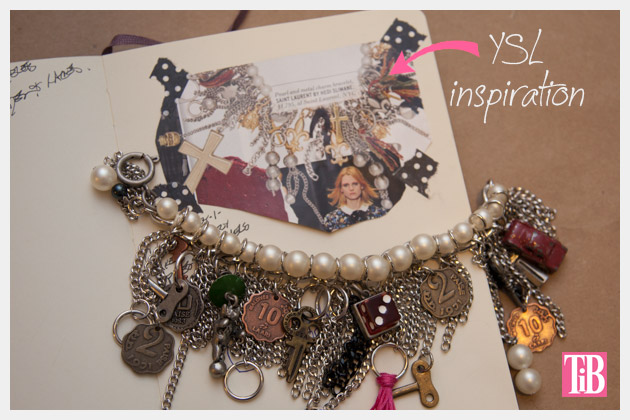
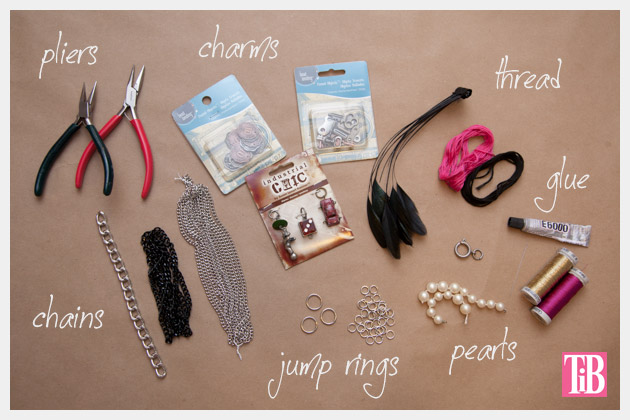
TOOLS & MATERIALS:
- Heavy chain
- Lighter chains – silver and black
- Pearls
- Jump rings – lots in multiple sizes
- Closure
- Charms – (I used these and some from this brand)
- Needle & thread
- Embroidery thread
- Pliers
- Wire cutters (optional)
- Glue
step 1
Measure your heavy chain to fit your wrist.
TIP: Dont make it too loose as this bracelet gets a little heavy and you dont want it to slide off your wrist. The jump rings and closure will also add some length to your bracelet as well.
Add your closure and one jump ring to each end of your bracelet.
step 2
Using your needle and thread you will sew your pearls and jump rings to your heavy chain.
Tie the end of your thread to the end of your chain, string one pearl on to your thread.
Wrap your thread around the links on the chain before threading your jump ring onto your thread.
This way you are securing your pearls to your chain as you go.
Do this all the way across the length of your chain (pearl, jump ring, pearl, jump ring…)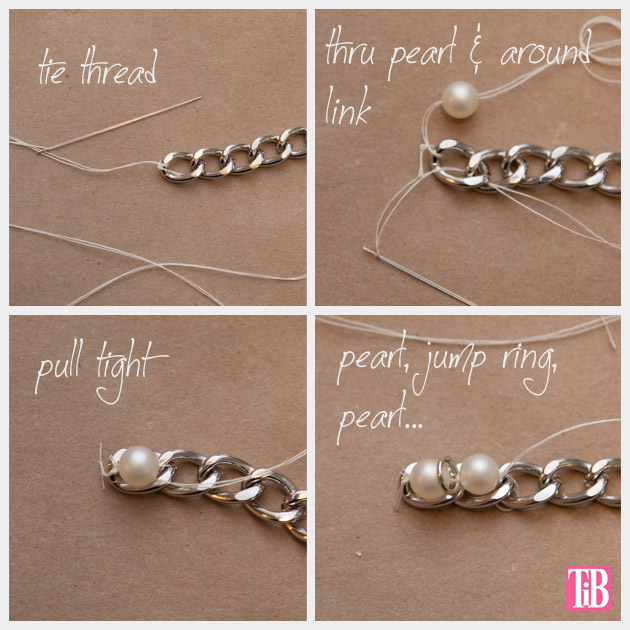
step 3
When you have finished adding your pearls and jump rings to your chain they may be a little loose.
Go back through each one and sew then again to your chain, this will help to tighten them and to keep them more secure.
You can also add a small drop of glue on the knots of your thread to keep them from pulling out.
Just be careful not to get any glue on the links of your chain, you dont want it to get stiff.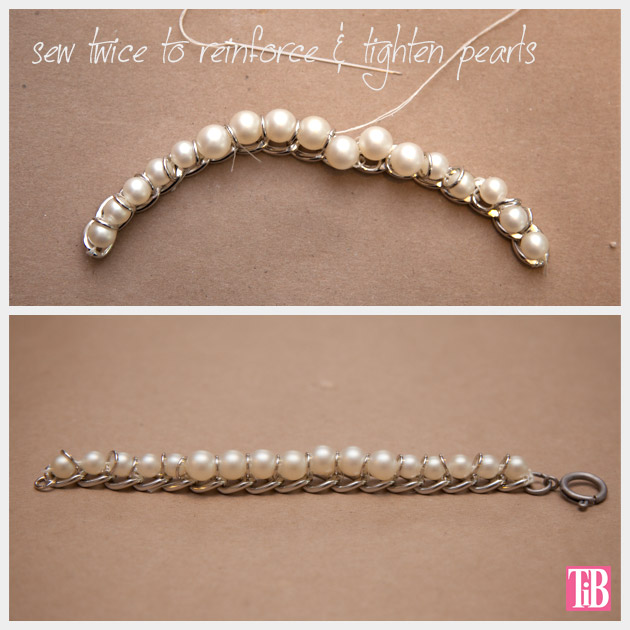
step 4
Cutting your chains.
This is where a pair of wire cutters will come in handy. They really make this go faster.
Cut several short lengths of your silver chain.
I cut most of mine just over an inch long. Be sure to also cut some longer.
One of the fun things about this bracelet is that it is not all even and precise. Mix up your lengths.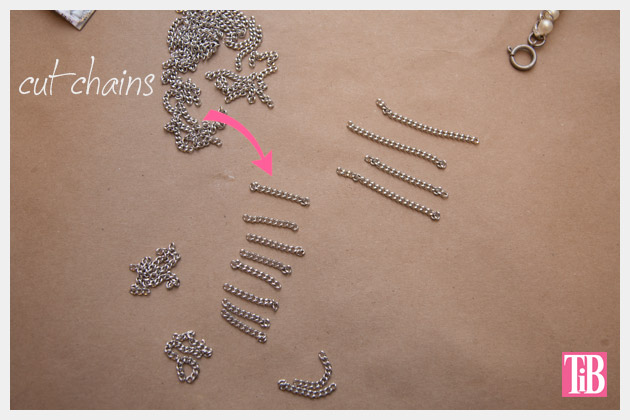
step 5
When you have all your chains cut, start adding them to your jump rings.
Open your jump rings with your pliers and add your chains and charms to them.
I mixed mine up adding 3 short chains, then one long chain with a charm or bead on the end.
Have fun with this and mix it up!
You can also make some small tassels and tie them to your larger jump rings.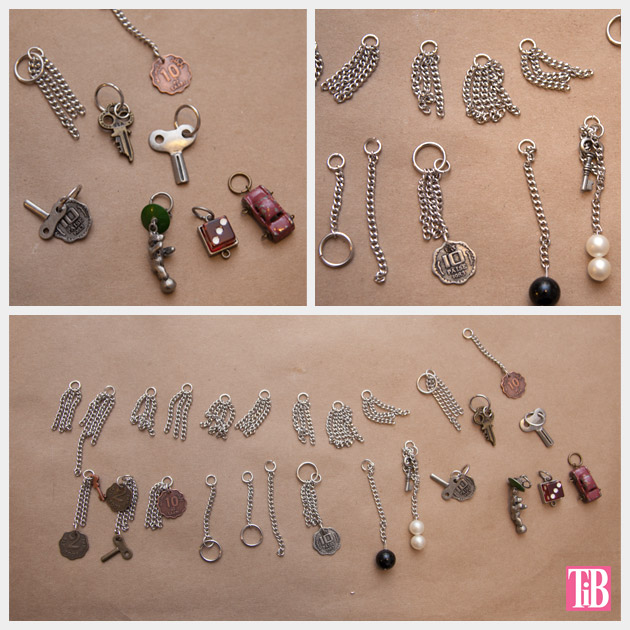
step 6
When you have all your jump rings full, youre ready to add them to your bracelet.
This can be a little tricky but you can do it!
Open your jump rings and add them one by one to the links on your large chain.
TIP: Dont try to add them to the jump rings between the pearls, this will really weaken your bracelet.
I recommend adding the jump rings with just the plain chains first and then filling in with the charms on top.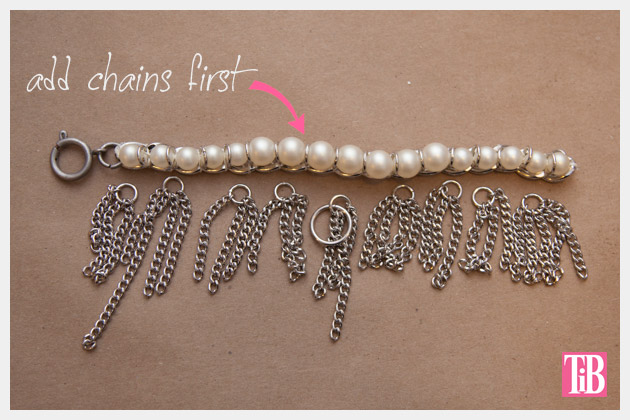 Now youre ready to rock it!
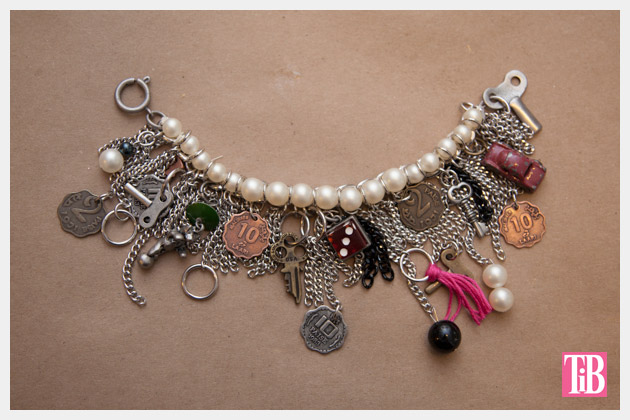
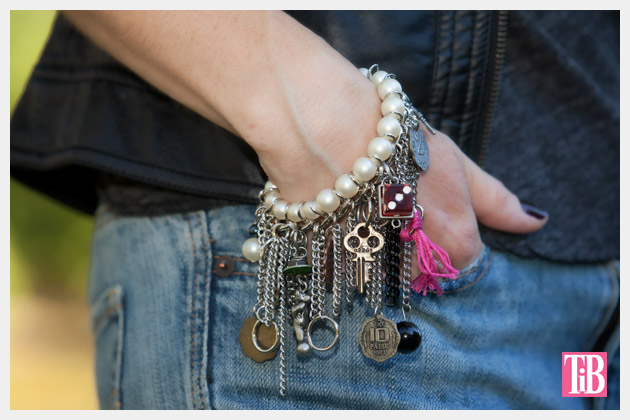
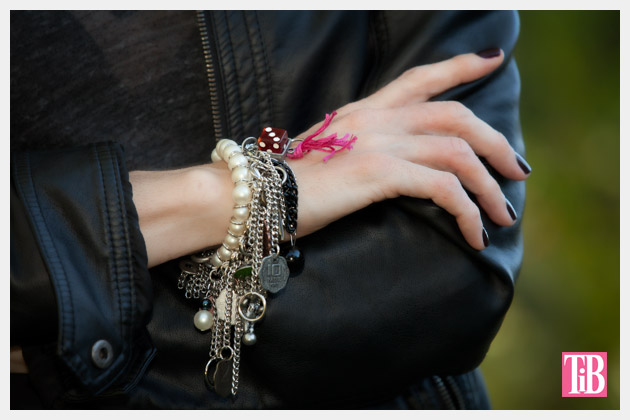

Love these kinds of loaded charm bracelets! Too fun!
~Kelsy
Thanks Kelsy!
xoxo
Cathy
This is beautiful and i like it better than the original!Can’t wait to gather my materials and try this. thanks!
Thank you so much Sherry!
I’m so glad this inspired you to make your own! :)
xoxo
Cathy
This inspired me to start making one of my own! Thank you for the inspiration https://www.facebook.com/photo.php?fbid=505049386253789&set=a.505049302920464.1073741843.473455396079855&type=1&theater
Thank you Kath!
That’s so cool! I love that you were inspired and created your own! It’s beautiful!
xoxo
Cathy
very nice ,thank you very much , I made it last night and I love it
That’s awesome! I’m so glad you made it!
xoxo
Cathy
Gracias está hermosa,
Love the charm bracelet! I love to make jewelry and have a small business with my BFF. There is a tool that I use when I am making charm bracelets that you would love. It is called a Third Arm. Basically, it allows you to suspend the charm bracelet with a clamp on each end and it has a magnifying glass that make it easy to see. Thanks so much for sharing! I buy bulk junk jewelry from Ebay all the time so I have a ton of great charms I can use. You are a Rock Star in my book!
Thank you so much Saundra! I’ll definitely look into the Third Arm, it sounds really helpful.
xoxo
Cathy
I just finished my bracelet last night! I love how it turned out! Thanks for the inspiration and the opportunity to learn some new beading tricks! I hope you post more!
Yay Saundra! That’s so awesome! I’d love to see how it turned out!
xoxo
Cathy