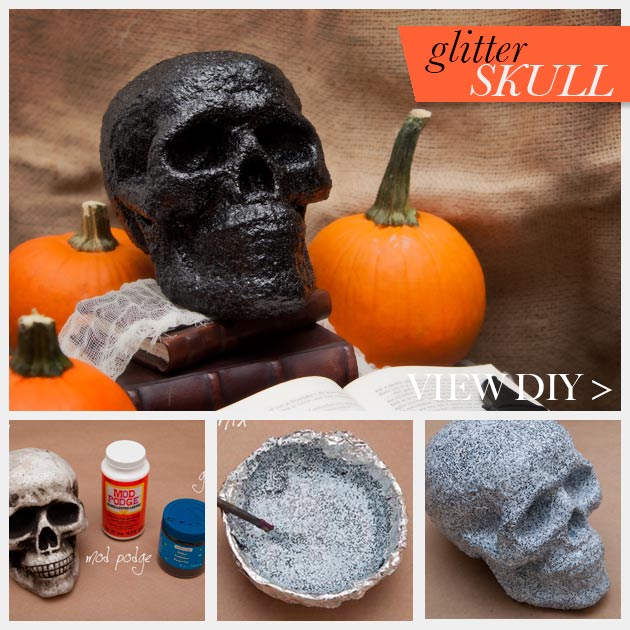
Add some spooky sparkle to your decor with this simple Glitter Skull DIY.
TOOLS & MATERIALS:
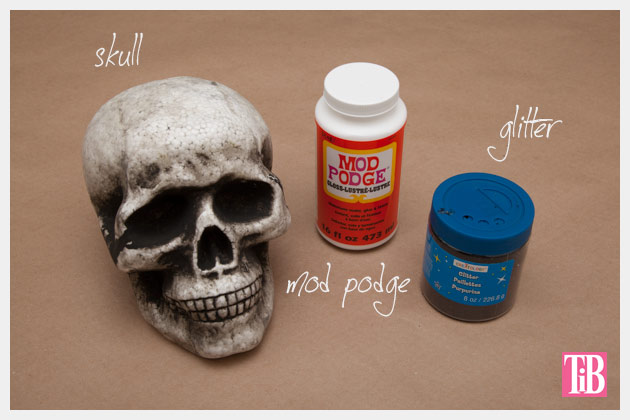
- Styrofoam skull
- Mod Podge (you can find it at JoAnn)
- Glitter
- Brush
- Bowl
- Aluminum foil
step 1
Line your bowl with aluminum foil. It’s a really good idea to do this before adding your Mod Podge and glitter, because you really don’t want to wash that stuff down your drain! Trust me!
Pour in your Mod Podge and glitter, and mix.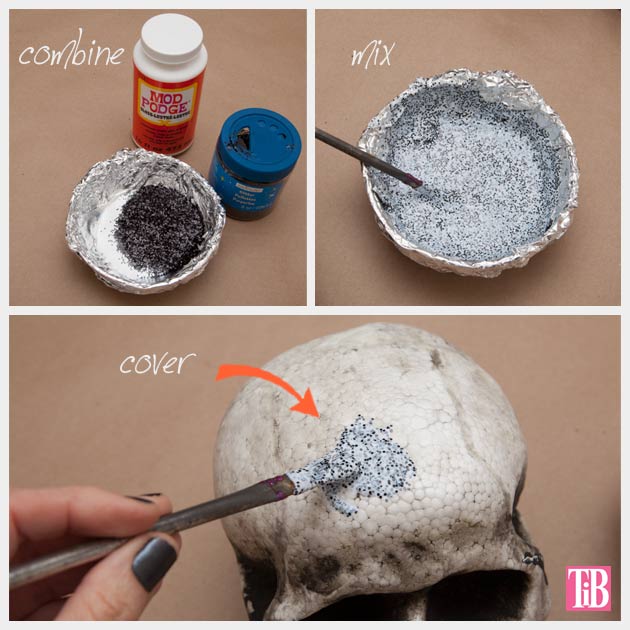
step 2
Start spreading your Mod Podge glitter mix over your skull until it is completely covered.
TIP: I recommend patting your Mod Podge glitter mix over your skull instead of spreading it like you would if your were painting. It’s kind of thick and clumpy and you’ll get better coverage this way.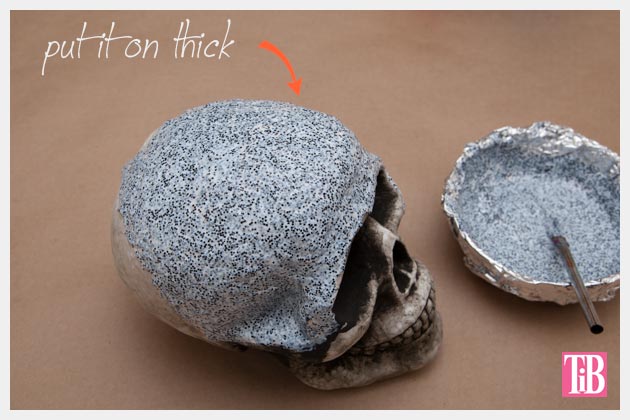
Keep some of your Mod Podge glitter mix handy. As it dries you will see spots that aren’t covered.
Let your skull dry.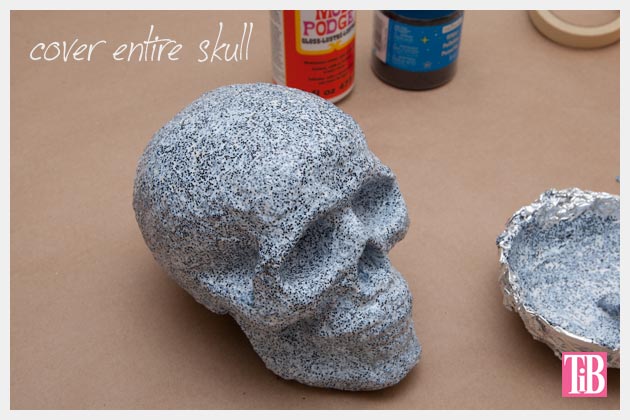
TIP: I recommend putting it by an open window if you can to dry. The Mod Podge can be kind of stinky. It’s best to do it somewhere with good ventilation.
I painted the top of my skull first, then when it was dry I flipped it over and painted the bottom.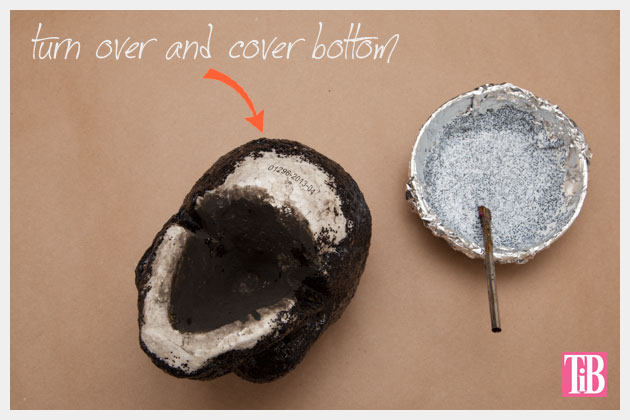
When I went to Michaels to get the skull for this project, I actually went with their plaster skull in mind. But when I saw it at the store it just didn’t live up to my expectations. So after being bummed out and searching around the store for something better, I found this styrofoam skull to be the perfect shape and at only about $5 it was perfect!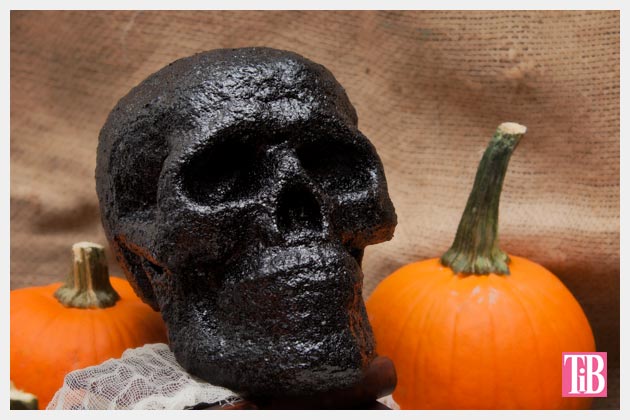
I thought it would be fun to mix things up this month and venture out of my normal fashion DIY’s to make a few fun and spooky Halloween DIY’s. Halloween is one of my favorite holidays, I really do love to decorate for Halloween and this Glitter Skull DIY fits in perfectly with our subtle sinister decor.

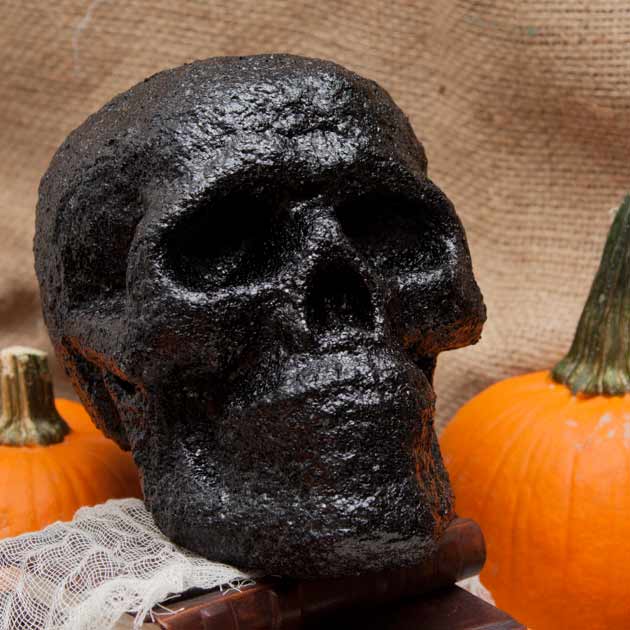
Nice looking glitter skull!
Thanks Jackie!
xoxo
Cathy