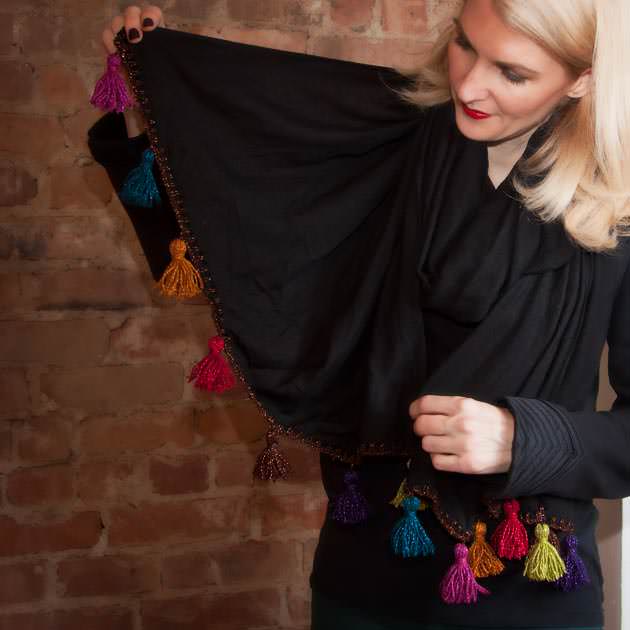
Its been downright chilly in NY lately and a DIY Tassel Scarf is just the thing we need to warm us up.
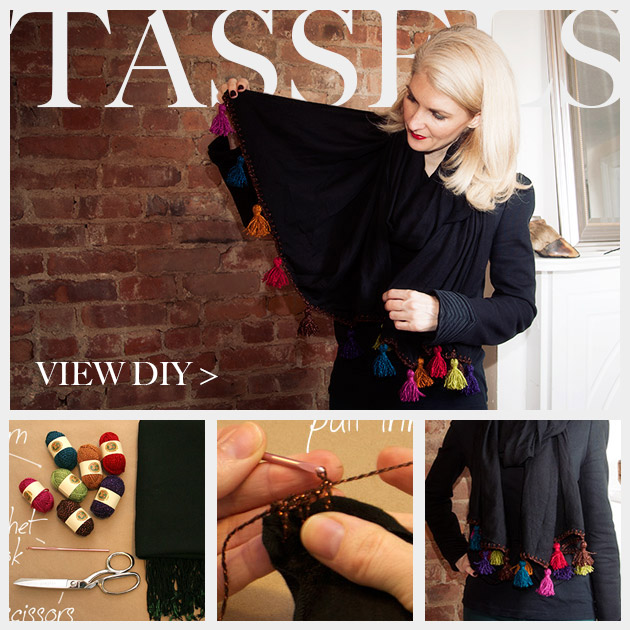
Cozy up to this colorful DIY Tassel Scarf.
EMBELLISH YOUR SCARF >
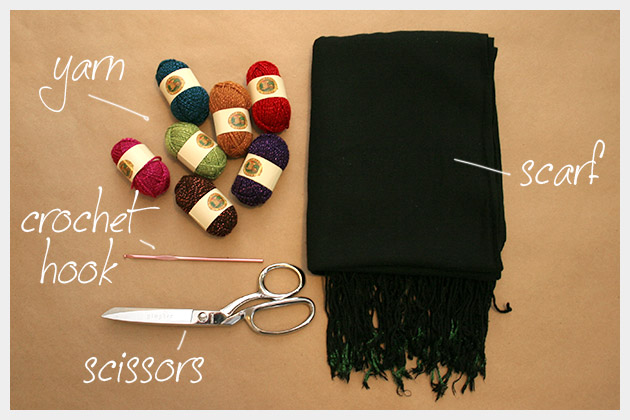
Supplies to make your DIY Tassel Scarf:
- 1 Large scarf (pashmina type)
- Yarn in multiple colors (I used Bonbons by Lion Brand)
- 1 Smallish crochet hook
- 1 Yarn needle
- Scissors
- Sewing machine
step 1
If your scarf has fringe, cut it off right at the edge.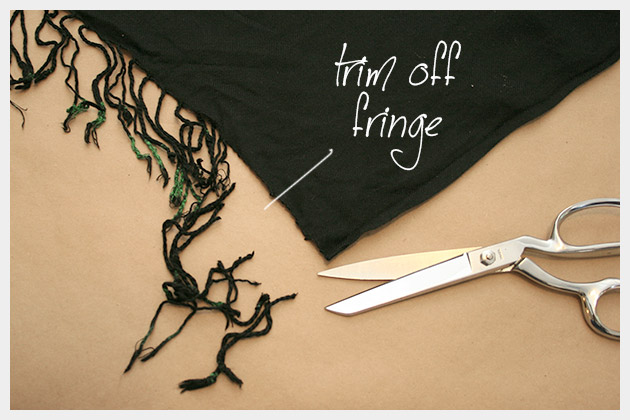
step 2
Using your sewing machine, fold this raw edge over and sew. I used a large zig zag, use what works best for you.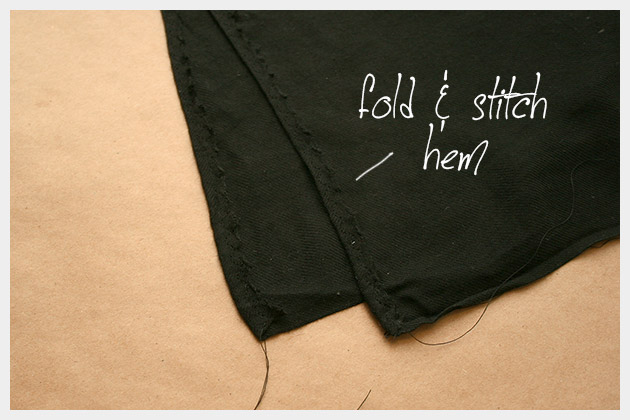
step 3
Take one color of your yarn and your crochet hook, this will be for the crocheted edge trim.
Following the step by step tutorial below, you will crochet through the edge of your scarf.
Note: This crochet tutorial is left handed, if you are right handed, just flip it.
The pattern I used is; 1 single crochet – pulling the yarn through the scarf (this is where it looks like a long or blanket stitch), then 2 chain stitches and repeat.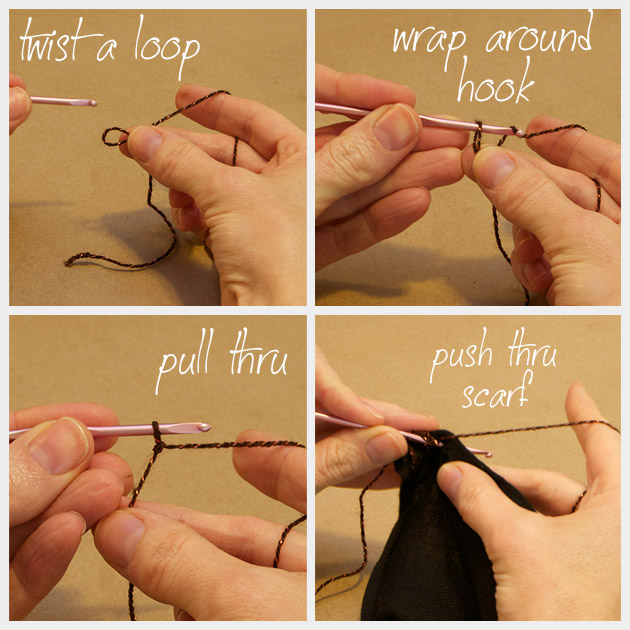
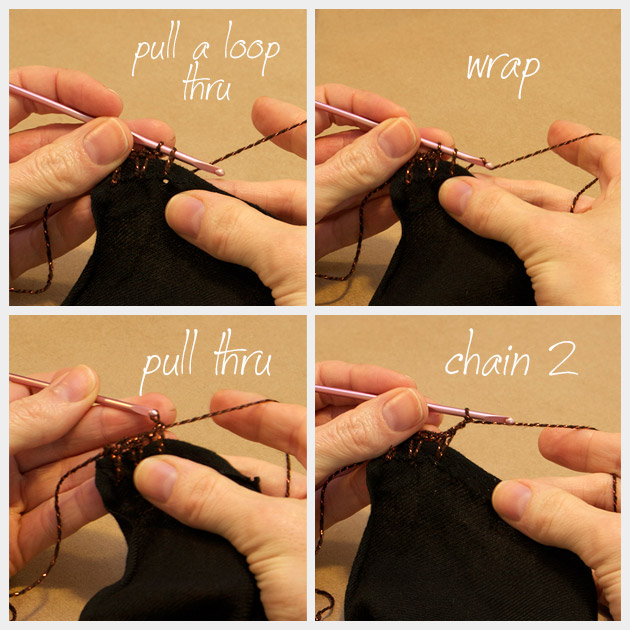
You can do this all the way around your scarf or just on the edges, like I did, its up to you.
step 4
Make your tassels.
I apologize for not having any pictures of how to make the tassels, (I think I got carried away when I was making this scarf).
Before you start wrapping your tassel, cut a piece of yarn about 8-10 inches, I recommend using the same color you used for the crochet trim (you will be using this to sew your tassel to your scarf). You will use this yarn to tie your tassel and youll want to have it handy.
What youll want to do is take your first color of yarn and wrap it around something that is about 2 inches wide. You can even use your fingers.
I wrapped mine about 34 times. This will give you a nice tassel, you dont want them to thin.
Once youve finished wrapping your tassel, carefully slide it off of whatever you used to wrap around and put the piece of yarn you cut before you started, through your wrapped yarn and tie it tight.
Then cut another piece of yarn (about 10-12 inches) the same color as your tassel and tie this piece around the top of your tassel about a half inch from the top.
Tie a knot and then wrap it a few times and tie it again.
Then trim the looped ends of your tassel. You can also trim the ends to make then straight.
Continue making tassels in all your colors. I used 7 colors of yarn and make 2 of each color, 1 for each side.
Do what works best for you and the yarns youre using.
step 5
Once all your tassels are finished, lay them out on your scarf to check for placement and to make sure you like your color order.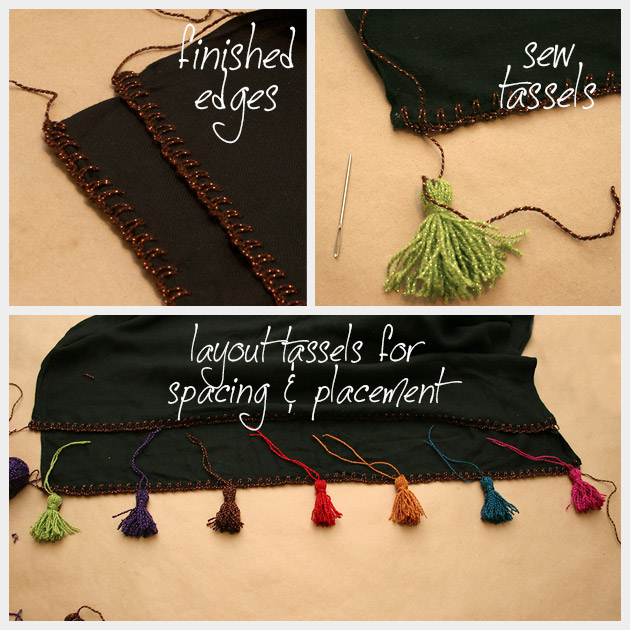
step 6
Using the yarn that you tied at the top of your tassel and your needle, sew one strand through one of the holes you made in the scarf for your crochet and pull it through.
The take the other strand and sew it through the same hole, but going the other way.
Pull them tight and tie them in a knot.
Then weave your loose ends through your crochet to hide them.
Do this for all of your tassels.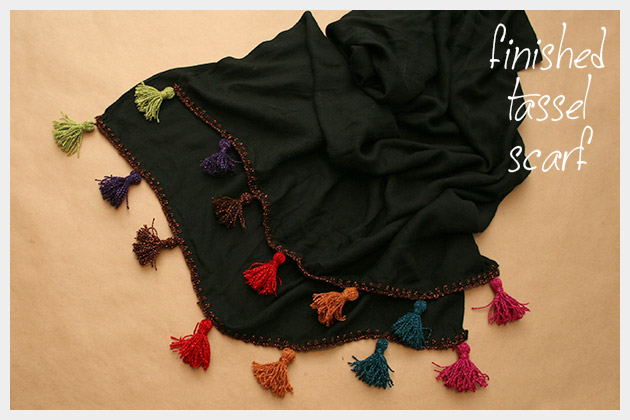

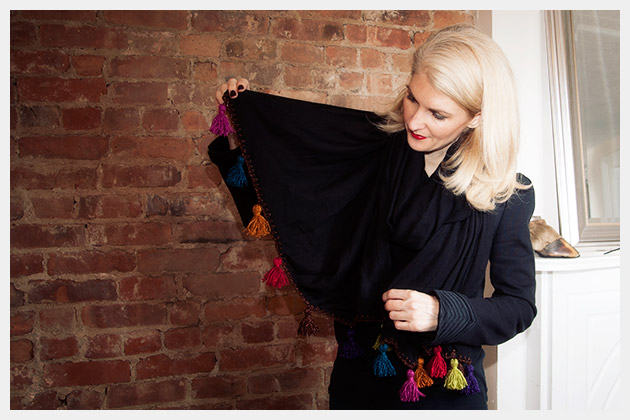
This is a great project to embellish an old scarf you may already have or just to spice up a new one.
You can also play around with colors, I used multiple colors but you could make all your tassels the same or just use two colors and alternate them. Camel colored yarn on a cream scarf would be gorgeous! Oh, so many ideas, so little time!

Hi Cathy, wow this is awesome, I love this idea – I may have to try this out!
Não é próprio somente para Nova York. Podemos usar no inverno do Rio de Janeiro (Brazil).
We can use in Rio de Janeiro (Brazil) in our winter.