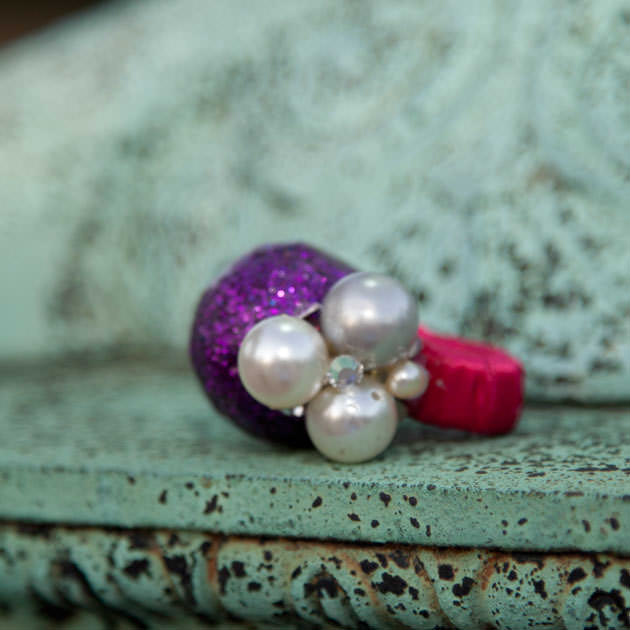
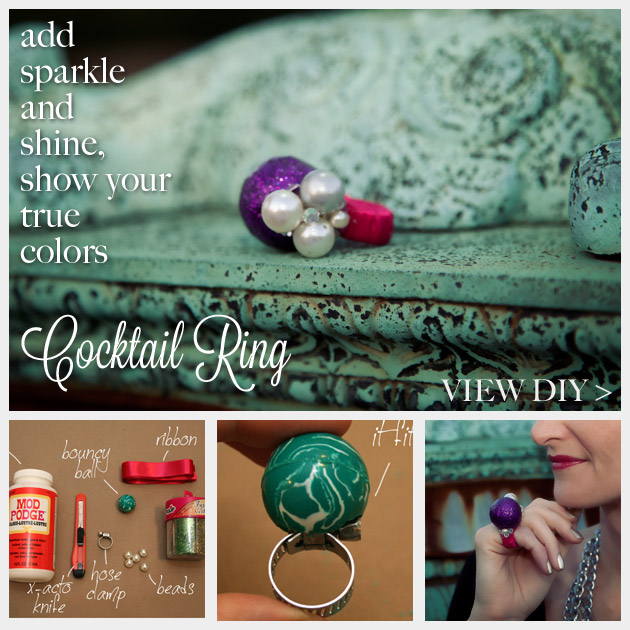
Cocktail rings are a great way to add sparkle and color. And you dont have to be dressed up to wear them.
Let your hands speak for themselves with a great Cocktail Ring DIY!
LET’S MAKE A RING >
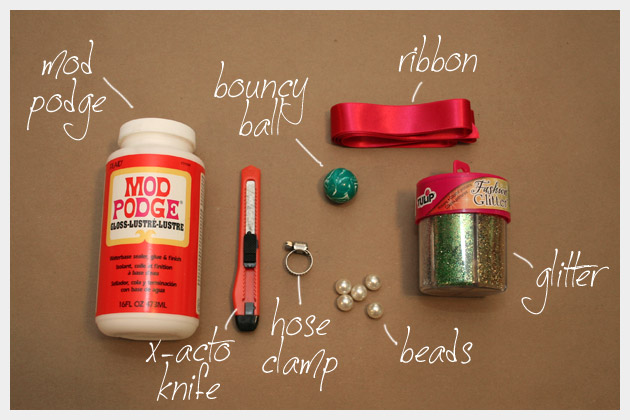
Supplies to make your Cocktail Ring DIY:
- 1 Bouncy ball (mine came from a gumball machine)
- 1 Small hose clamp
- Ribbon
- Mod Podge
- Glitter
- Big beads
- Small beads
- Rhinestones
- Hot glue
- X-acto knife
- Brush and small bowl
step 1
Take your x-acto knife, your bouncy ball and your hose clamp.
Measure approximately how much you will need to cut out of your ball to make if fit on top of your hose clamp.
Start cutting a hole in your bouncy ball.
PLEASE BE CARE FULL! You need your fingers to wear your ring!
Using your x-acto knife scoop out a hole large enough to fit the top of your hose clamp into.
When you are done, set your ball aside.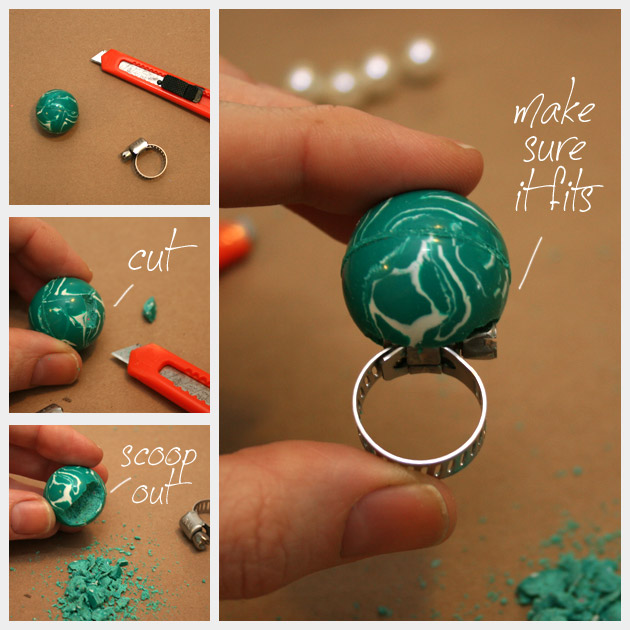
step 2
Take your hose clamp, ribbon and hot glue.
Put a small amount of hot glue on the inside of your hose clamp to attach the end of your ribbon.
Wrap your ribbon tightly around the ring of your hose clamp.
Continue wrapping around the top of the hose clamp, just enough to cover the ring completely.
Make sure you dont add too much bulk to the top of the hose clamp. Double check your ball to make sure it still fits on your hose clamp. If you need to you can scoop out the hole a little larger.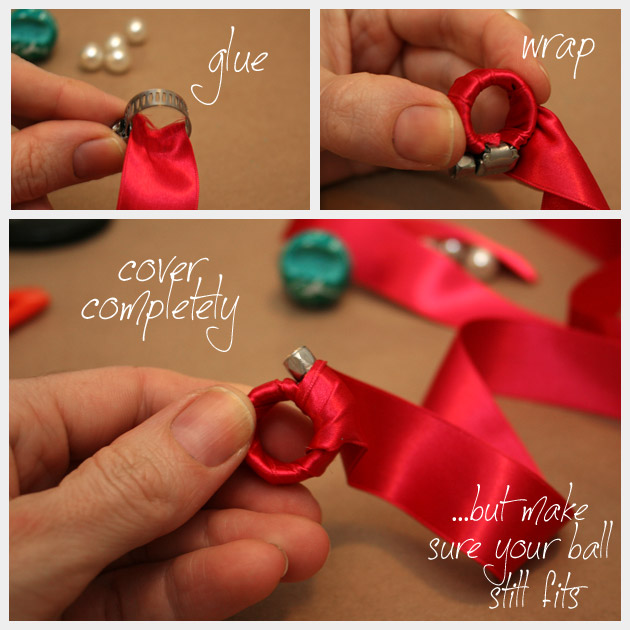
step 3
Using your hot glue, glue your bouncy ball to the top of your ribbon wrapped hose clamp.
Let dry.
step 4
Mix up your mod podge and your glitter in a small bowl or cup.
Brush your mod podge/glitter mixture over your bouncy ball. Make sure you cover your ball completely.
If possible set your ring in the sun to dry. It will dry much faster this way.
As your ring is drying, check for any missed spots and if necessary add more of your mod podge/glitter mixture.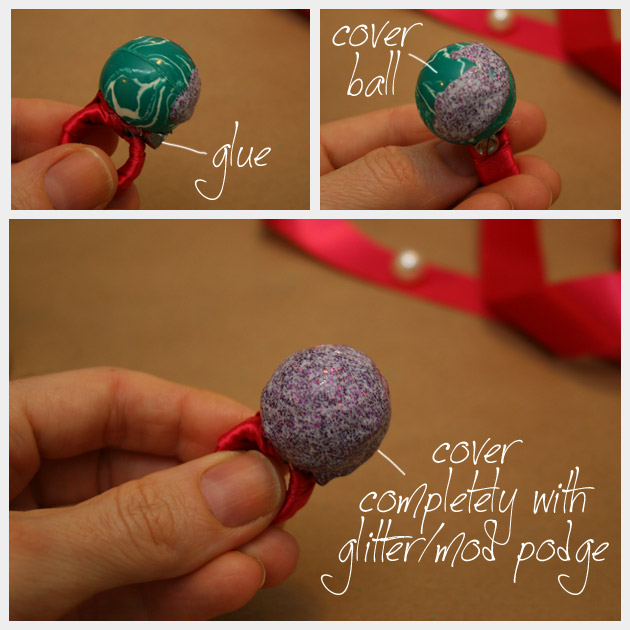
step 5
Once your ring is completely dry, you can add your other beads and rhinestones.
I apologize for the lack of pictures on this part, I was trying to figure out how I wanted it to look and got carried away making it.
I added 3 rhinestones in a “V†shape on either side of the large ball on the ring.
Then I added the 3 large beads on one side of the large ball.
I then went back and added rhinestones and small beads in between the large beads to help fill up space.
I also added 1 small bead at the top of the “V†on the opposite side (less decorated side) of the ball.
I used hot glue to attach all the beads and rhinestones.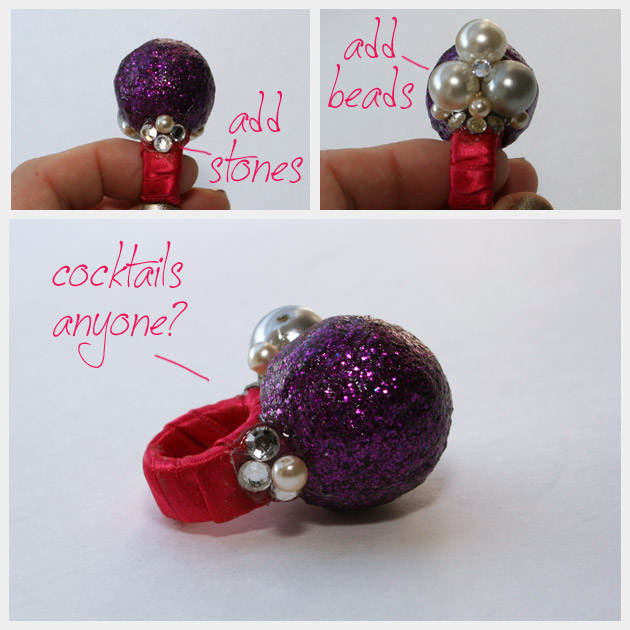
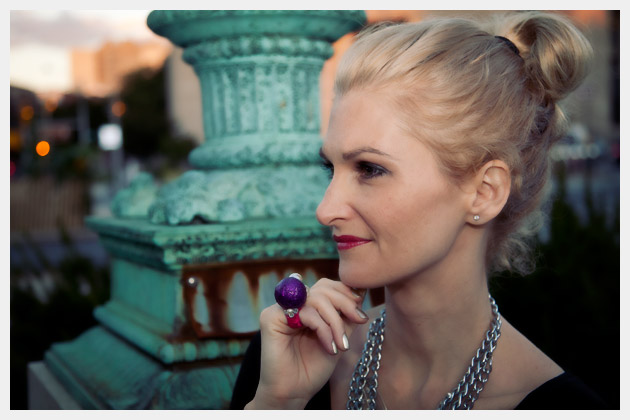
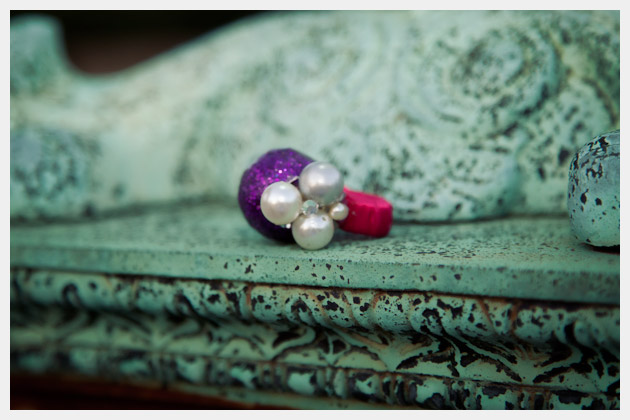
Mix up your colors and your beads to make this ring fun. I used pearl colored beads and clear rhinestones to balance the pop of bright colors in the ribbon and glitter.
This Cocktail Ring DIY is very simple to make and looks great. No one would ever guess you used a bouncy ball and a hose clamp!

