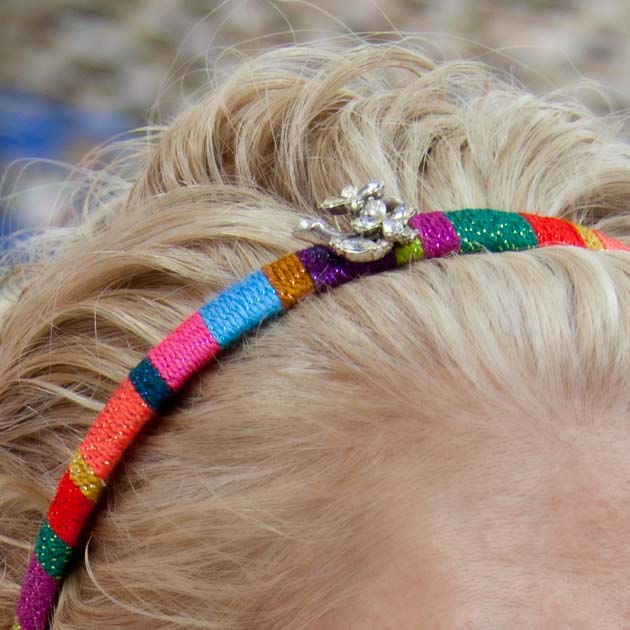
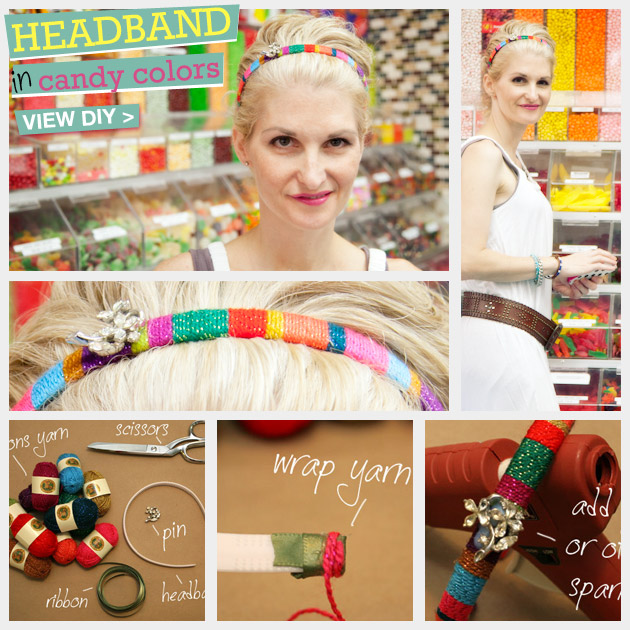
Sweeten up your accessories with this candy striped wrapped headband DIY. Ill be submitting this DIY project to Lion Brands for their latest contest using their newest yarn Bonbons. Wish me luck!
Great headband in candy colors using Lion Brand’s newest yarn Bonbons.
LETS MAKE ONE! >
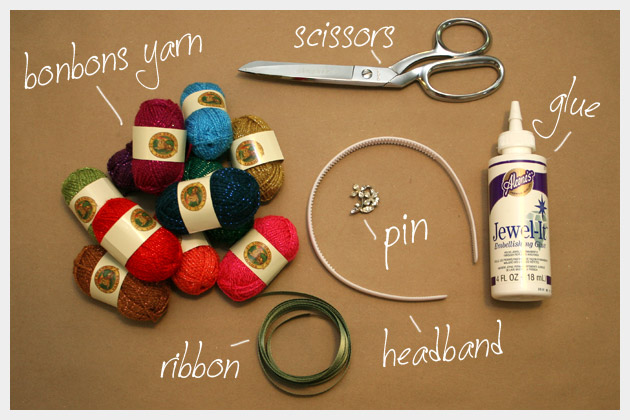
Supplies for your Wrapped Headband DIY in Bonbons:
- Bonbons yarn 100% Acrylic with glitter from Lion Brand Yarns
- 1 Headband
- 1 Rhinestone pin or other (I used a vintage earring that the back fell off of)
- Small amount of ribbon
- Scissors
- Hot glue
- Aleenes Jewel-it glue
Step 1
You will start with your headband, your ribbon and your hot glue.
Place a small amount of hot glue on one end of your headband and attach your ribbon.
Carefully wrap your ribbon around the end of your headband to cover, using small amounts of hot glue to hold the ribbon.
Do the same thing for the other end of the headband.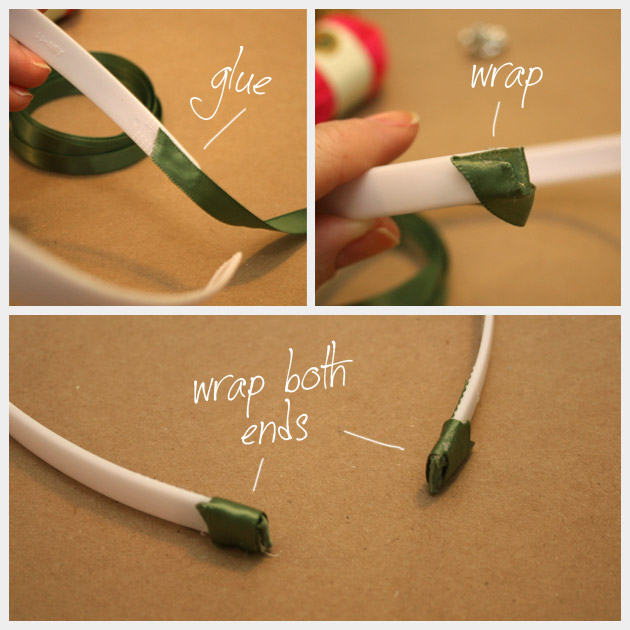
Step 2
Using your Bonbons yarn, decide how many colors you want to use. I used 11 different colors, but its really up to you how many you decide to use.
Take your first color and secure the end of your yarn with a little hot glue on the headband.
Then start wrapping your yarn around your headband. Make sure to wrap your yarn snugly.
Wrap your first color as many times as needed to make your stripe as wide as you want.
Then use a small amount of hot glue on your headband to secure your yarn before cutting.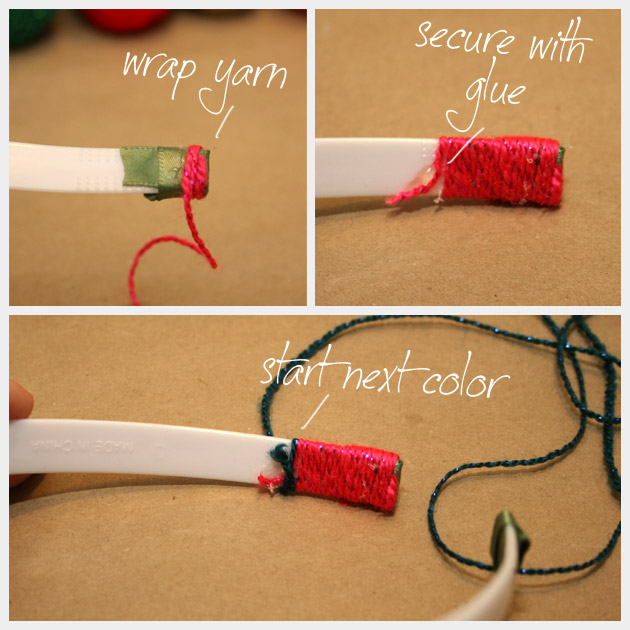
Step 3
Take your second color of Bonbons yarn and put your end in the hot glue from your last color to secure it and continue wrapping your second color until it is as wide as you want.
As in Step 2 use a small amount of hot glue to secure your yarn before cutting it and use the same hot glue to secure your next color.
Continue this way until youve completely wrapped your headband.
I recommend mixing up your colors and the width of your stripes. This gives it a more interesting, unexpected look.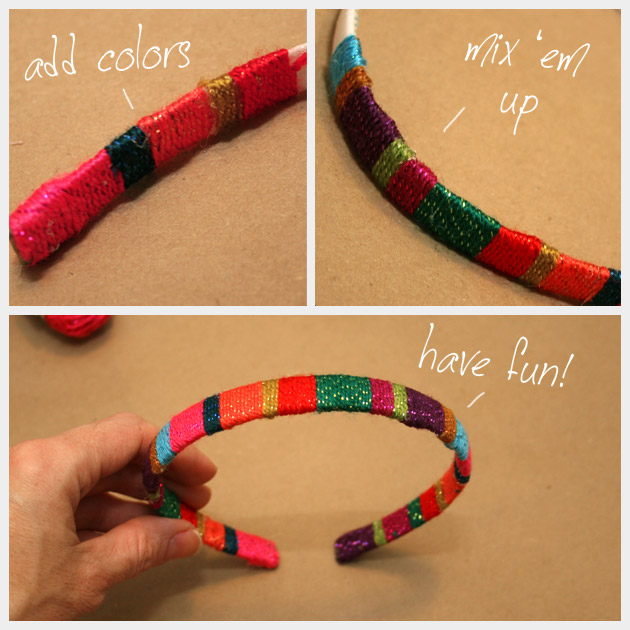
Step 4
Once your headband is completely wrapped youre ready to add your pin for a bit of sparkle.
I recommend putting your headband on and looking in a mirror to decide exactly where to place your pin. I put mine a little off to the side.
When you know where you want your pin, put you Aleenes Jewel-it glue on your headband and let it sit for about 10 minutes. I know its hard to wait but this will help your glue to hold better.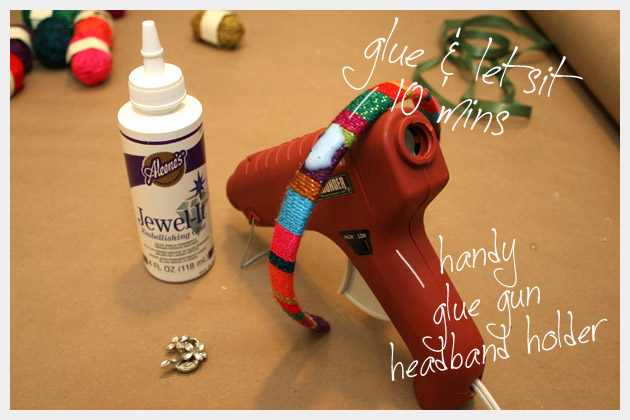
Step 5
After 10 minutes take your pin and push it into your glue.
You will probably have to hold it in place for a minute to two, until the glue holds.
I recommend finding a place to set your headband upright for the glue to dry.
As Ive done before, I put mine over my hot glue gun. It just seems to be the perfect size to hold a headband and its available. Just make sure its off and cool.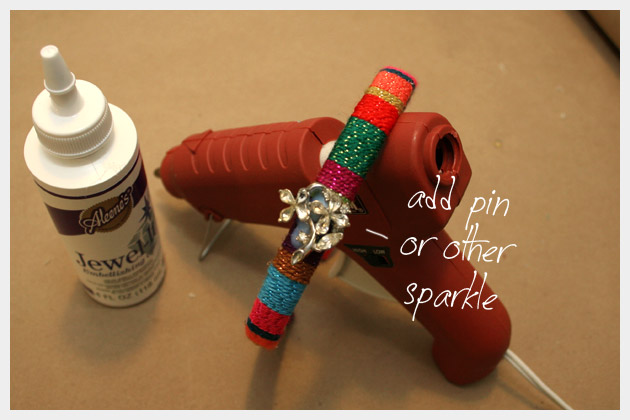
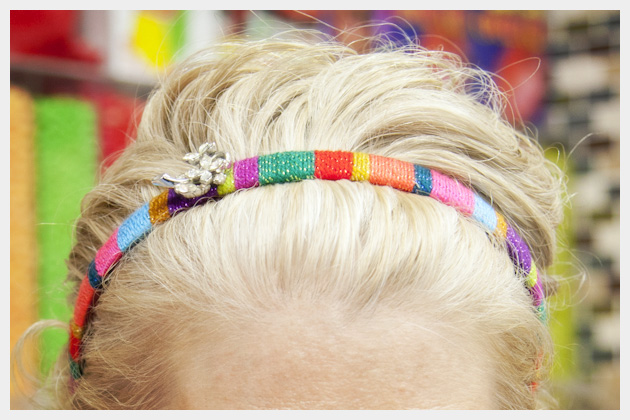
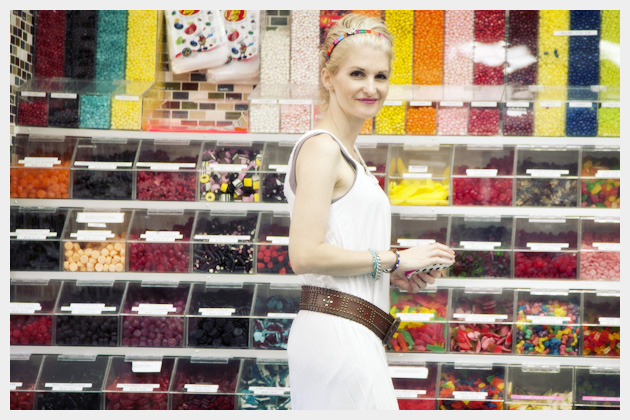
Im so happy to have been a part of Lion Brand Yarns most recent contest to design a project using their newest yarn Bonbons. (Be sure to check out their site for more fun yarns and ideas.)
Bonbons is a really fun yarn, the quality is great and it comes in 3 different kinds; 100% cotton, 100% acrylic and 100% acrylic with glitter. Each package comes with an assortment of 8 colors with 28 yards in each skein. This makes it the perfect yarn for small projects, trims or to share with friends.
I used the 100% acrylic with glitter for this project, because I love the bright candy colors and jewel tones. The glitter also added just the right touch of sparkle and the mix of colors makes this headband a fun and colorful addition to any outfit.
I’ll be submitting this project today, wish me luck!

WOW!!! That’s beautiful!! Love that you took the picture next to all those colorful candy!! :)
San
Thanks San!
Candy makes everything more fun! ;)
xoxo
Cathy