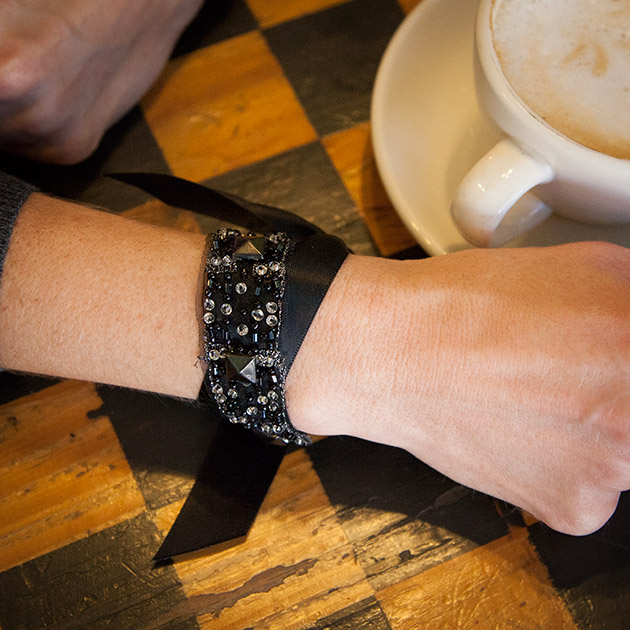
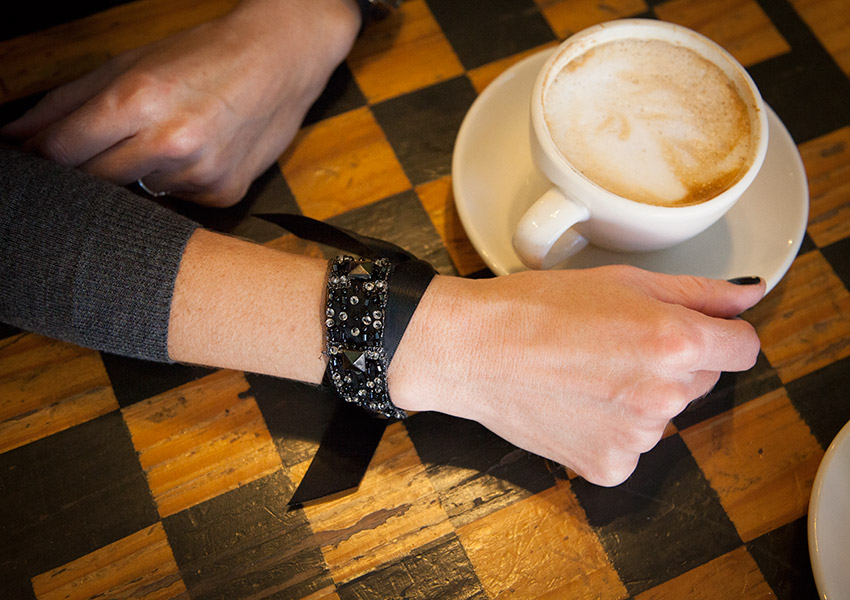
Edgy yet elegant this Studded Scrap Ribbon Bracelet DIY is a great fall accessory and since it can be made with scraps of ribbons and trims you may already have at home, it won’t cost you a fortune!
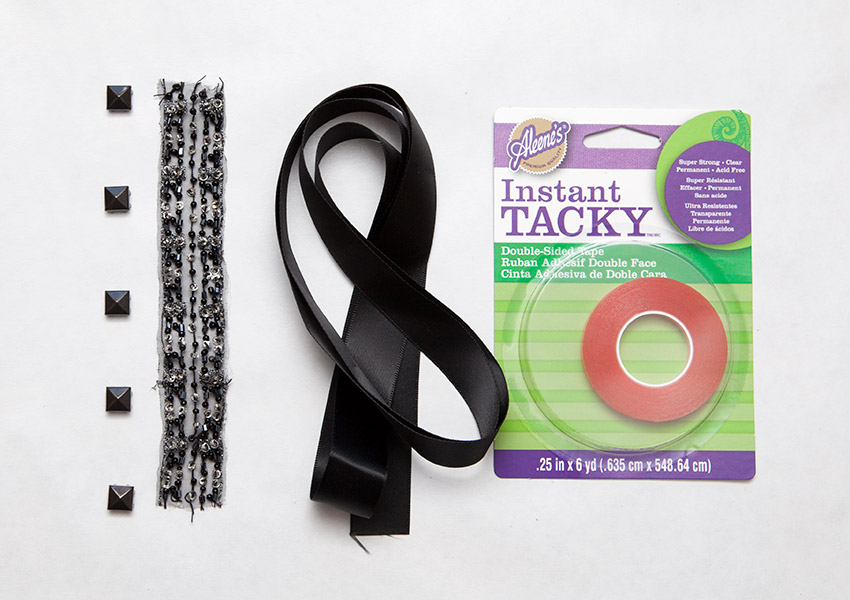
SUPPLIES YOU’LL NEED:
- Satin ribbon
- Fancy trim (I used a scrap – 6 inches long left over from this top)
- Studs
- Pliers (if your studs have prongs)
- Aleene’s Instant Tacky
- Jewel-it glue
Check out my Amazon shop for links to all supplies.
step 1
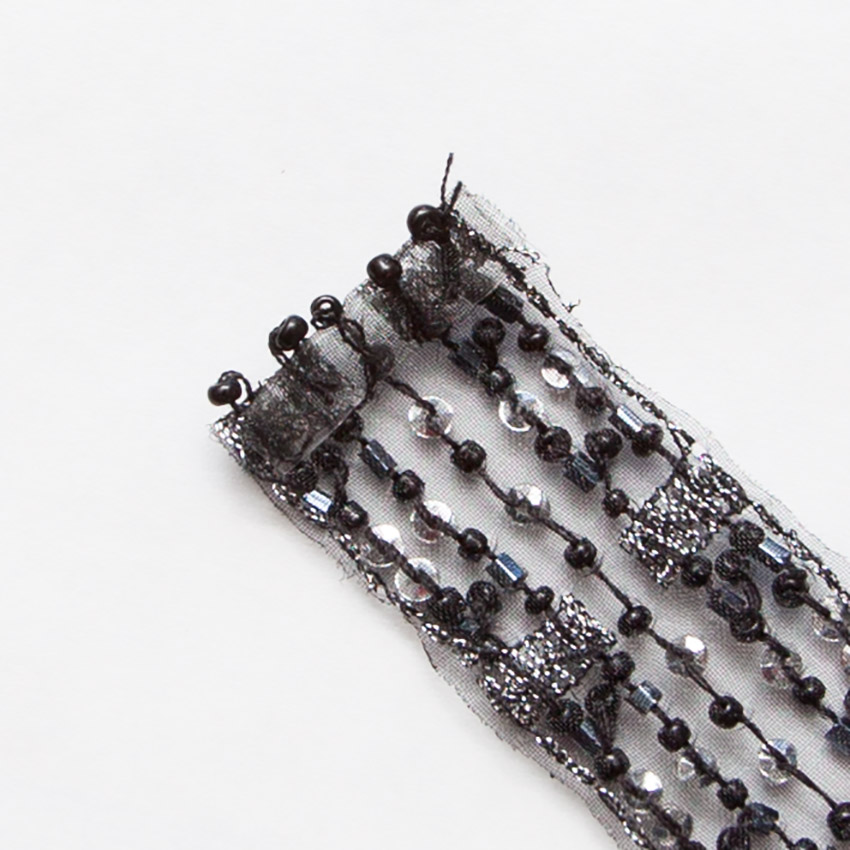
Use your tacky strips to glue the edges of your fancy trim. Place a small strip across the edge and fold over to hem it and keep it from unraveling.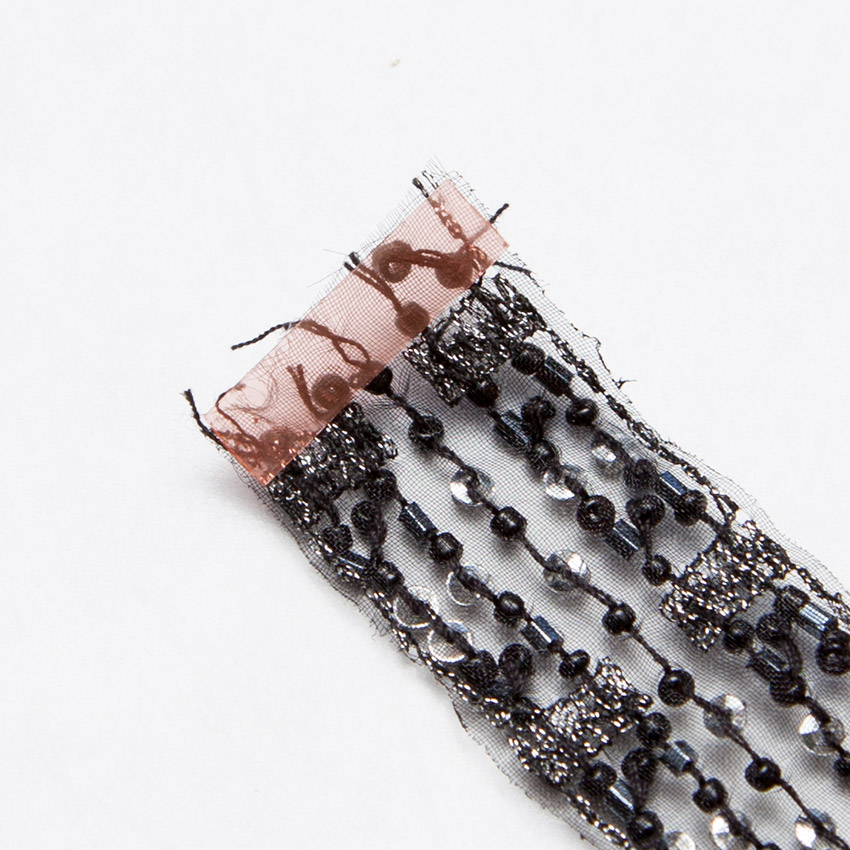
step 2
Cut strips of your tacky strips and place them on the edges of your fancy trim.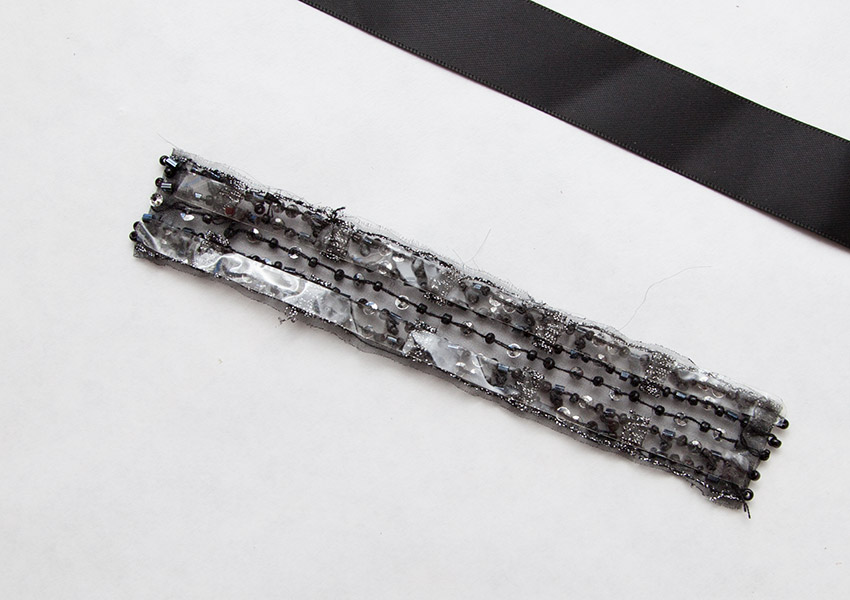
step 3
Press your fancy trim onto the middle of your satin ribbon.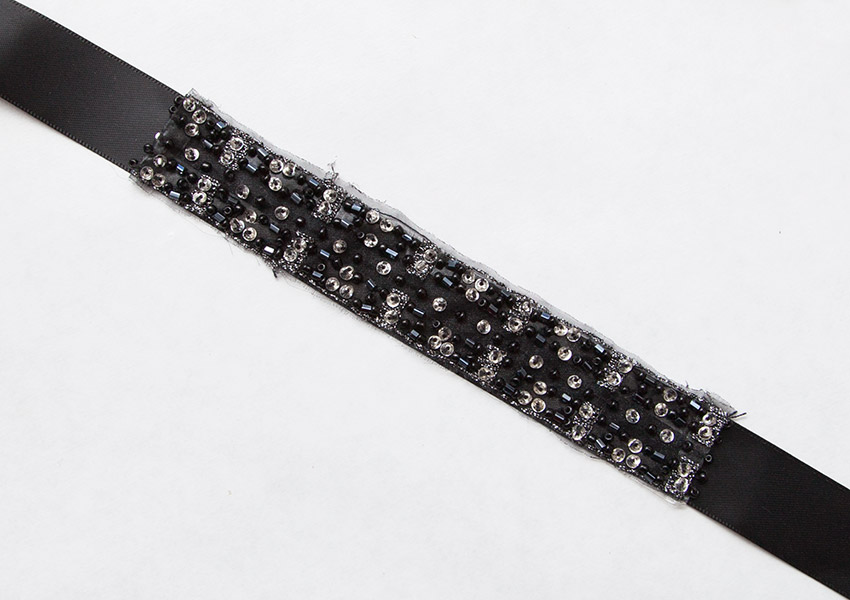
step 4
If your studs have prongs like mine, I recommend that you fold the prongs over to make a flat back on your studs. This will make it easier to glue them to your bracelet.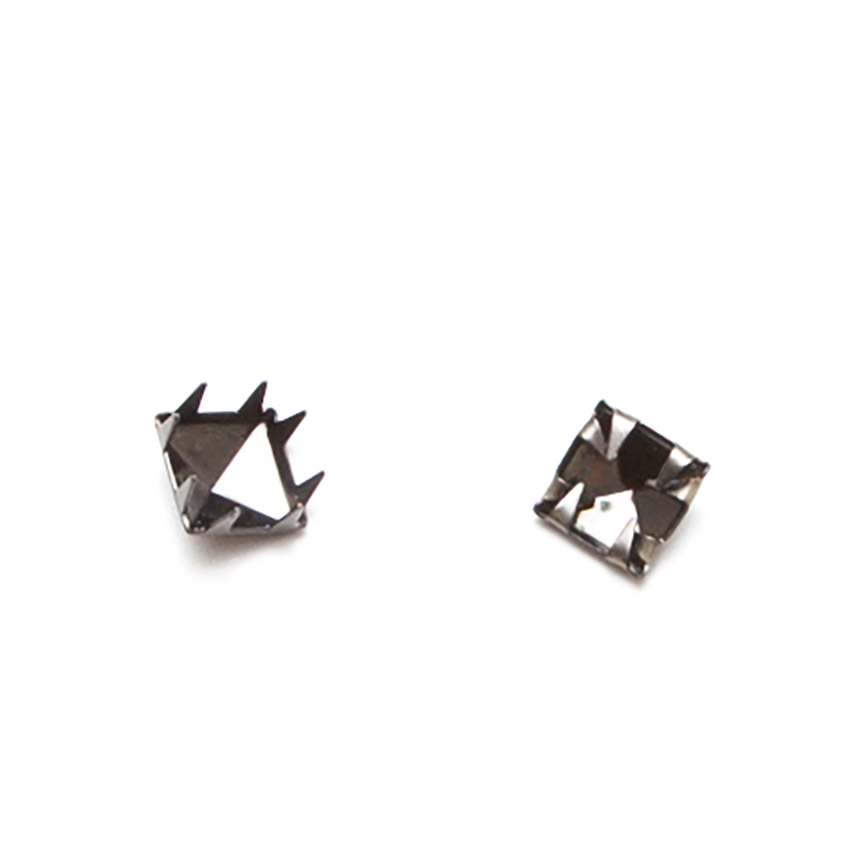
step 5
Place a drop of Jewel-it glue wherever you want your studs to be.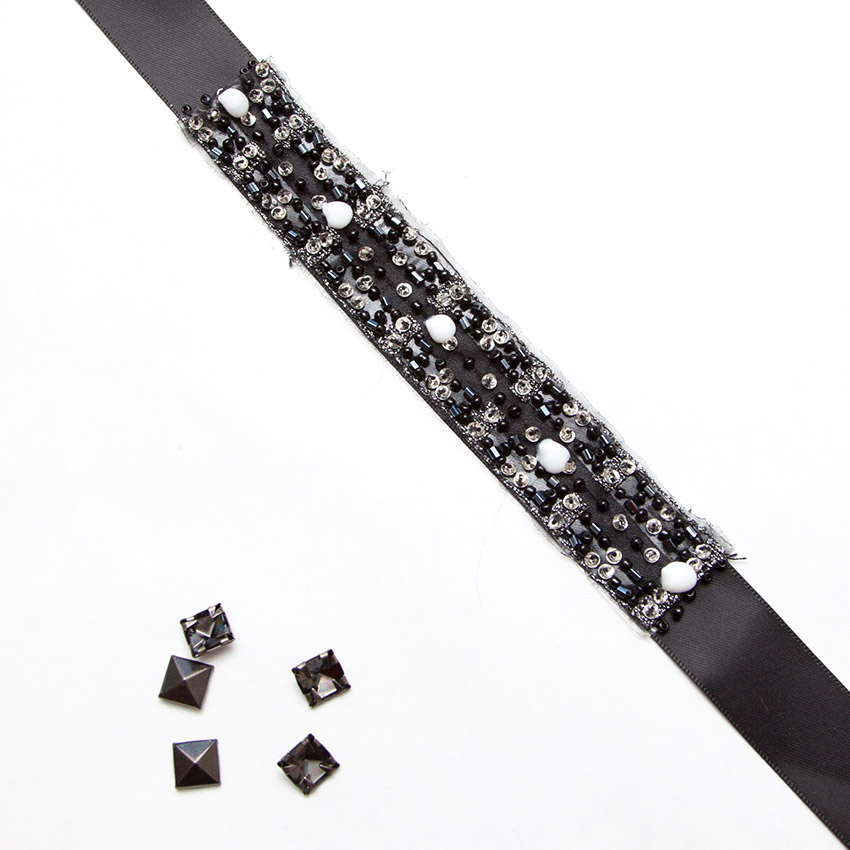
step 6
Press your studs into the glue and let it dry.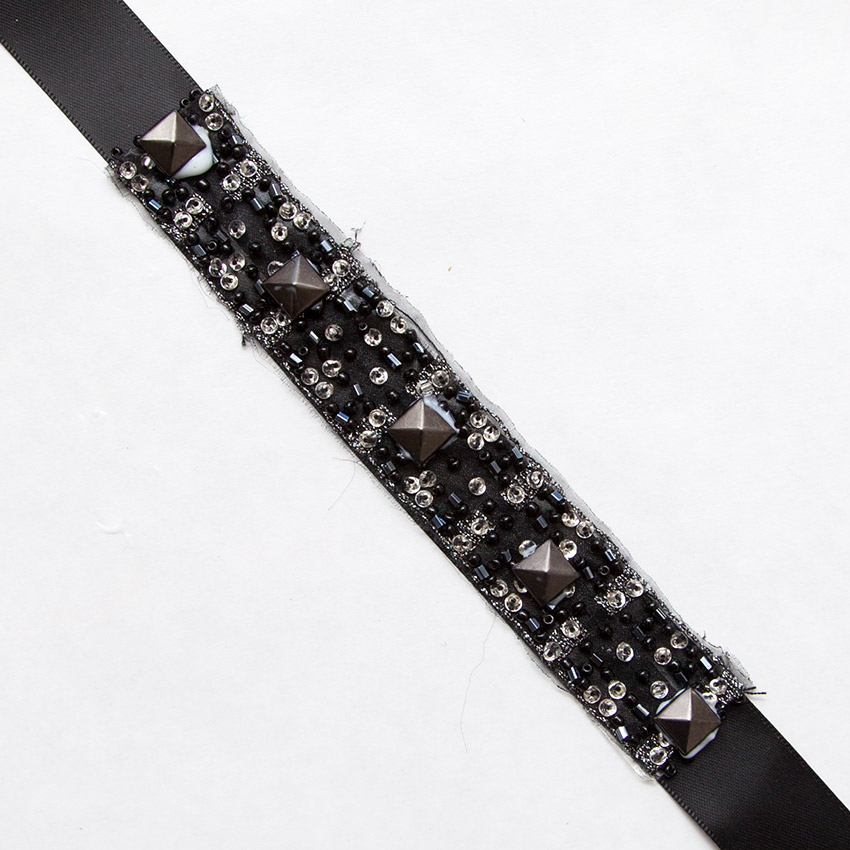
step 7
Wrap your bracelet around your wrist and tie.

I was inspired to make this bracelet after attempting to clean out my craft supplies. I wasn’t super successful in getting my craft room organized, but I did find some cool supplies I forgot I had. I LOVE when I can put together a project without having to go out and buy something.
Have you made something with leftover supplies from other projects that you just love? Leave a comment and let us know!
Be sure to share photos of your bracelets using #rockyourwrists I’d love to see what you make!

