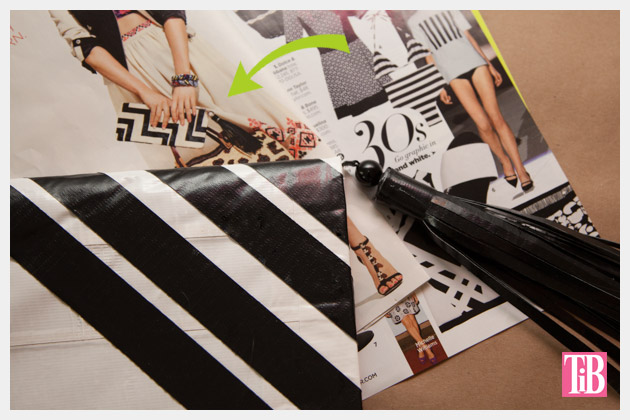
Duct tape is such a versatile material and it works perfectly to make a bold black and white DIY Duct Tape Clutch.
DUCT TAPE >
Bold, graphic patterns in black and white are a huge trend for spring, and duct tape lends itself so well to bold geometric patterns. It’s the perfect material to make a fun clutch!
TOOLS & MATERIALS:
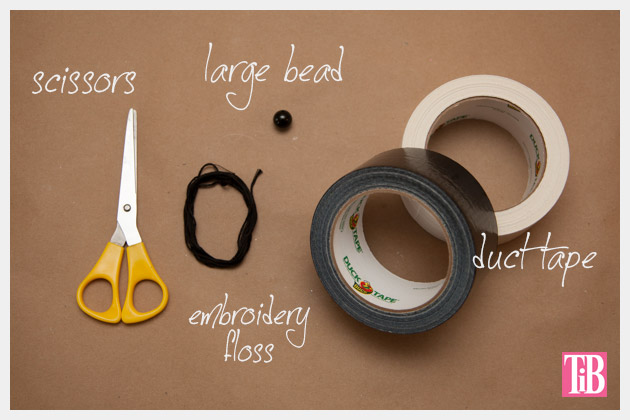
- Duct tape (2 colors)
- Scissors
- Large bead
- Embroidery floss
- Needle
step 1
Measure out strips of your duct tape. Make sure you add an extra half inch on either side for folding.
I made my strips 12 inches long so my clutch would be 11 inches finished.
Lay your strips on top of each other overlapping about 1/8th to 1/4 of an inch.
Do this until it is about 19 inches long.
Make 2 of these, one in each of your colors.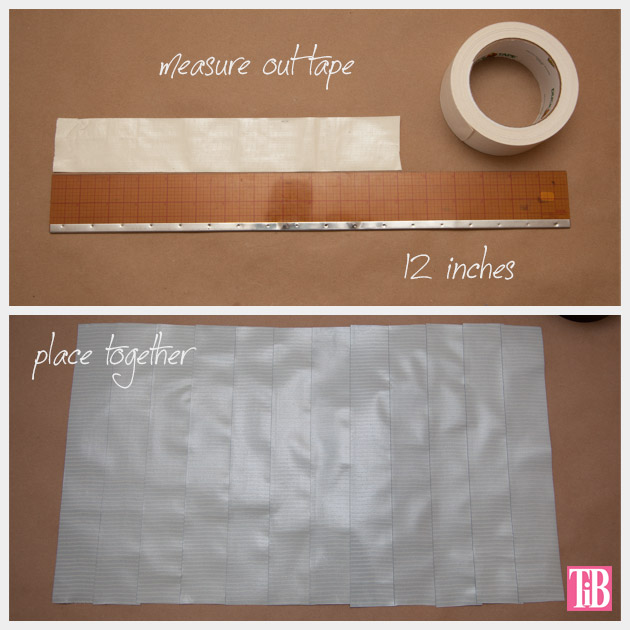
step 2
When youve made your two sides fold your corners in and then fold each side over.
This will make clean edges and straighten out your sides as well.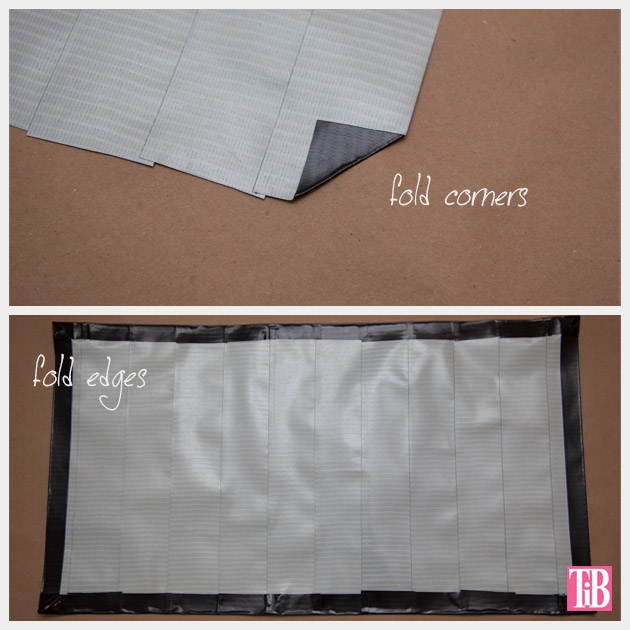
step 3
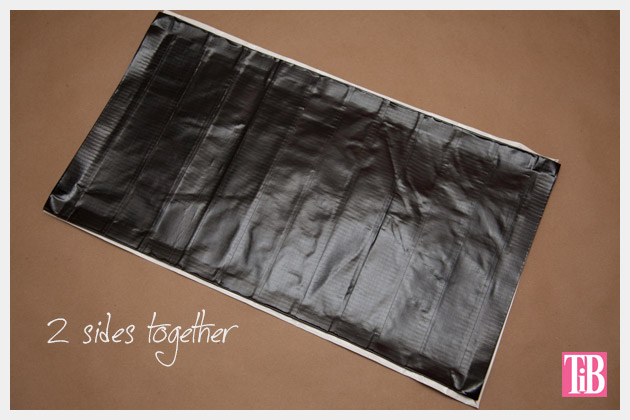
Lay one of your sides out on a flat surface with the sticky side up and place your second side on top to stick your two sides together.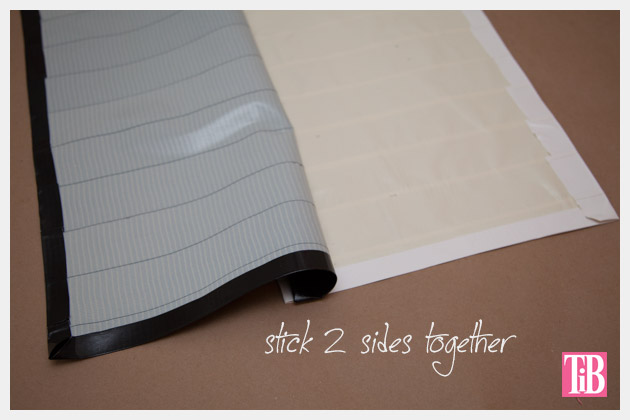
Using the color of duct tape that will be your outside color (I used white) cut strips to cover the edges of your two sides, by folding the tape over each edge covering both sides equally.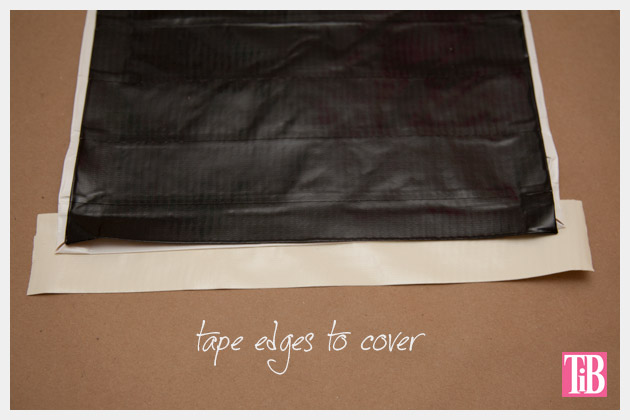
step 4
Fold the body of your clutch into thirds.
Cut 2 pieces of tape the length of your clutch and use these to tape your folded sides together.
You can also put tape on the inside of your clutch as well, if you feel it needs it.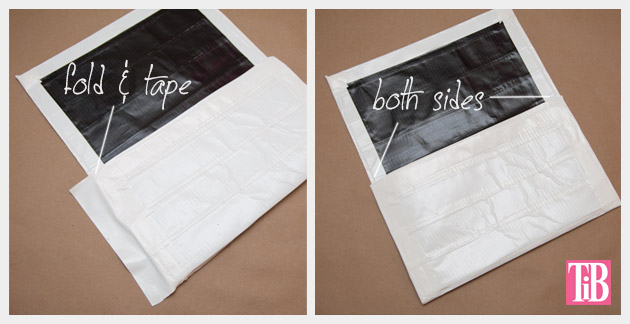
step 5
Now youre ready to add some stripes.
Cut long strips of your duct tape in the color you will be using for your stripes (I used black).
Make a small cut in the end of your duct tape strip and tear it in half long ways.
This will give you thinner stripes on your clutch.
Then stick your stripes to your clutch.
I put mine on at about a 45 degree angle making diagonal stripes.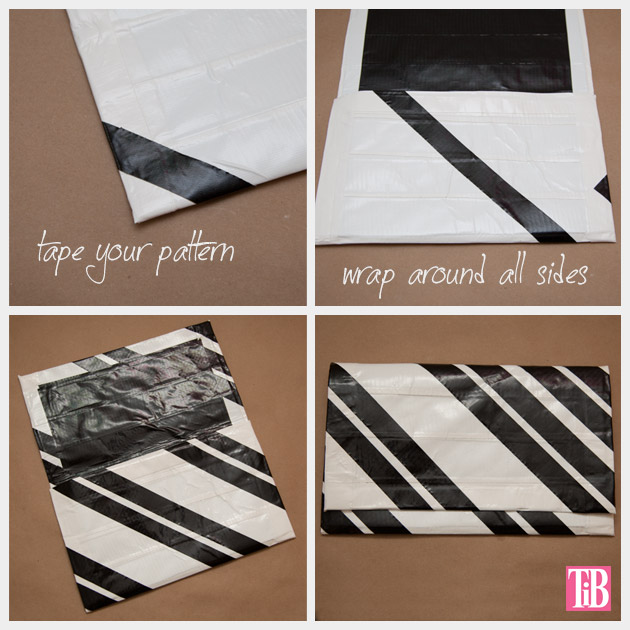
Once youve added all your stripes youre ready to make your tassel.
step 6
Cut 4 strips of your contrast color duct tape.
I made mine 7 inches long.
Lay them together overlapping them as you did for the body of your clutch.
Cut another 4 strips and lay them on top of these 4.
step 7
Cut your fringe.
I cut mine about 1/8 inch wide, leaving 1 inch of solid uncut at the top.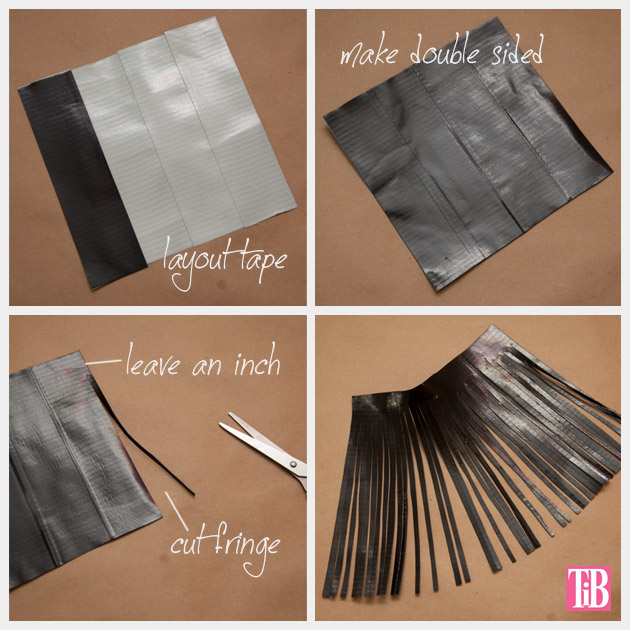
step 8
When your fringe is cut, roll it up.
Using a strip of your duct tape (that has been cut in half long ways to make it thinner), wrap it around the top of your rolled up fringe.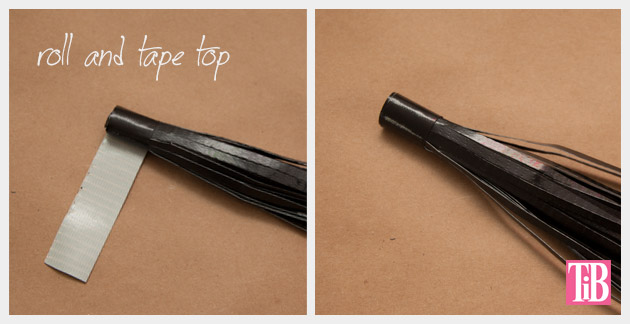
step 9
Thread your needle with your embroidery floss and run it through your large bead, leaving a loop on one side.
Leave at least a half inch loop on one side and tie a knot on the other side of the bead.
Cut a strip of your duct tape about 2 inches by 1/4 inch. Thread this through your loop and fold it back on itself.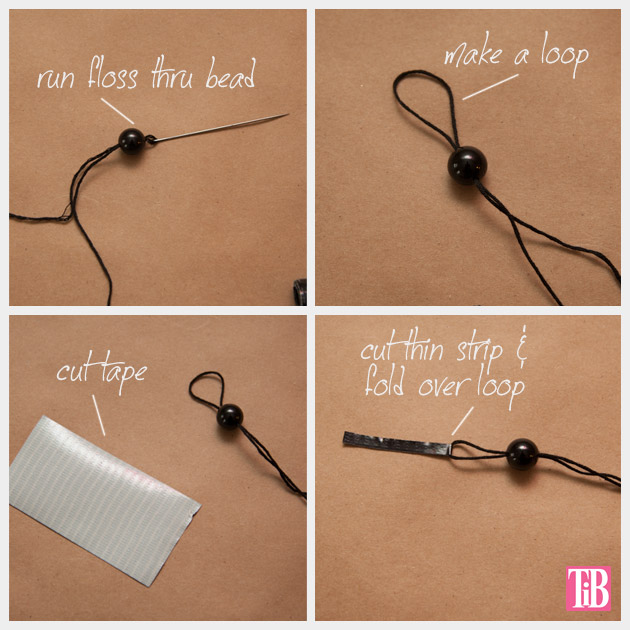
step 10
Put the long ends of your embroidery floss through your tassel.
Use pieces of duct tape to hold it, so it wont pull out of your tassel.
step 11
Add duct tape across the top of your tassel and another piece around the top. This will help keep your tassel and your bead connected and looking nicer.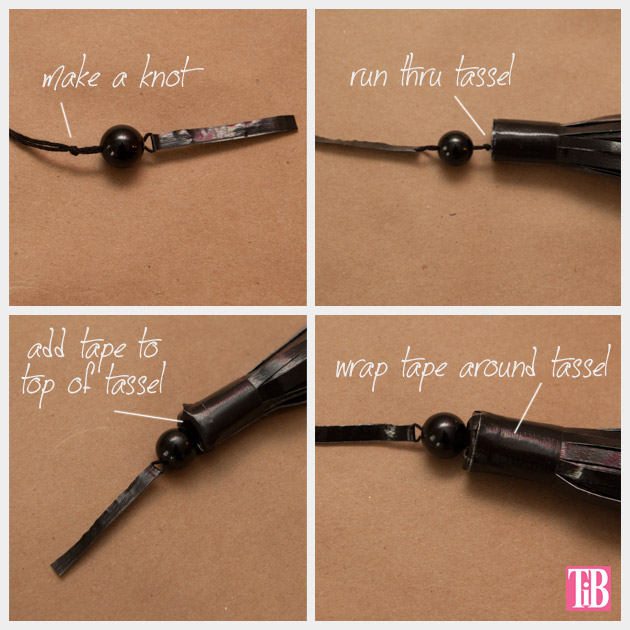
step 12
Using a piece of your white duct tape, tape your tassel into your clutch, right along the inside seam.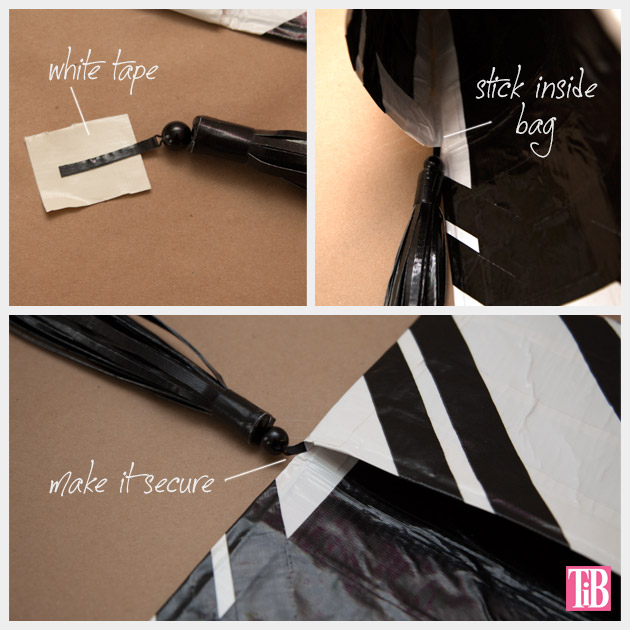
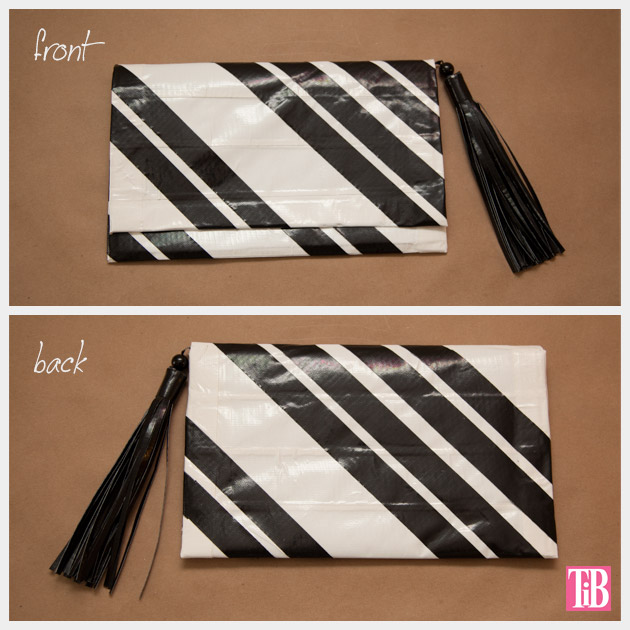
Have you ever been inspired by a material or just so curious you just had to try it? Thats what inspired me to make this clutch using duct tape. Ive seen so many duct tape wallets and other projects online (not to mention all the amazing duct tape prom outfits!) and I just really wanted to see how it worked. I have to say I was quite impressed. Other than having to throw away the first side I made (because some little hands got to it and folded it over) it was really fun and pretty easy.
Have you ever made a project with duct tape? Did you make your prom dress out of duct tape? Leave me a comment and let me know.



Wow! That’s very creative and love the black and white contrast.
That turned out great. Does not look like a duct tape clutch. The black and white pattern made it classy.
Love!
such a great Idea