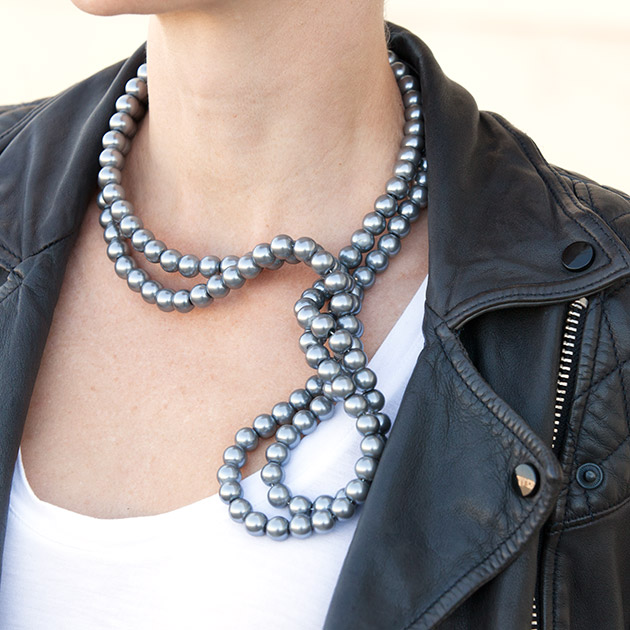
A bold mix of beads and wire make this Stella McCartney inspired DIY Wired Pearl Necklace a super cool sculptural take on a traditional pearl necklace.

I fell in LOVE with this pearl necklace by Stella McCartney the first time I saw it and it’s surprisingly easy to make your own version. The original necklace is one long strand of pearls on a wire. I made mine on two separate wires to give it a little more stability. Feel free to make yours on one long strand if you prefer.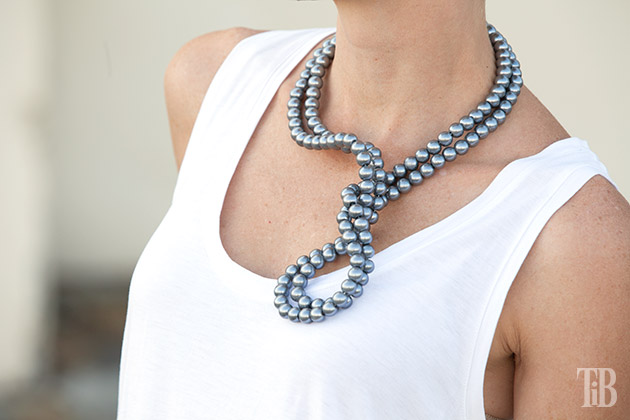

TOOLS & MATERIALS:
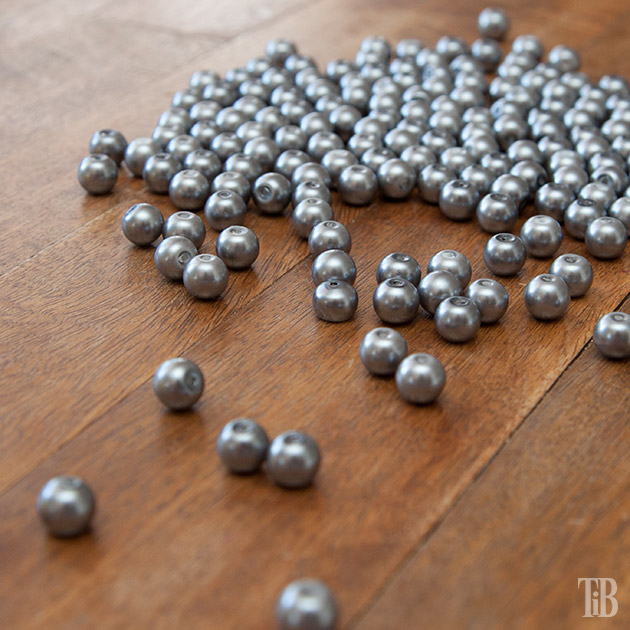
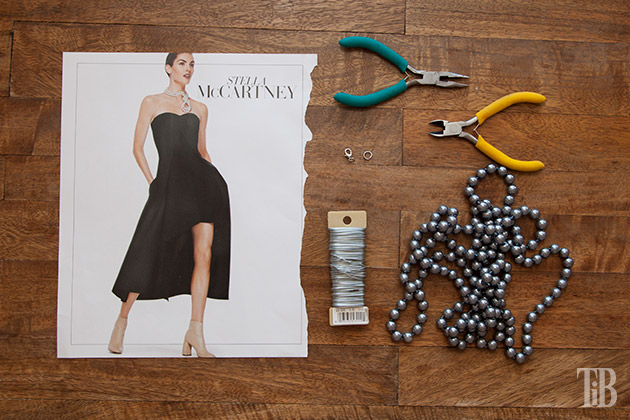
- Large beads (you’ll need about 160 beads)
- Wire (2 pieces about 30 inches each)
- Necklace closure & jump ring
- Pliers
- Wire cutters
step 1
If your beads are strung you’ll need to cut them off the string.
step 2
Cut 2 pieces of wire about 30 inches long each.
step 3
Use your pliers to bend one end of the wire before adding your beads.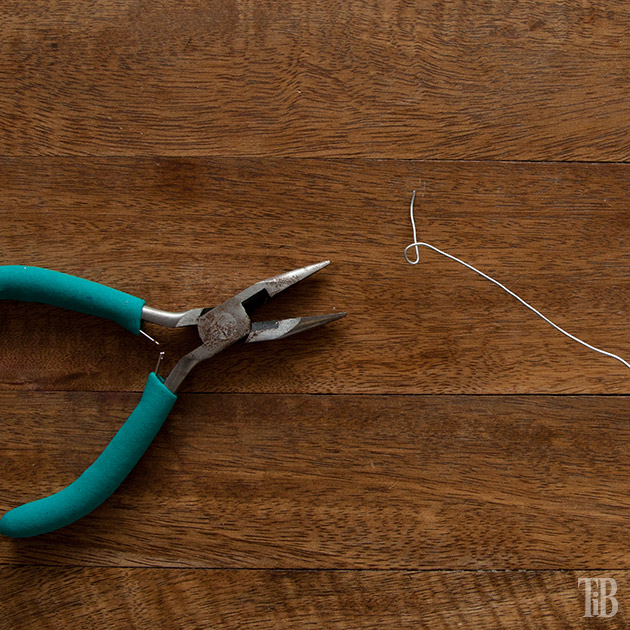
step 4
Start stringing your beads onto your wire.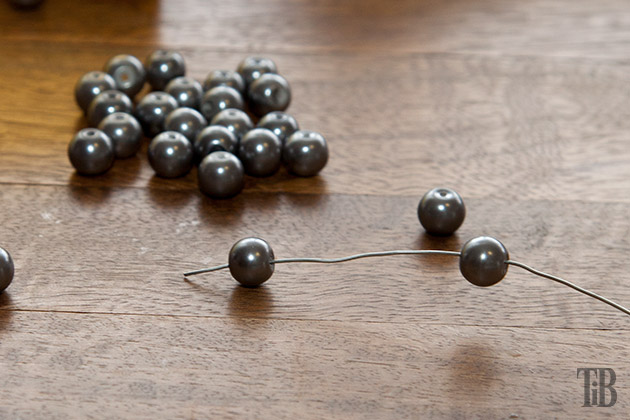
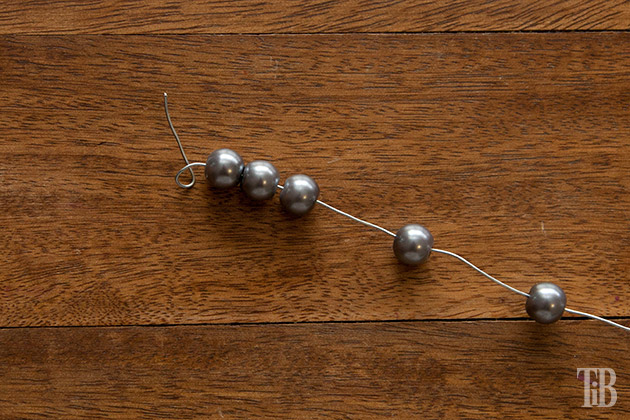
I put 76 beads on one wire and 80 beads on the second wire.
You will want to have more on one than the other so that when you twist them they will lay flat and look even.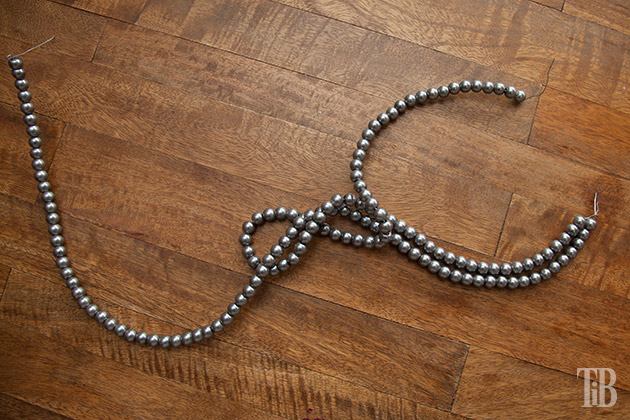
step 5
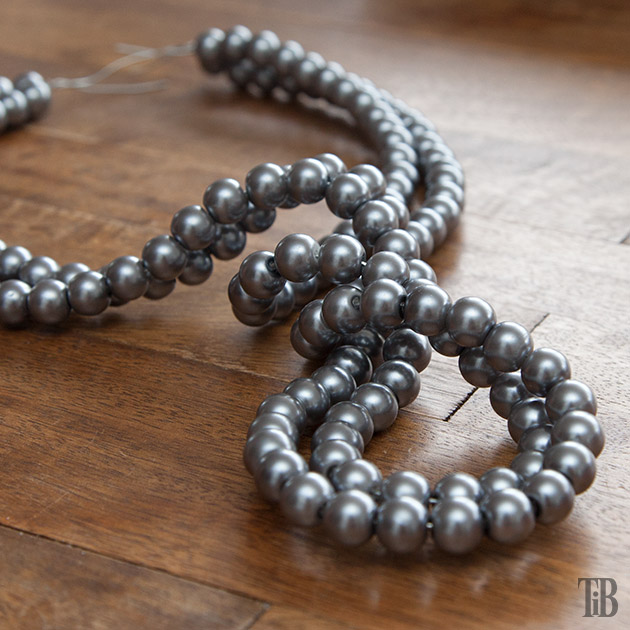
Twist each side of the two end wires together.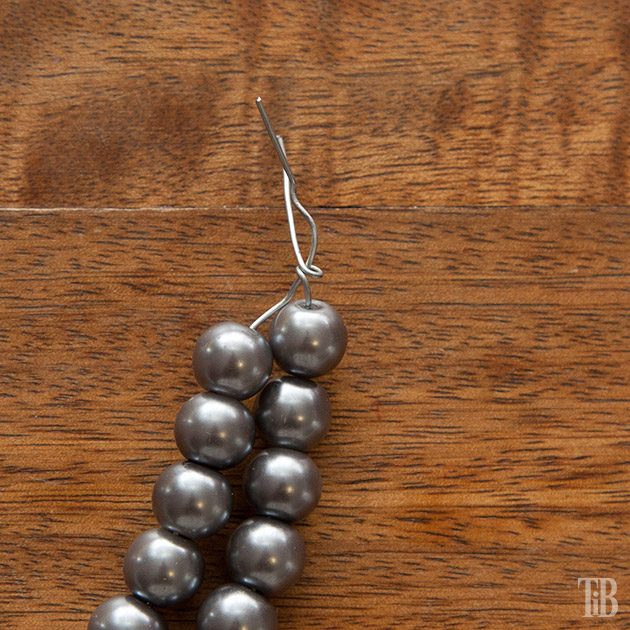
step 6
Then twist the end wires around the jump ring and the necklace closure.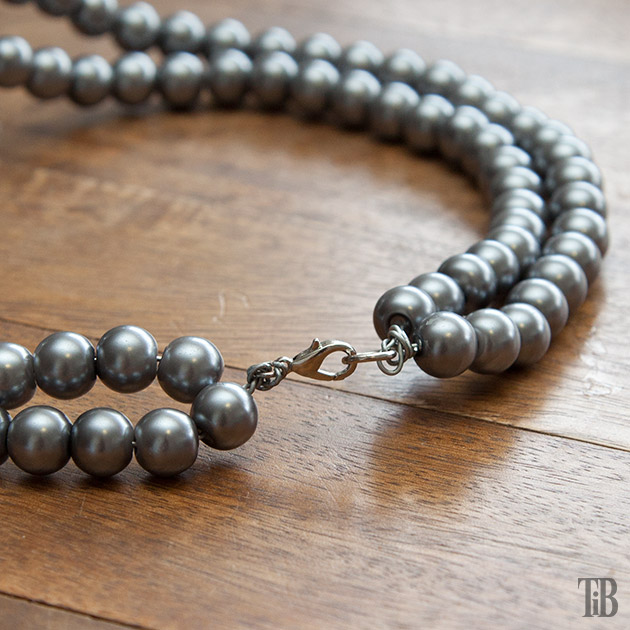
Be sure to trim the ends of your wires and bend them in completely to make sure there are no rough edges sticking out.
The best part about this necklace is that since the base is wire you can change the shape of your necklace to suit your neckline or your mood. Have fun and create an artistic statement.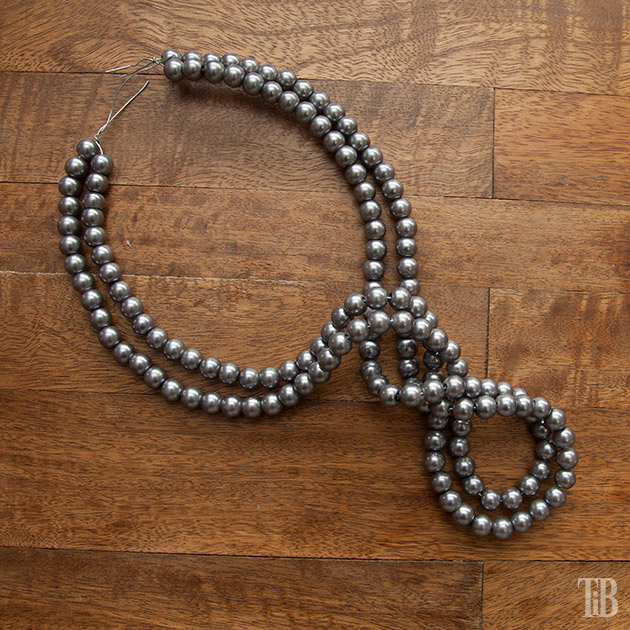


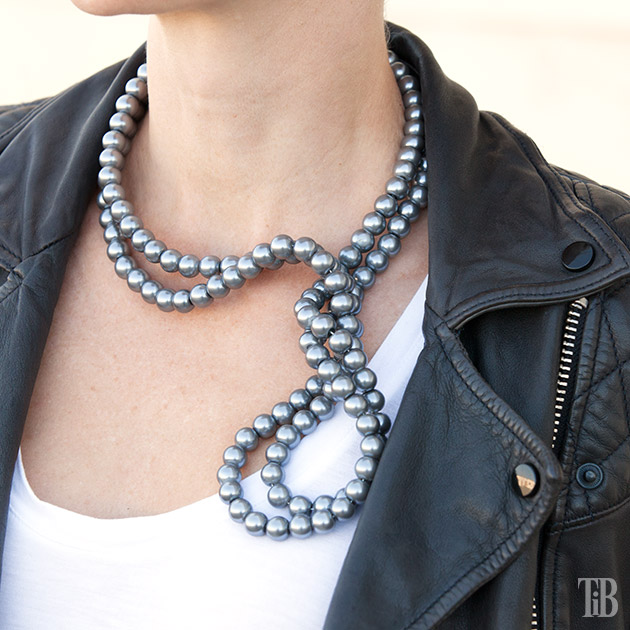

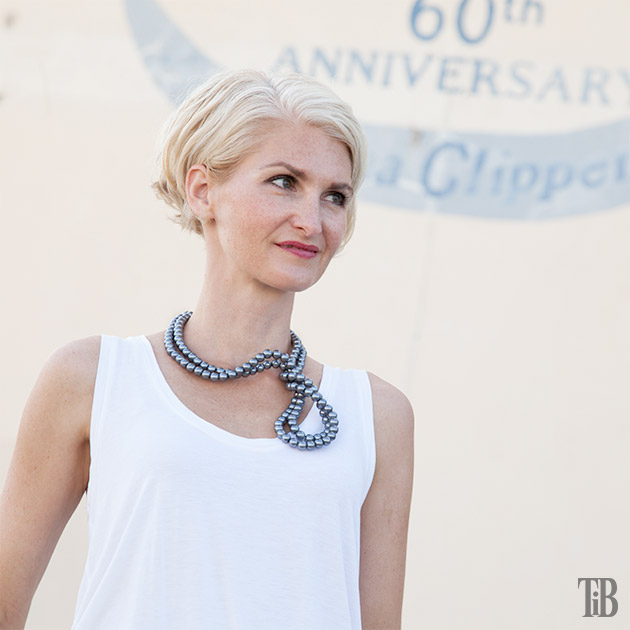
We photographed this at the navel shipyard in Alameda. I loved this old graphic painted on the side of the builing.
I thought I’d share some behind the scenes pics from our photo shoot with you. It’s often quite a challenge to have your mini me along on the photo shoot especially when she wants to direct everything! LOL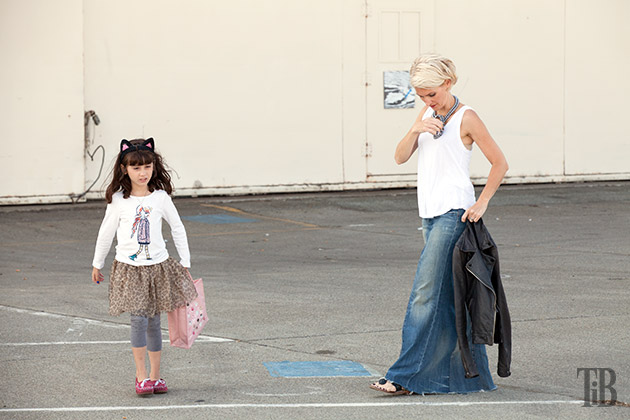
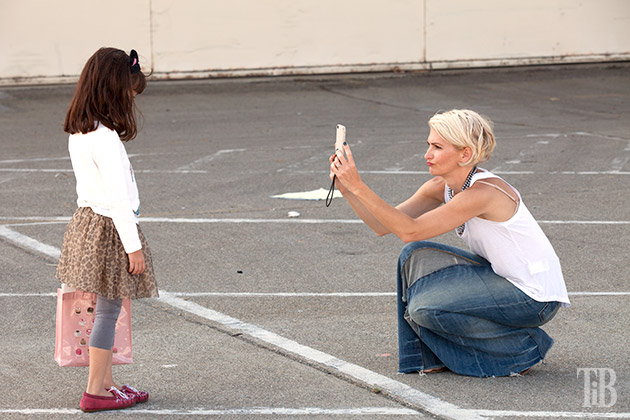
For this photo shoot I’m wearing this DIY skirt.
Will you make your necklace with traditional white pearl beads or a color? Leave me a comment and let me know your thoughts on this project!

Stunning…..Great job, I loooooovvvveee it.
Thank you Tracy!!!!
xoxo
Cathy
Wonderful idea! The gray pearls you picked and the double row are perfect together. I like yours better than the Stella McCartney one ;)
Thank you Ama! I’m so glad you like it!!!!
xoxo
Cathy
Yours is prettier than the original! I may try making one :-)
Thank you Susan! Let me know how yours turns out! :)
xoxo
Cathy
That necklace is gorgeous! Pinning your idea so I can try it out.
xo Natasha
Thank you Natasha! Let me know how your necklace turns out.
xoxo
Cathy
What gage wire did you find was best for this stunning necklace?
Hi Lee,
The wire I used was some that I’ve had for awhile, I think it’s 20 gauge. You probably don’t want to go any smaller than 20 or your beads will weigh it down and it won’t hold it’s shape.
xoxo
Cathy
Do you find it tends to shift with the weight of the twist? Like, does it tend to centre itself on the middle of your chest as opposed to looking so cute off to the side?
Hi Christina,
I know what you’re talking about, depending on what I’m doing it can move around my neck, but it does keep it’s shape and twist. The wire I used is pretty stiff and it holds it’s shape. Make sure that you use the heaviest wire that will work with your beads and also try to make sure your beads aren’t too heavy and you shouldn’t have any problems with your necklace loosing shape.
xoxo
Cathy
Now that’s an amazing piece that really makes a statement! I was wondering how was this necklace made and then I found your tutorial! Great job, love it!
Thank you so much!
xoxo
Cathy
Wow! This is really pretty and would like to make it.
Do you know what size bead you used….8mm? Will floral wire work for this project?
Thank you,
What kind of wire is used that will not become stressed and break after repeated reshaping of this necklace?