
The weather is still cool (OK downright cold in some places) and this Long Gloves DIY is a chic and simple way to add an extra layer of warmth and don’t forget the video!

MAKE SOME GLOVES!
Check out the video for detailed instructions and more finished images.
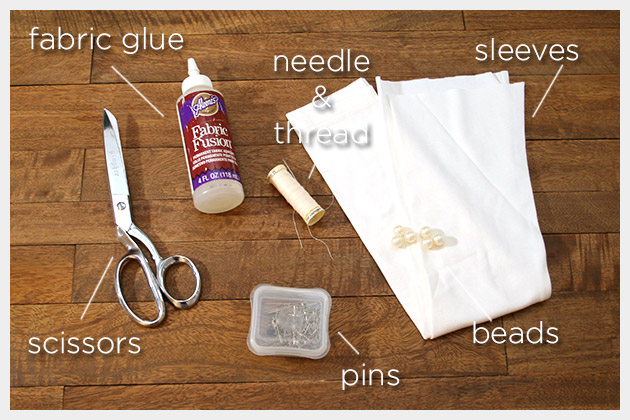
Supplies to make your Long Gloves DIY:
- The sleeves from a long sleeve t-shirt (find one that the sleeves fit snug)
- 6 Pearl beads
- Needle & thread
- Embroidery thread
- Fabric glue
- Aleenes Jewel-it glue – (you can get it here at I Love To Create.)
- Sewing machine (optional)
step 1
Cut the sleeves off of your long sleeve t-shirt about half an inch below armpit.
I used the sleeves from the long sleeve t-shirt I used in this DIY.
step 2
Lay your gloves out on a flat surface and make sure theyre both the same length.
Slide your arm into one of your sleeves. Decide where you want your gloves to end.
I like mine to stop just past the palm of my hand.
Take your pins and mark where you want to make the hole for your thumb.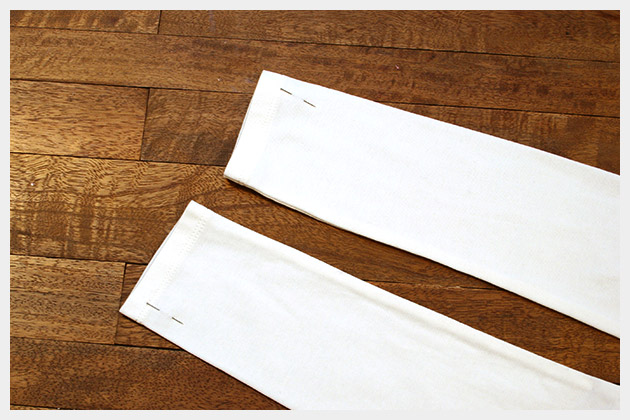
TIP: At this point, if your sleeves are too loose you can turn them inside out and sew along the seam to make them tighter. I used a very tight fitting t-shirt for these sleeves and I didnt need to take them in. It just depends on the t-shirt you use.
step 3
Pin a hem in the tops of your gloves.
I folded mine over about a half inch.
Using your sewing machine, sew all around the top edge of your gloves.
TIP: Since this is such a small hem to sew you can sew it by hand or even use a fabric glue to make your hem.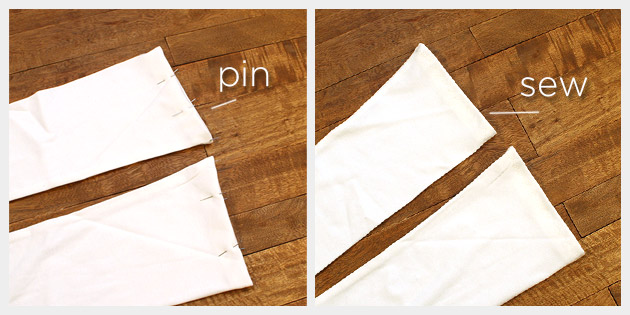
step 4
Make your thumb holes.
Cut a slit about 1 inch long in your sleeves where you pinned for your thumb. (As you’ll see in the photo below I forgot to take a photo of cutting the thumb hole before I sewed around it. I really apologize for this, but you can see me measuring and cutting the thumb hole in detail in the video.)
Put your hand inside your glove to make sure its big enough. You want your thumb to fit through easily, but you dont want it to be too big.
Take your embroidery thread and a needle and sew a decorative edge around your thumb hole.
I sewed a blanket stitch, you can do any stitch you like for this. You just want to cover the raw edge of your cut.
Using your fabric glue, put a small drop on the raw edges of your thumb holes to hold your embroidery thread and keep your t-shirt from running.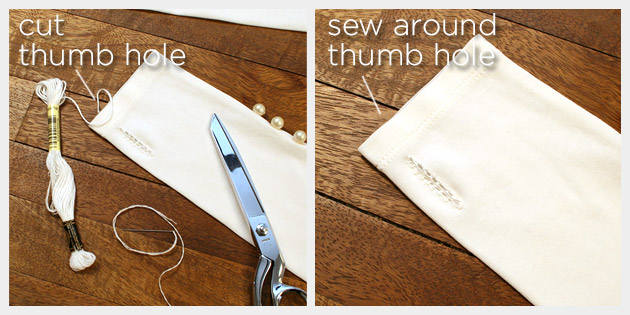
step 5
Lay your gloves out on a flat surface and measure where you want to place your beads.
I put mine at my wrist right on the seam.
Use your Aleenes Jewel-it glue and put 3 drops about a half inch to 3/4 of an inch apart.
Push your beads into the glue.
Do this for both gloves and let dry.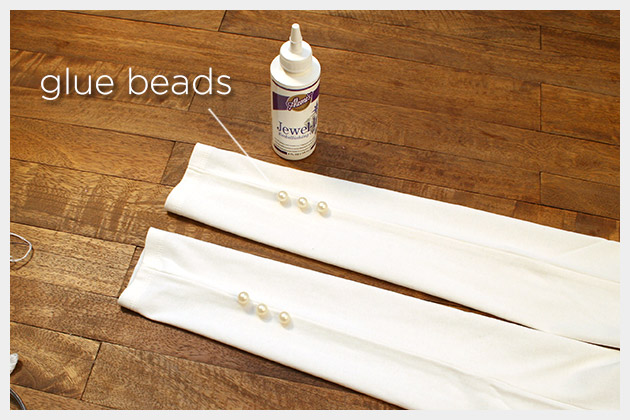
step 6
The Aleenes Jewel-it glue will hold very well, but if you want to you can also sew your beads on.
Take your needle and thread and sew each bead on to your gloves.
TIP: After about an hour your Jewel-it glue will be dry enough to hold your beads while you sew them on.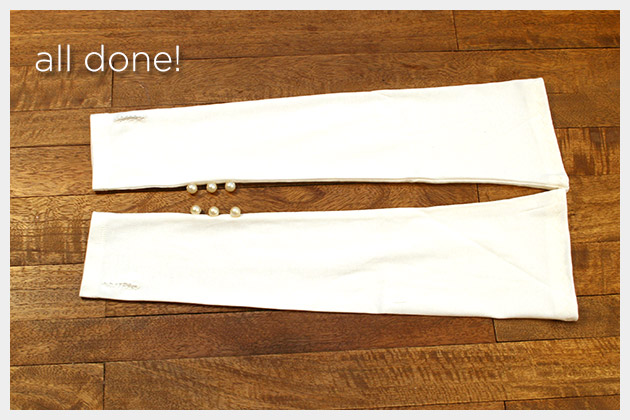


Inspired by both the recent Chanel Spring Couture show and Downton Abbey these long gloves keep your arms warm and add a bit of sophistication as well.
As promised from Monday’s post here is part 2 using the sleeves from the long sleeve henley from the Mod Black and White T-Shirt DIY.
Even if you don’t make Monday’s DIY, this is a simple and fun way to make a pair of long gloves.
Very elegant! This would be so good to do with sweaters that have shrunk in the laundry. Love the video!
Thanks Danka!
There are so many variations you can make with these gloves! Sleeves from sweaters would be great! Esp in the chilly weather!
xoxo
Cathy
Thanks a lot for this great tutorial! This is a great way to recycle old clothes, and many long gloves have such a poor quality…
Dee Dee