
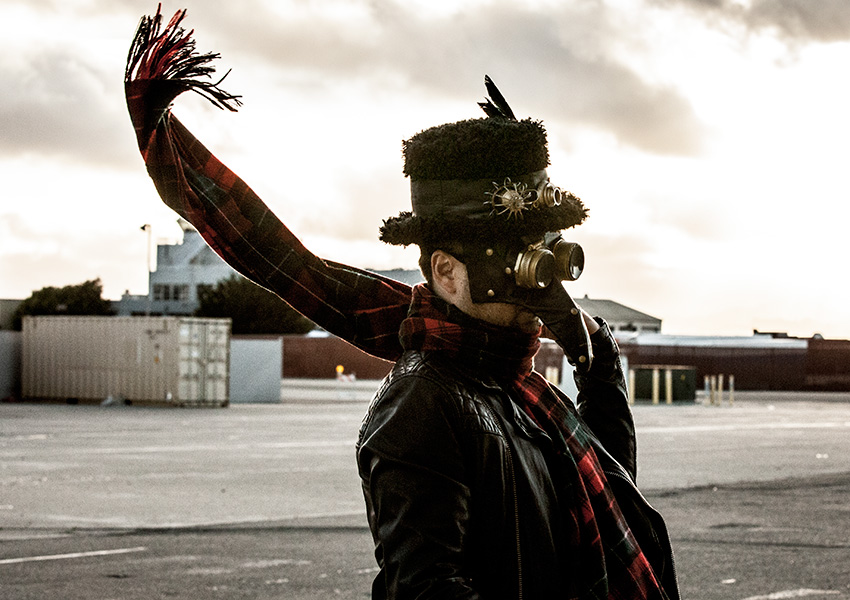
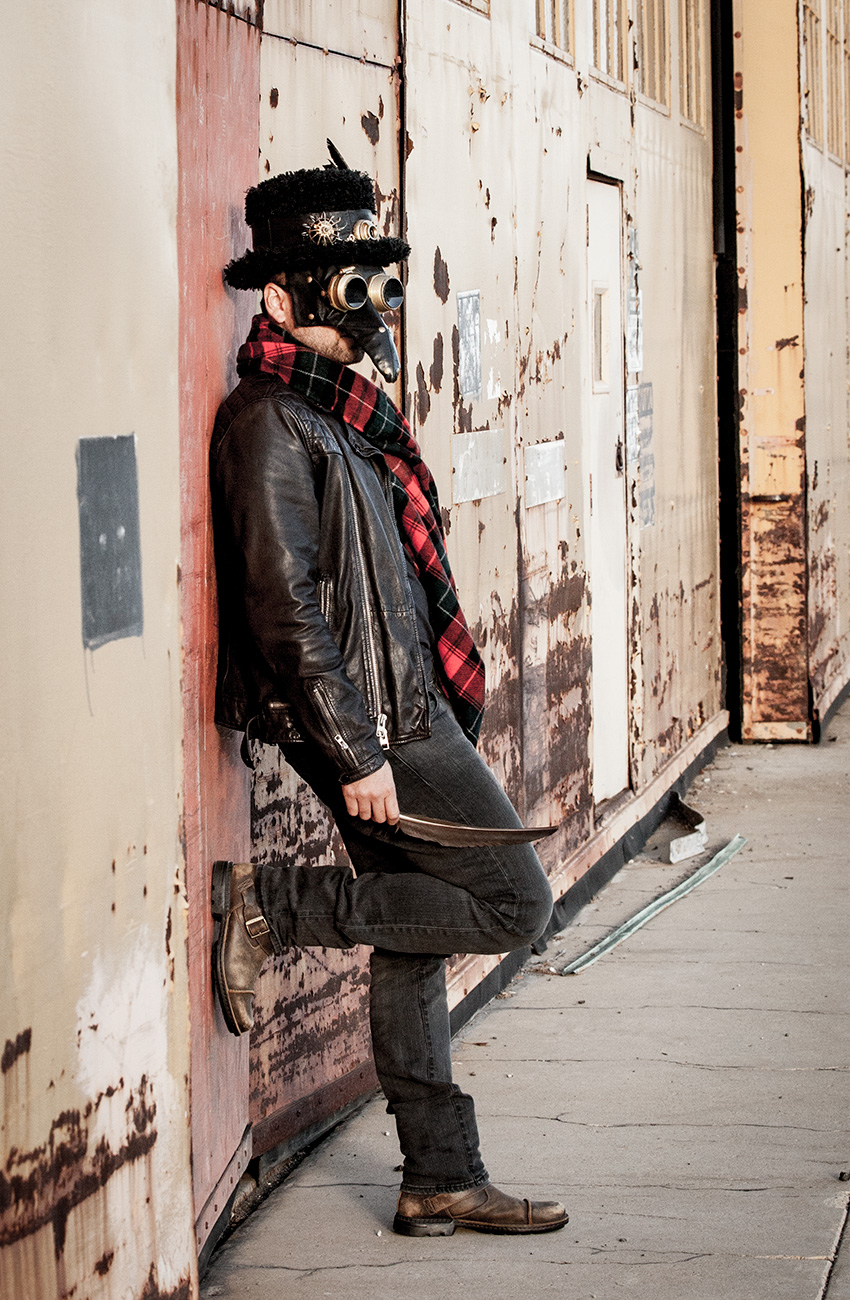
It’s 1889 and there’s been an apocalypse! Time to turn all those metal scraps you have lying around into… the most awesome Halloween costume EVER! This Steampunk Mask and Top Hat were really fun to make. Let’s get started!
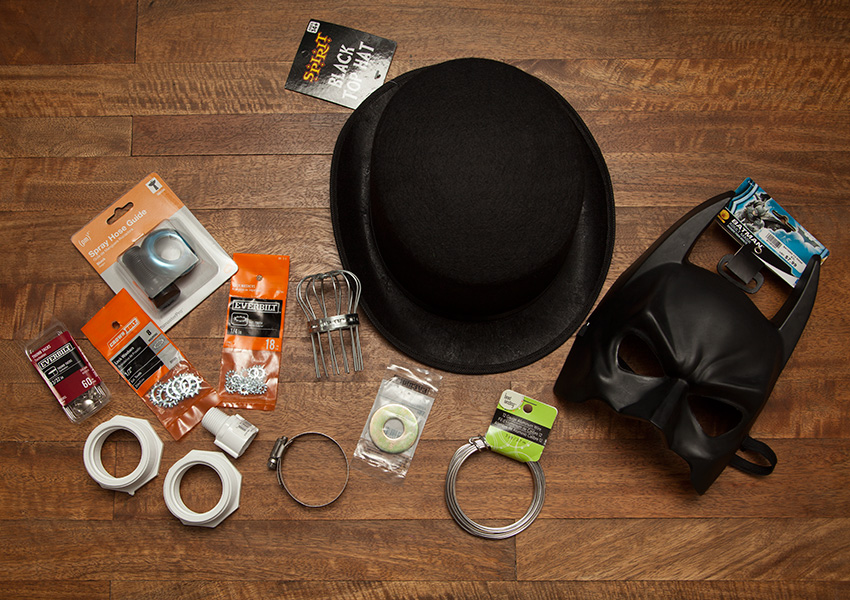
Supplies you’ll need:
- Felt hat
- Mask (I used Batman)
- Leather or fabric to cover (I used an old coat)
- Furry fabric to cover hat
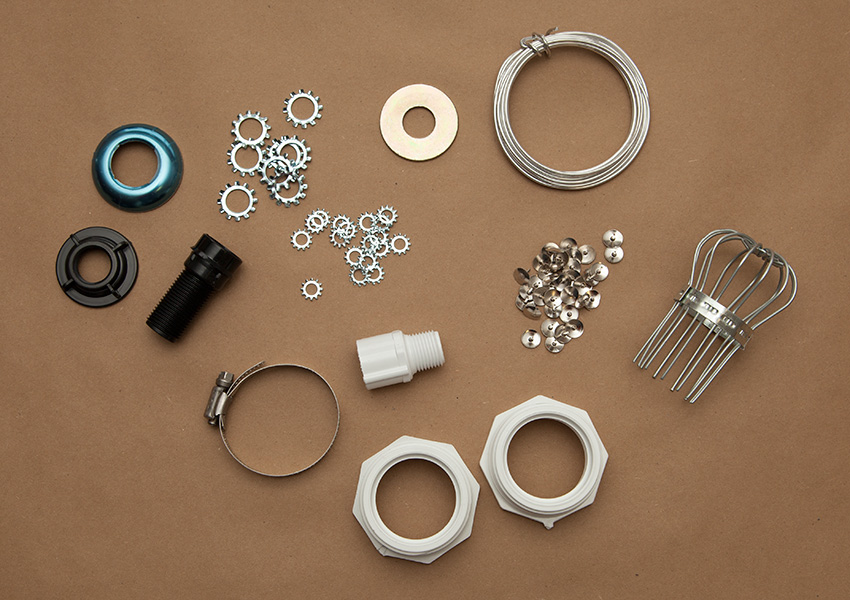
- Sprockets, washers, pipe fittings, tacks, hose clamps and other random and cool hardware store stuff
- Armature wire
- Gold paint
- Tape
- Scissors
- Hot glue
- Lenses from old sunglasses
- Any other embellishments you want
Get creative with your supplies, see what you have lying around the house. You’d be amazed how cool things can look when painted gold.
THE MASK
step 1
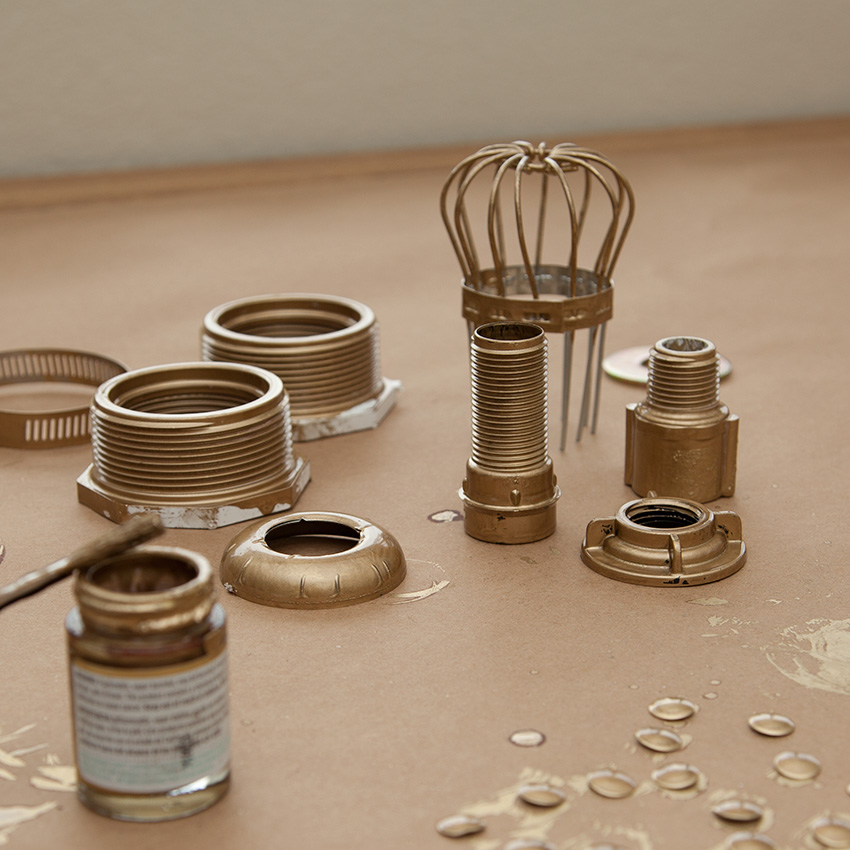
Paint all of your hardware gold.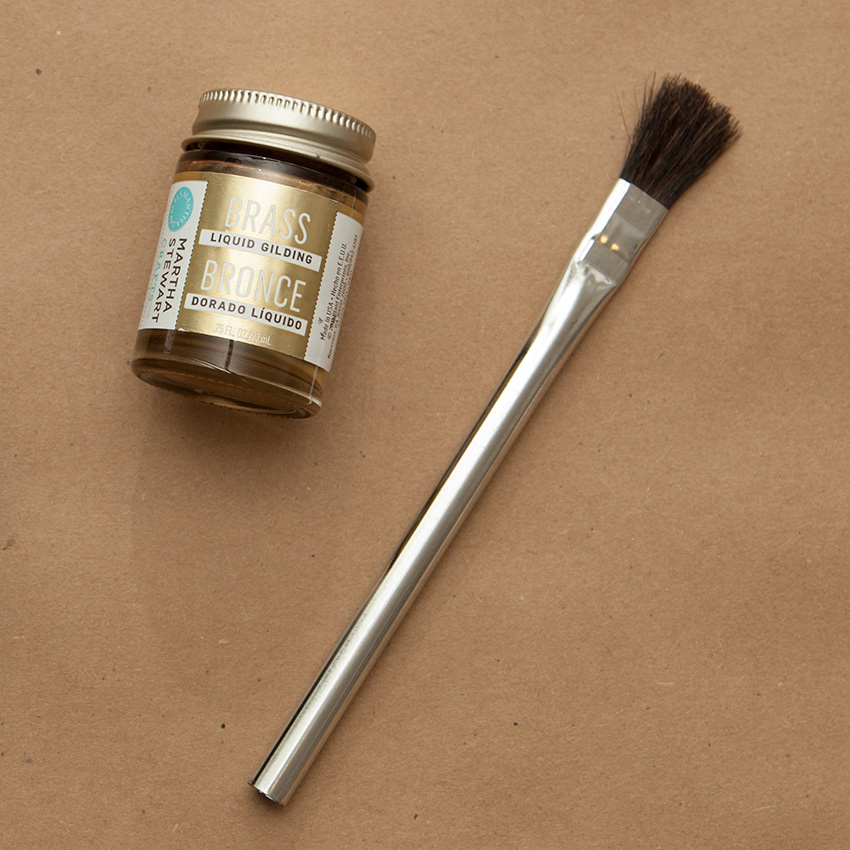
You can also leave some silver and use a mix of colors.
step 2
I cut the spikes off of tacks and used the heads for decoration.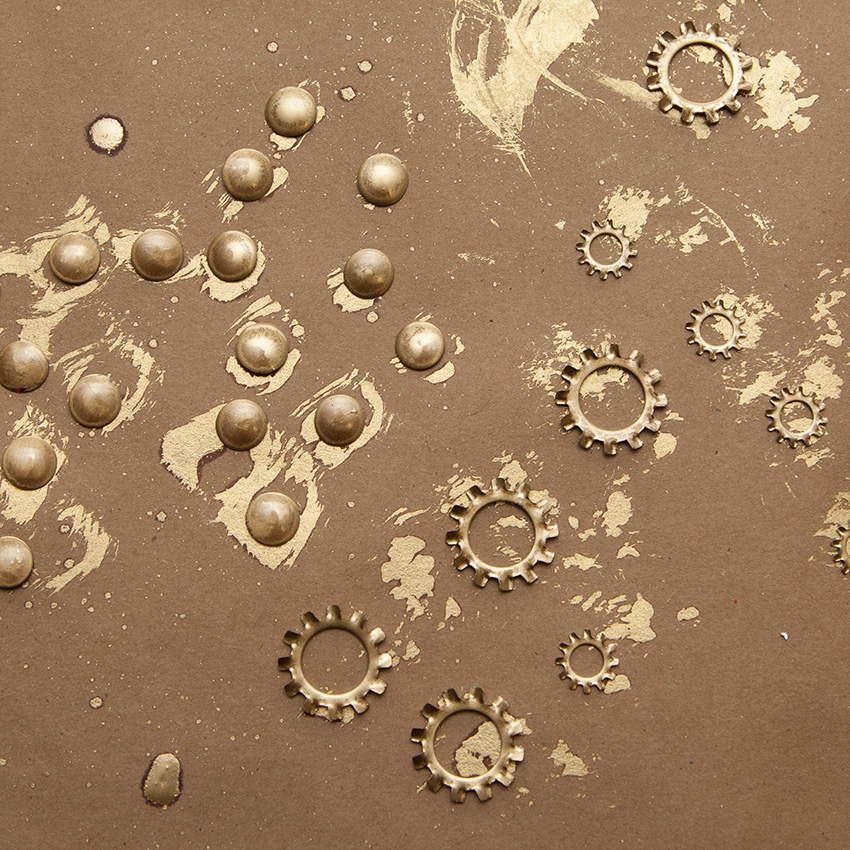

Let the paint dry.
step 3
Since I used a Batman mask I had to cut off the ears.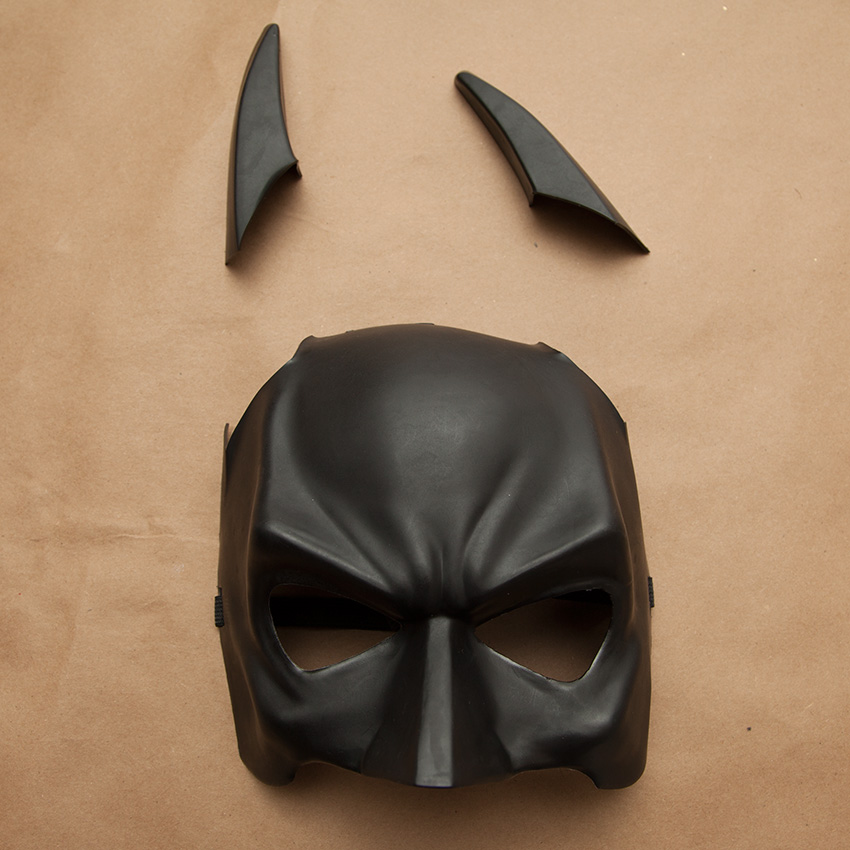
step 4
Cut a long piece of armature wire, tape it to your mask along the brow line in between the eyes (this is a temporary placement).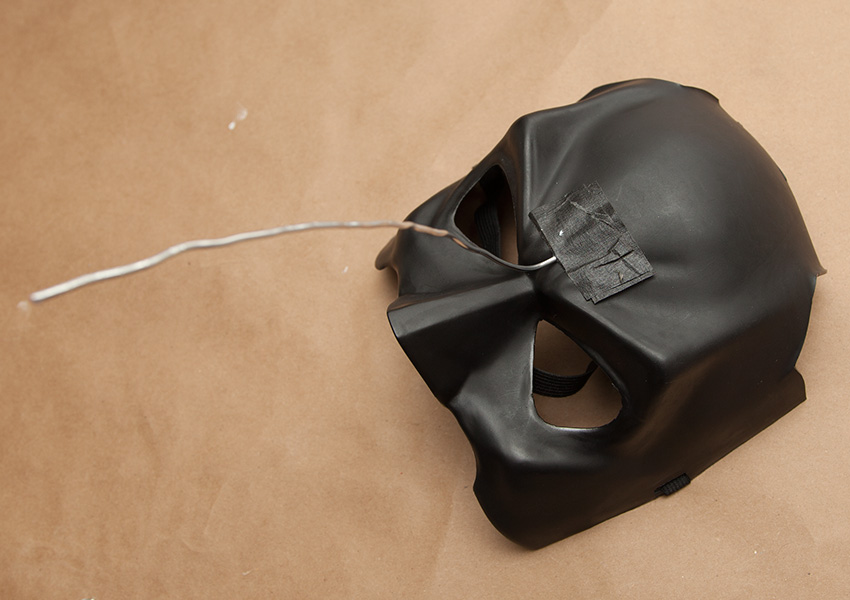
Bend the wire to get the shape and silhouette you want for the beak.
step 5
Keeping the shape take this wire off and using your wire create the shape of your beak.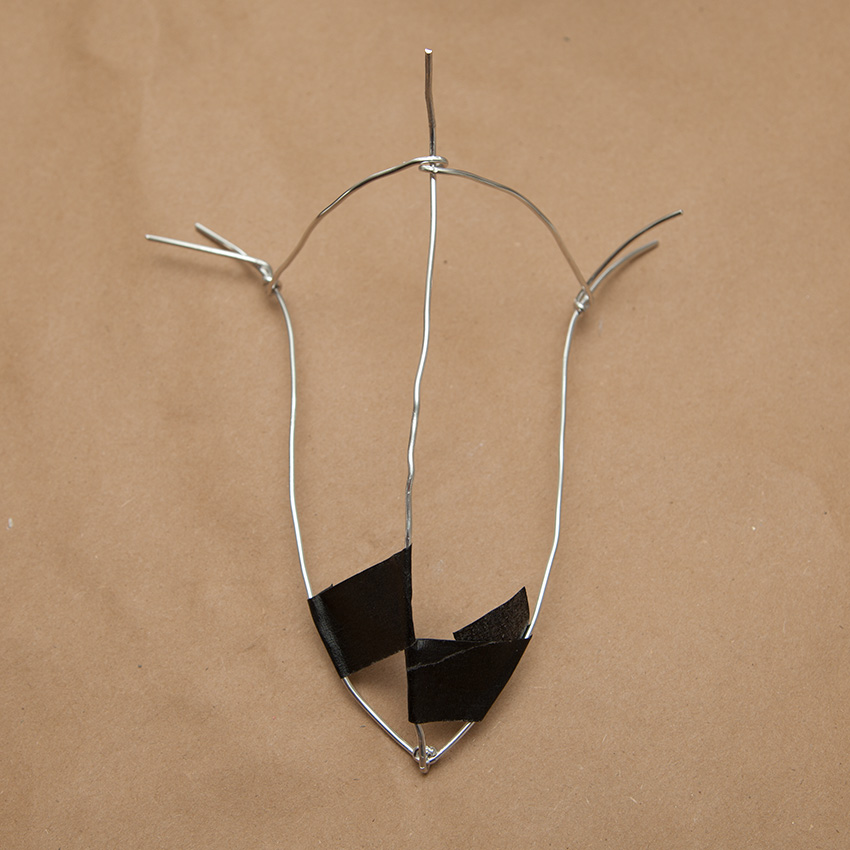
step 6
Use tape and wire to build up the form of your beak.
step 7
Using tape attach your beak to your mask.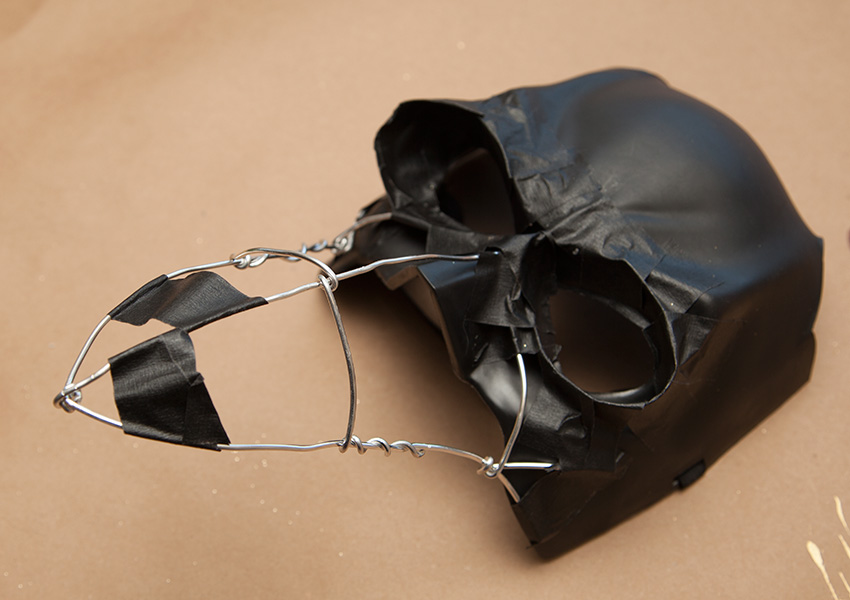
step 8
I used cardboard toilet paper tubes and tape to build up the eye socket.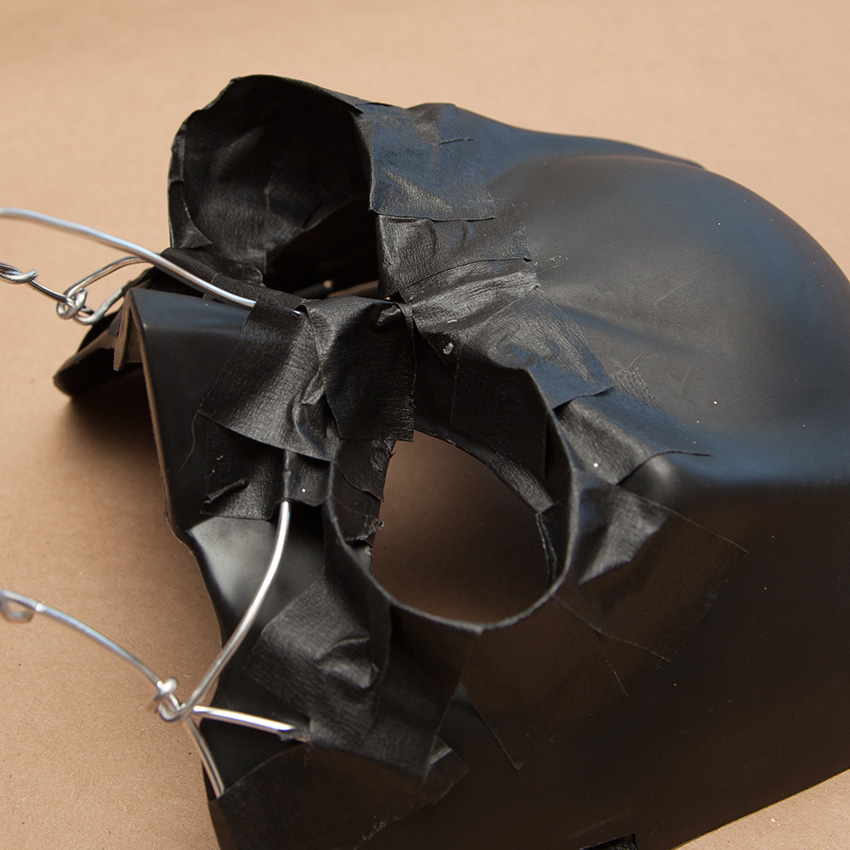
This is to create a flat surface to attach the goggles.
step 9
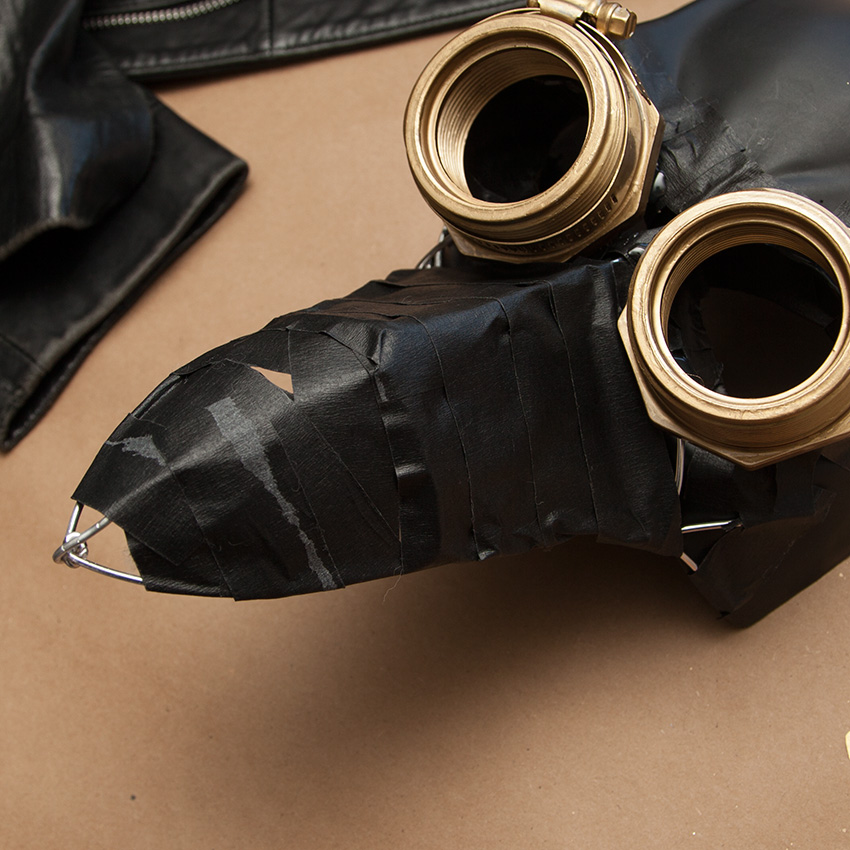
I put a hose clamp around one of my pipe fittings and then attached them to my mask with hot glue.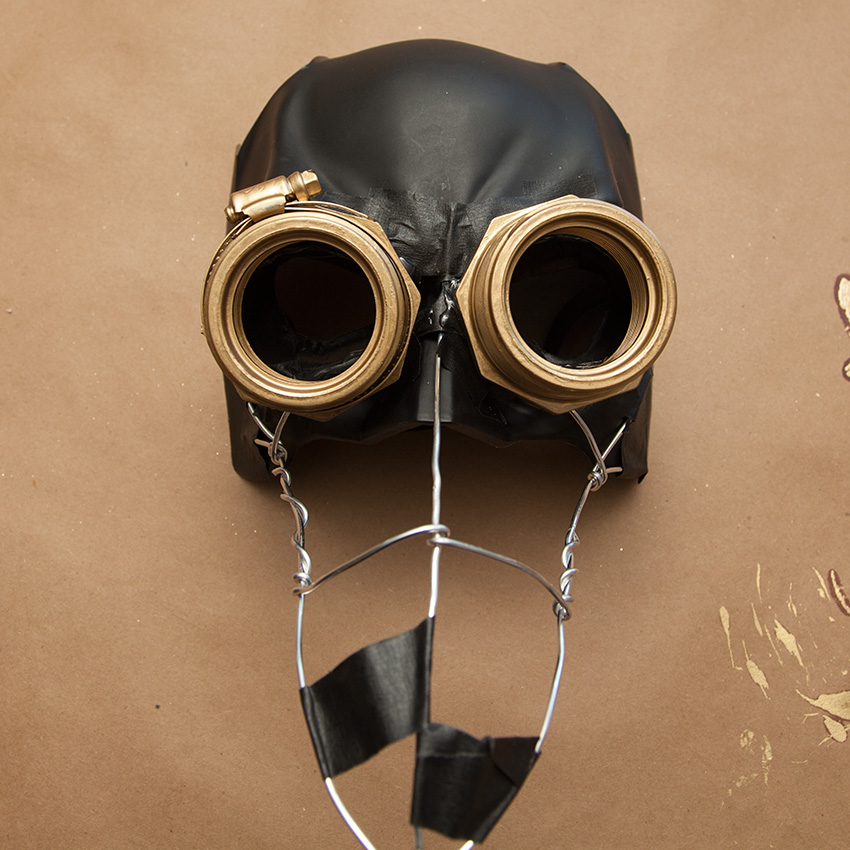
step 10
Use your tape to cover the armature of your beak.
step 11
I used an old jacket I’ve had to get the leather for this mask. It worked perfectly because it was old, soft, thin and perfect for molding around the mask.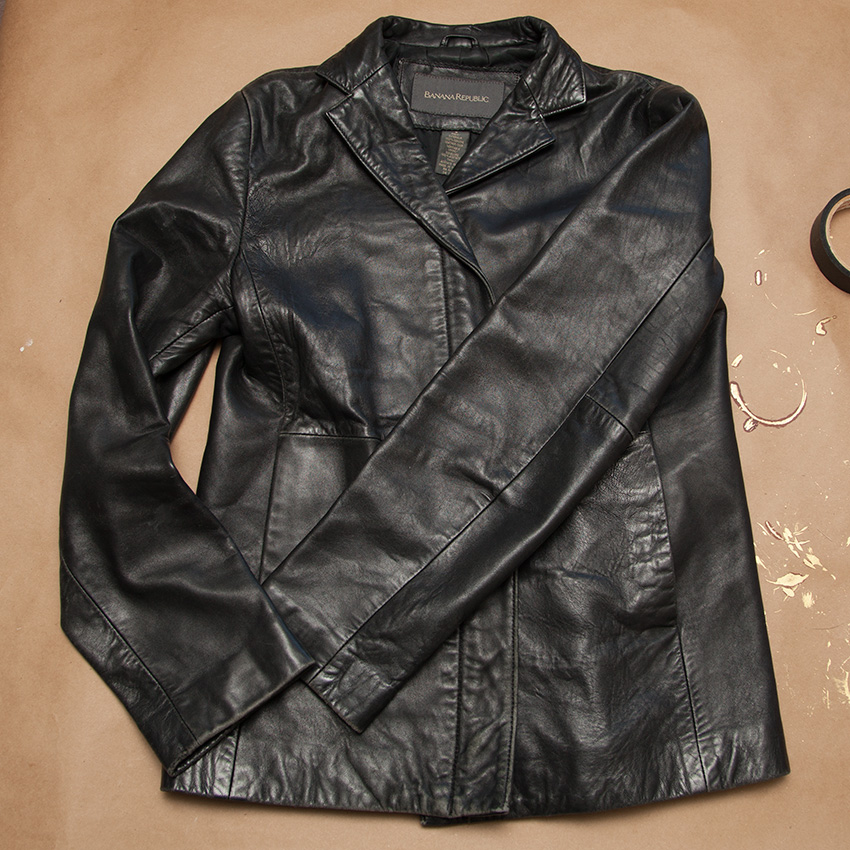
If you don’t have an old jacket you’re willing to part with, thrift stores are a great place to look. The leather doesn’t have to be perfect.
step 12
I used the seams to my advantage and used a long seam straight down the center of the mask.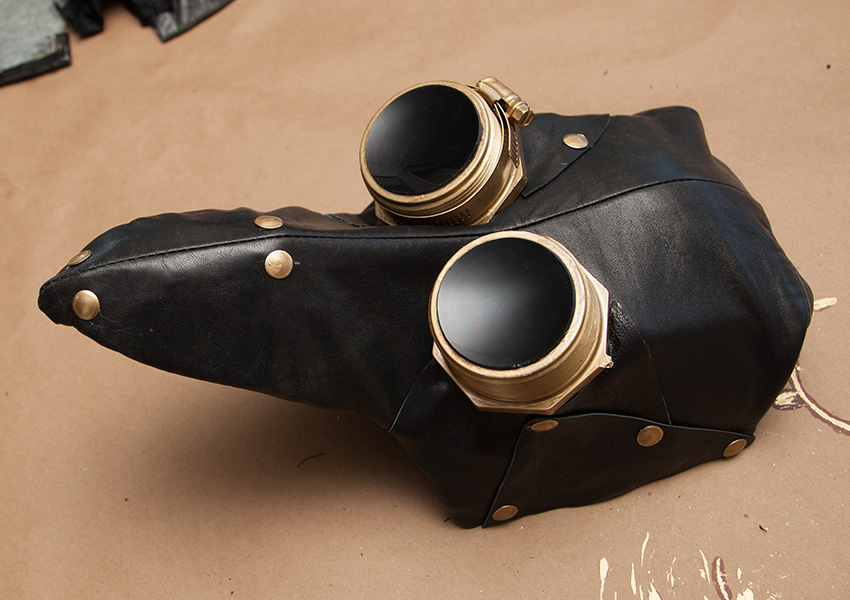
Cut other random pieces and glue them on the mask. Pull them tight and make sure the leather is smooth.
I wrapped all the leather around the mask and glued it on the inside with hot glue.
step 13
Add the tack heads along seams like rivets.
step 14
Carefully pop the lenses out of an old or cheap pair of sunglasses.
Glue them to the outside of your pipe fittings.
I turned mine backwards so they would be concave.
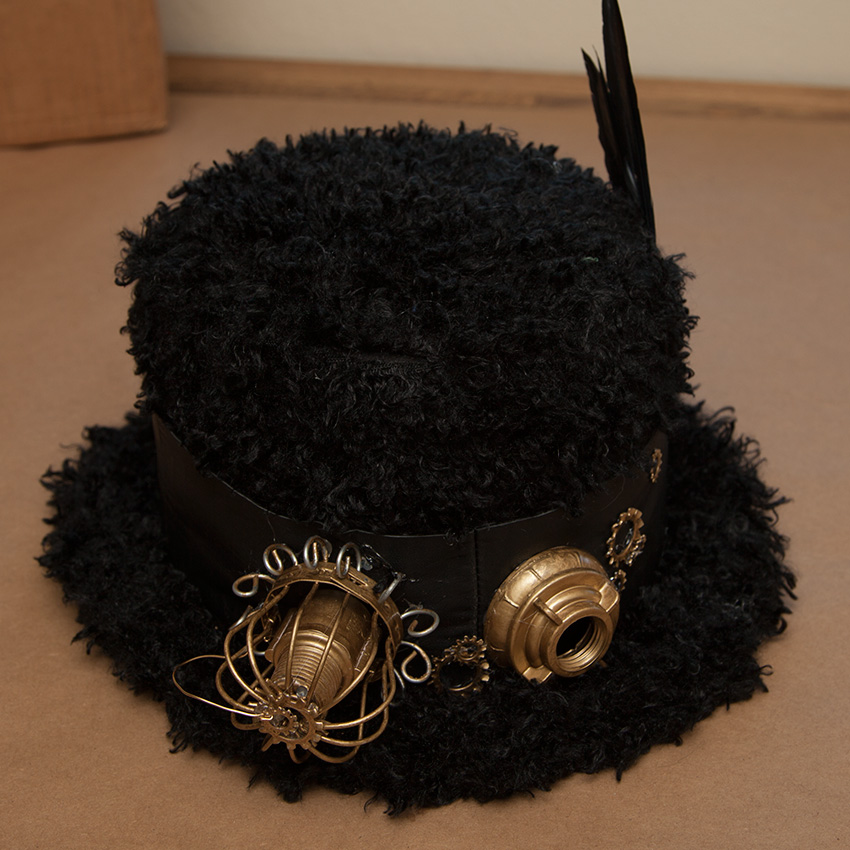
THE HAT
When I made the hat I was rushing it, because we needed it right away. So I apologize for the lack of step photos. However, it’s super simple to cover a felt hat.
step 1
Turn your hat upside down on top of your fabric and trace around the top of the hat.
This made a big oval.
I cut it out and glued it to the top of the hat.
step 2
Measure the sides of your hat, the height.
Cut a strip that height and long enough to go around your hat with a little to over lap.
Glue it to your hat.
step 3
Place your hat brim down on your fabric and trace around the brim.
Cut two pieces and cut out the centers. You can measure the top of the hat to get the right size to cut out of the center.
Glue one piece to the top of the brim and one underneath.
The best part about the furry fabric is that it will cover your seams, so they don’t have to be perfect.
step 4
Cut a long strip of leather, long enough to go around your hat with a little overlap.
Glue it around your hat.
step 5
Glue tack tops along the seam of your leather.
step 6
Glue your painted hardware around the hat band.
step 7
I also stuck 2 feathers in my cap!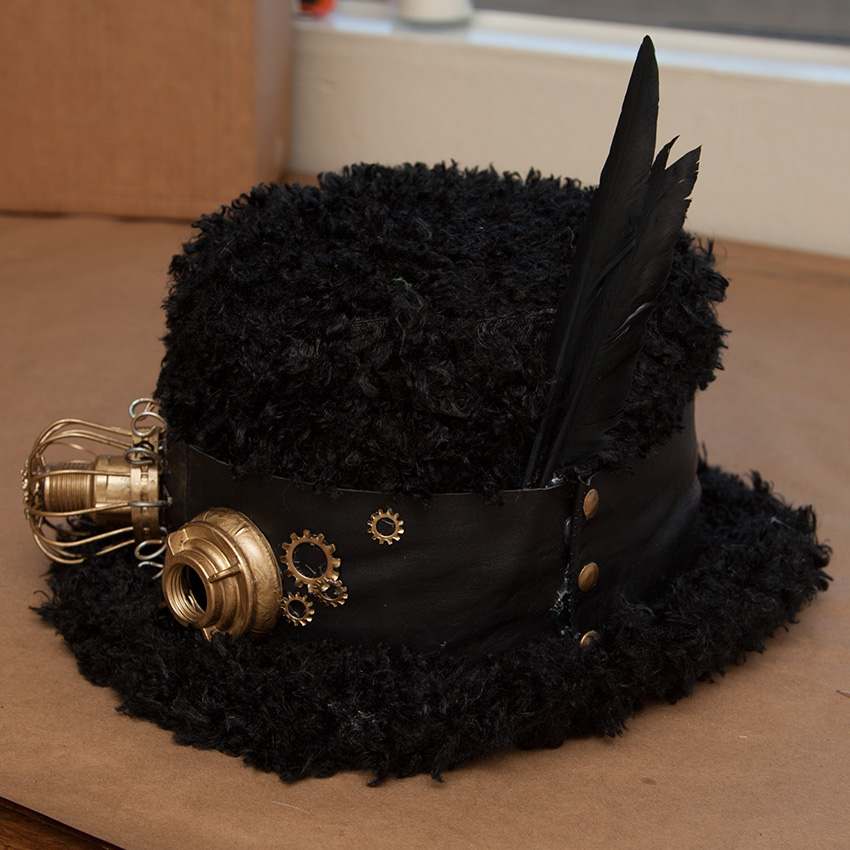
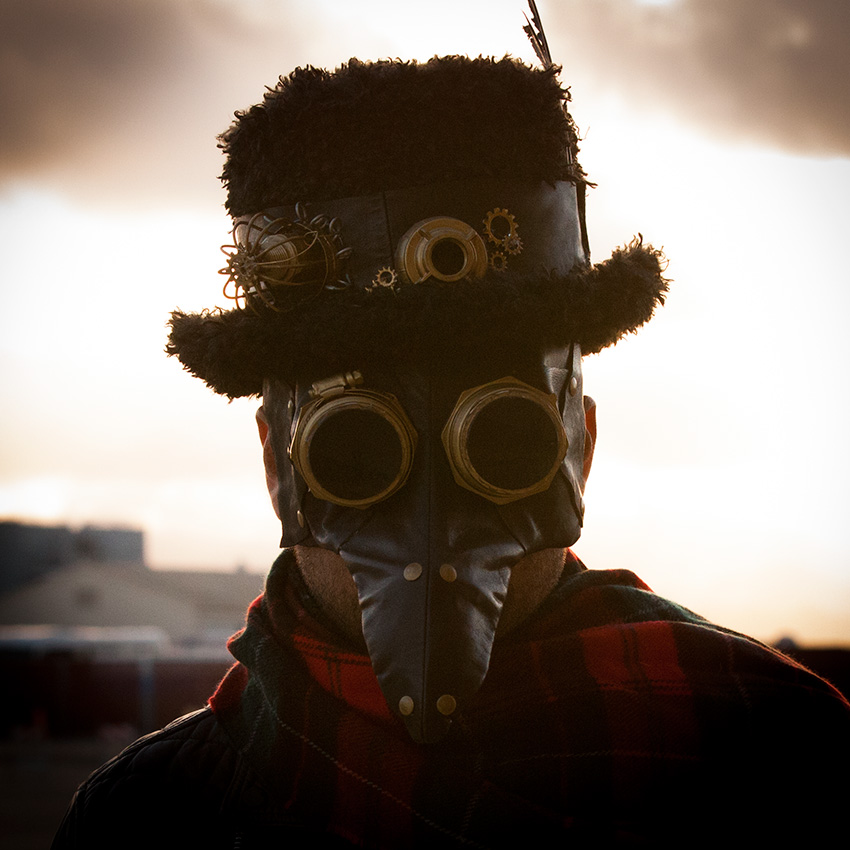
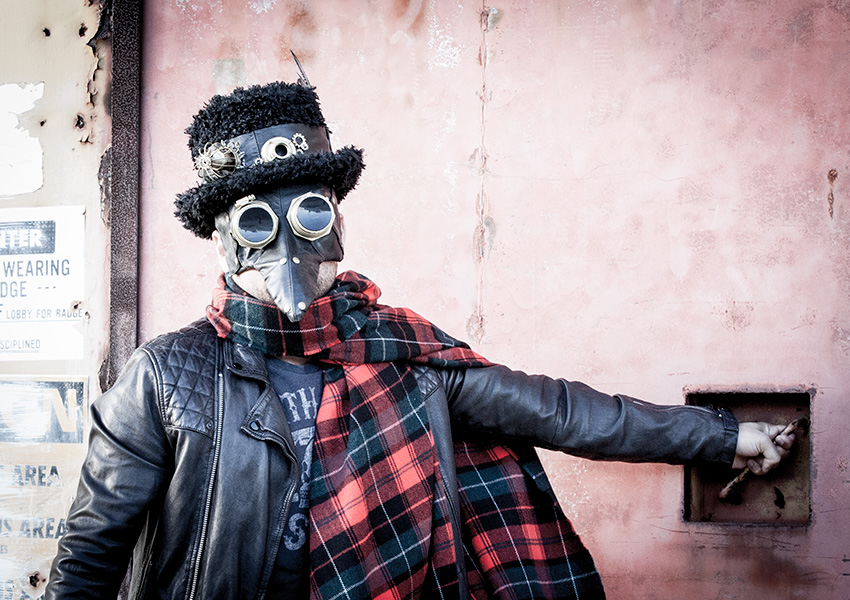
I had so much fun making this mask and hat, but I think the best part was getting to be behind the camera for the photoshoot, for a change! I really love when my husband and I can work together on more artistic projects and we really had fun with this one. I hope we can do more in the future.
Steampunk, just in case you’re not familiar, is a subgenre of science fiction. Blending steam-powered machinery designs and inspiration with fashions from the industrial part of the 19th century.
Are you a fan of Steampunk? What are your favorite parts about it? Leave me a comment I’d love to hear.
very cool