
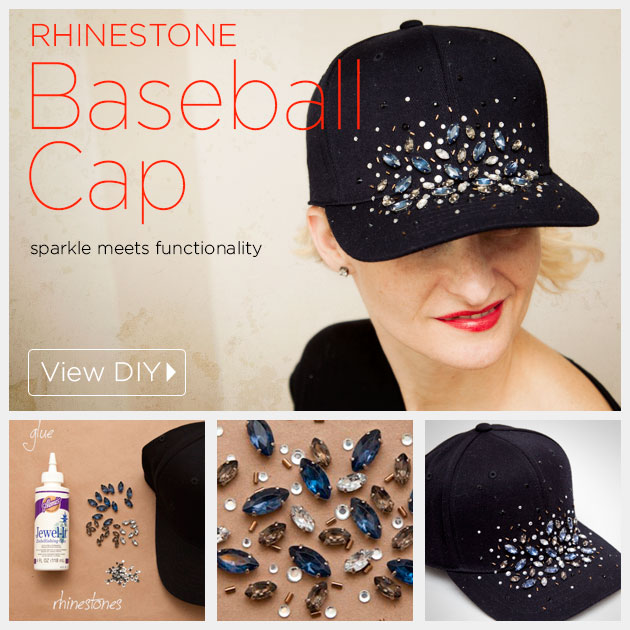
Mix it up with sparkle and functionality to create your own DIY Rhinestone Baseball Cap. Add a playful element to your outfit and nix a bad hair day at the same time.
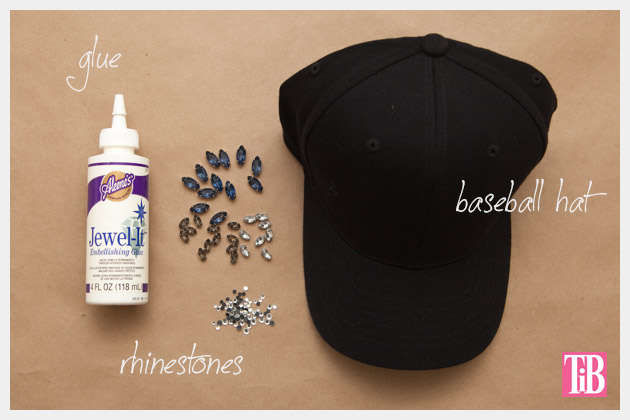
TOOLS & MATERIALS:
- Baseball cap
- Rhinestones – lots of them and assorted sizes
- Beads
- Jewel-it Glue
- Toothpick
step 1
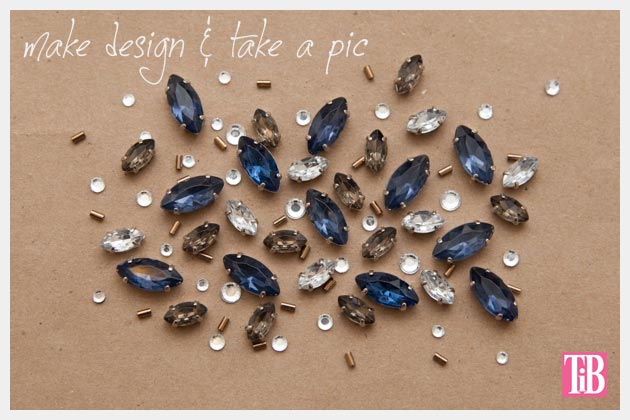
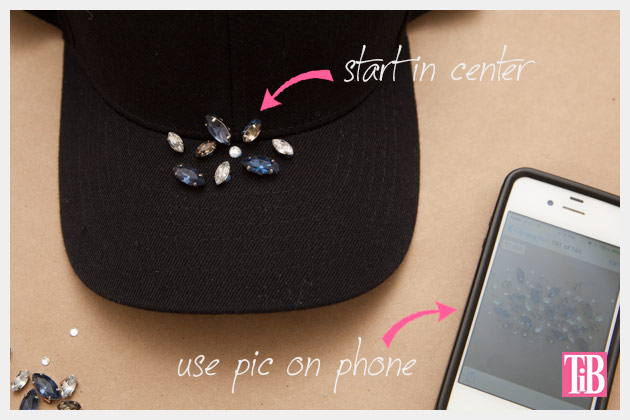
Layout your rhinestones and beads and decide your pattern.
TIP: I recommend taking a picture with your phone so that you can work from that.
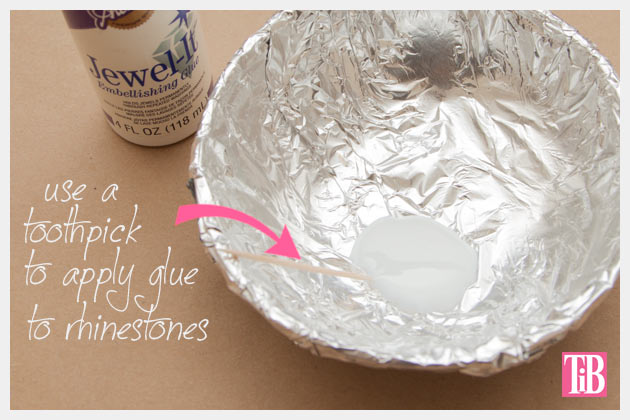
step 2
Use a toothpick to apply your glue to your rhinestones.
Start gluing your rhinestones to your baseball cap.
Start in the middle and work your way out. This will help keep your design balanced and even.
I applied the glue directly to the backs of the rhinestones before putting them on the hat.
Let your glue dry for a few hours or overnight before wearing.
When I saw this hat at J. Crew I knew I really wanted one. But it was definitely one of those times where I really wanted to make it more than just buy it. I mean really who doesn’t love to glue on hundreds of rhinestones and beads? Ok, maybe that’s just me…
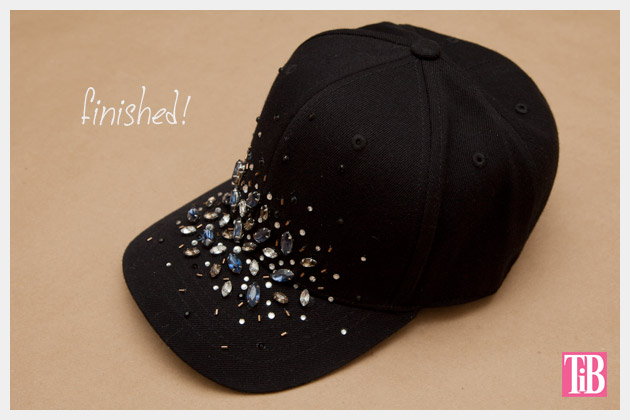
Even with all these rhinestones and beads this project really went together pretty quickly.
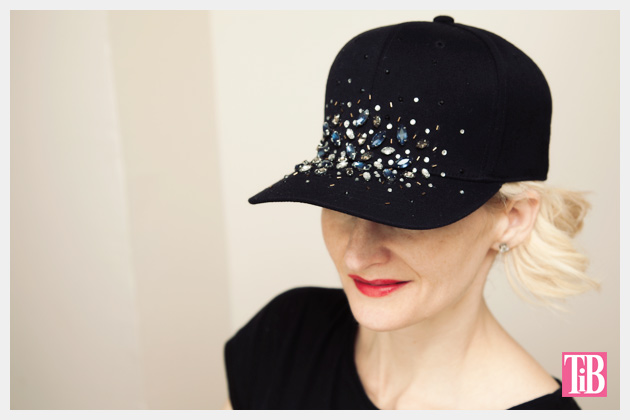
I love the mix of sparkly rhinestones with a tomboy hat. It helps to dress up a casual day and keeps those bad hair days under wraps!
So easy and fun! I saw this hat too and immediately thought I’d rather make it than buy it!
xo ~ Lia Smart n Snazzy
Right Lia? Somethings just need to be made!
xoxo
Cathy