
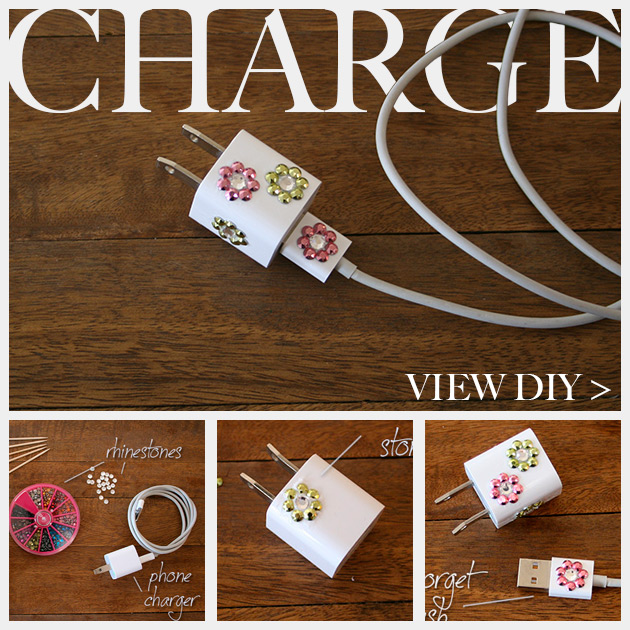
This DIY Phone Charger will add some sparkle and creativity to an everyday object. Why should your clothes have all the fun!
ADD SOME SPARKLE >
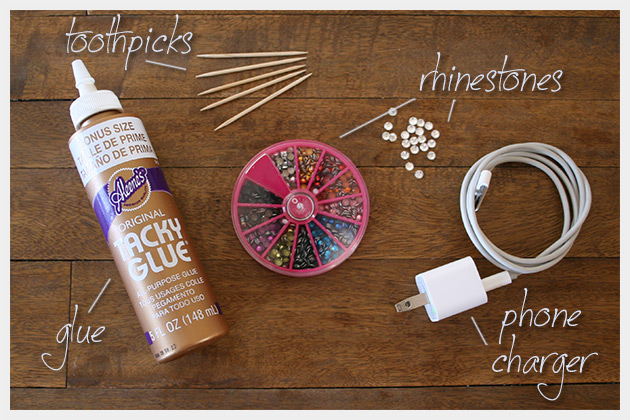
Supplies to make your DIY Phone Charger:
- 1 Phone Charger
- Assorted rhinestones or beads (I used these)
- Aleenes Tacky glue
- Toothpicks
- Small plate or lid for glue
step 1
Look at your phone charger and decide where you want to place your rhinestones or beads.
You can make a pattern or just add them randomly.
You can lay your stones out and take a picture with your phone to remember your layout.
step 2
Squeeze a small amount of your glue onto your small plate or lid.
I used Aleenes tacky glue for this project. It cleans up easily and is only semi-permanent, just incase you decide to change your pattern later.
Use your toothpicks to add your glue to your phone charger.
Just add a little glue at a time.
The good thing about this glue is that it is really simple to clean up any extra that gets on your phone charger. It just peels off.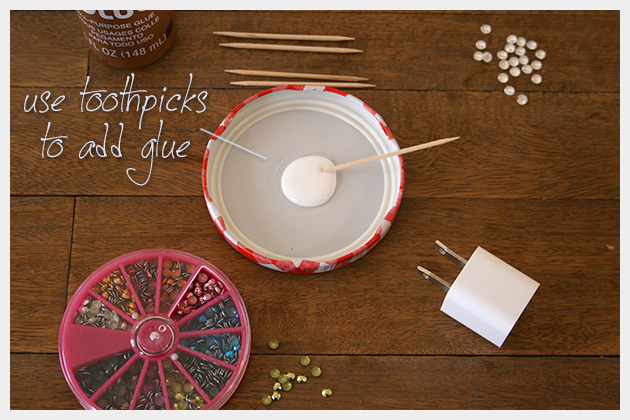
step 3
You can add as many rhinestones and or beads as you like. Really have fun and personalize your phone charger.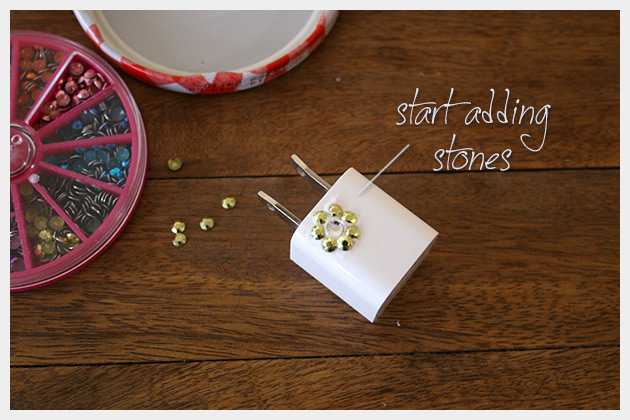
Dont forget to add some bling to your cable on the end of the cable too.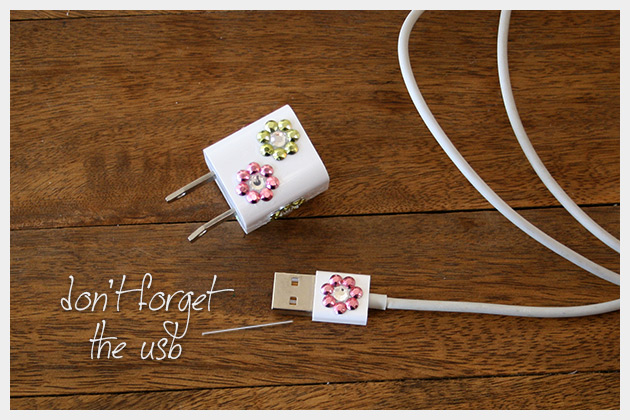
I kept mine simple by just making flowers with my rhinestones. But you can really go crazy and add as many as you like.
The best part about this project, is that now my husband wont try to take my phone charger anymore! LOL
Its a great way to personalize your phone charger, especially if you live in a house with multiple chargers.