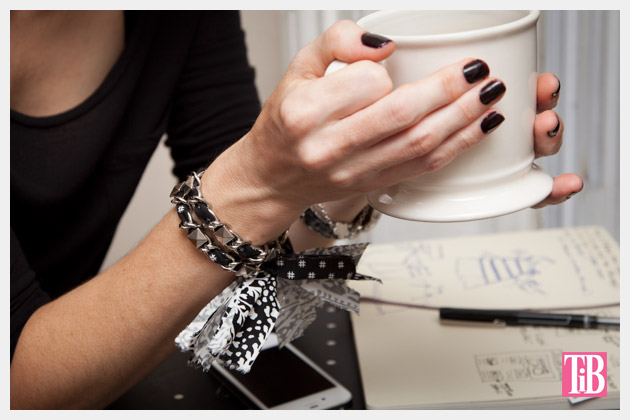
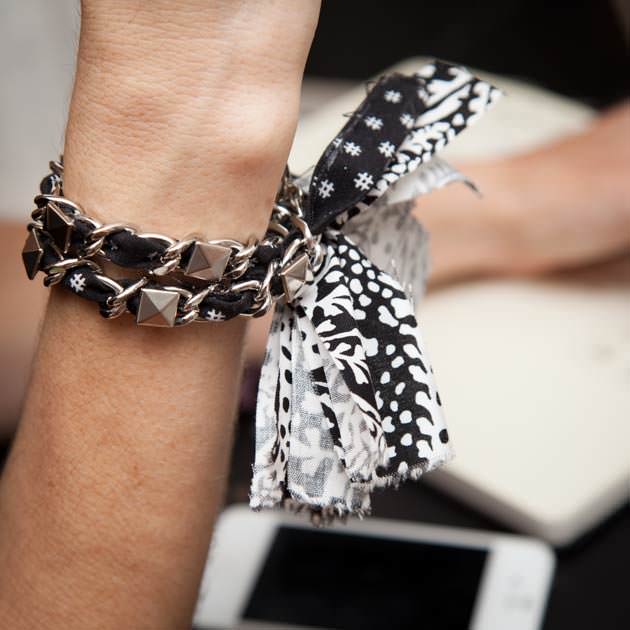
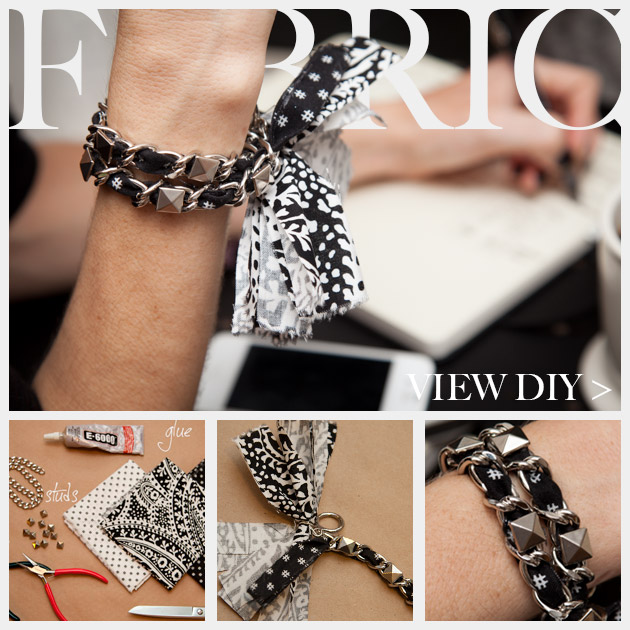
Add fabric strips and studs to a length of chain to make an on trend DIY Woven Chain Bracelet using fabric from Dear Stella.
This is a sponsored post, all fabrics were supplied by Dear Stella fabrics and Kollabra, however, all comments, opinions, design, and tutorial are all my own.
WEAVE IT >
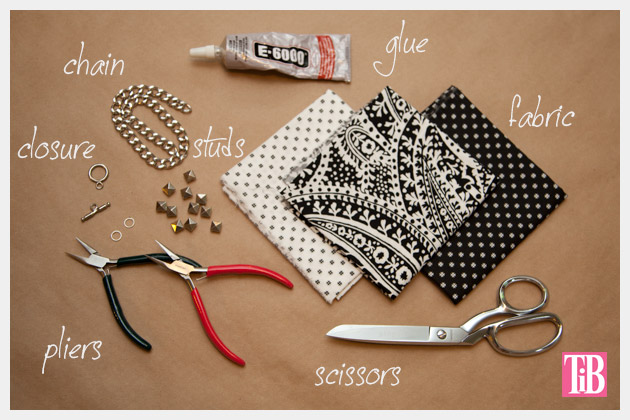
TOOLS & MATERIALS:
- Large chain – long enough to go around your wrist twice
- Closure
- Jump rings
- Fabric – (Mine are c/o Dear Stella fabrics)
- Pyramid studs – (I bought mine at M & J)
- Pliers
- Glue
- Iron
step 1
Measure and cut your chain to easily go around your wrist twice. Keeping in mind that the closure will add length to your bracelet and that the fabric will tighten it up a bit.
step 2
Using your jump rings add your closure to the ends of your chain.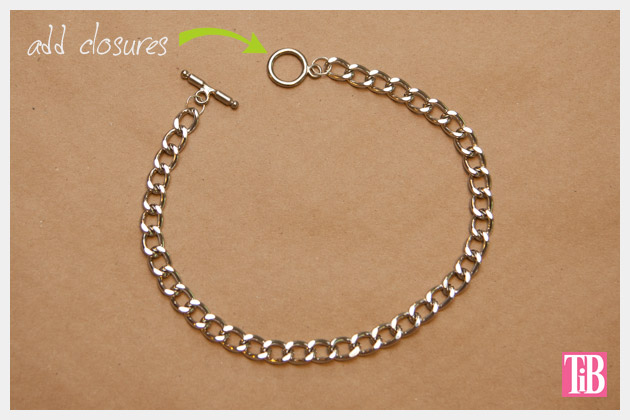
step 3
Lay out your fabric and cut a strip that is about an inch and a half wide.
Dear Stella fabrics sent me fat quarters for these projects so I cut my strip about an inch and a half wide by a quarter yard.
The length of your fabric will depend on the length of your chain, your fabric will need to be a few inches longer than your chain, since it will shrink up as you weave it through your chain.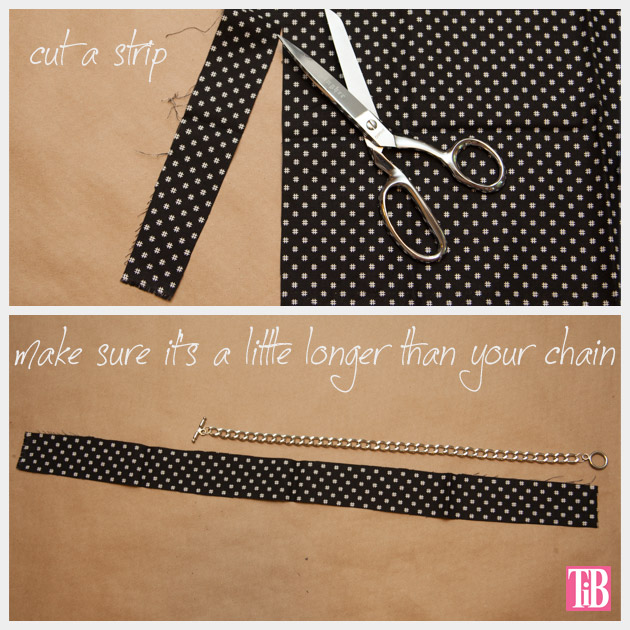
step 4
Using your iron, fold and press your fabric into thirds.
Pressing your fabric makes it much easier to weave it through your chain.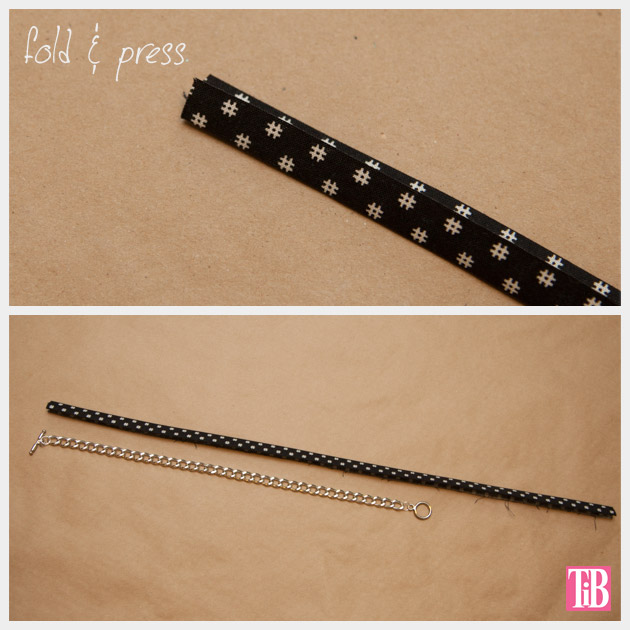
step 5
Start weaving your fabric through your chain.
Be sure to leave at least an inch of a tail on your fabric at the end of your chain.
Weave it through the entire length of your chain.
Cut off any extra fabric, but be sure to leave at least an inch or so.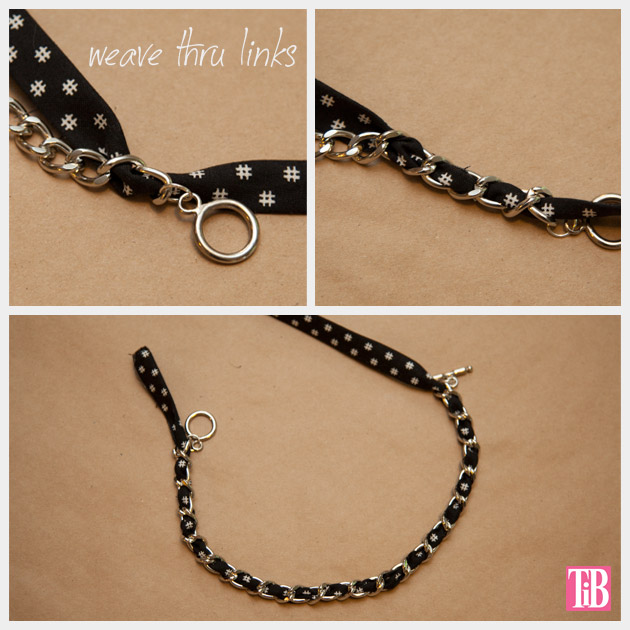
step 6
Decide on the placement of your studs.
I put mine on every other link of my chain.
step 7
If your studs have prongs link mine, youll want to fold them over so you can glue them to your bracelet.
Use your pliers and fold each of the prongs in and crimp them so that the bottom of your stud is flat.
When you have folded the prongs on all your studs youre ready to glue them to your bracelet.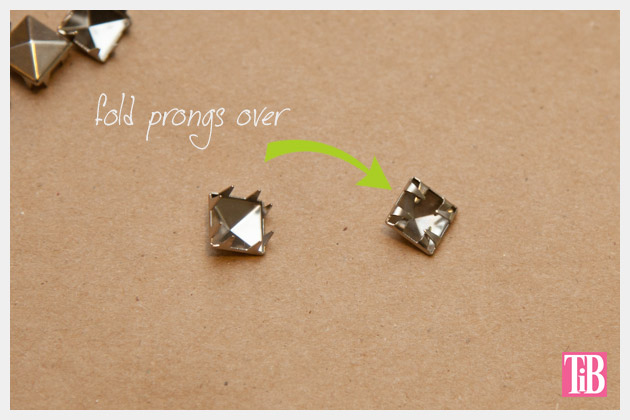
step 8
Depending on your glue you can either squeeze the glue out of the tube right onto your bracelet or do what I did and place a small amount of glue on a paper plate and use a toothpick to apply the glue to the bracelet.
I found this to be easier and cleaner.
Once youve glued all your studs let them dry.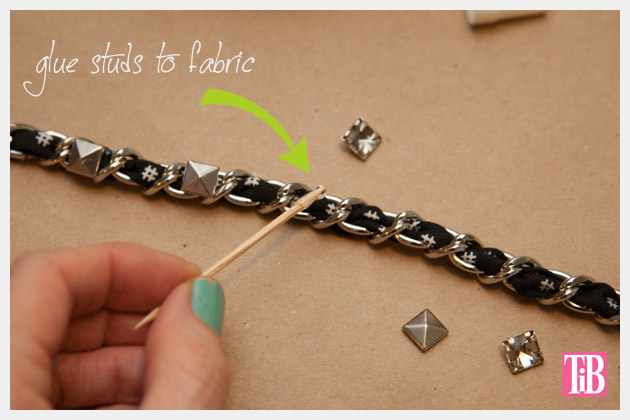
step 9
I wanted to add an extra little pouf of fabric on one end, so…
I cut five strips of a contrasting fabric one inch wide by five inches long.
Using a large jump ring, I gathered the strips together and secured them with the jump ring in the center.
Make sure the jump ring holds them tight.
step 10
Attach this jump ring to one of the jump rings at either end of your bracelet right next to the closure.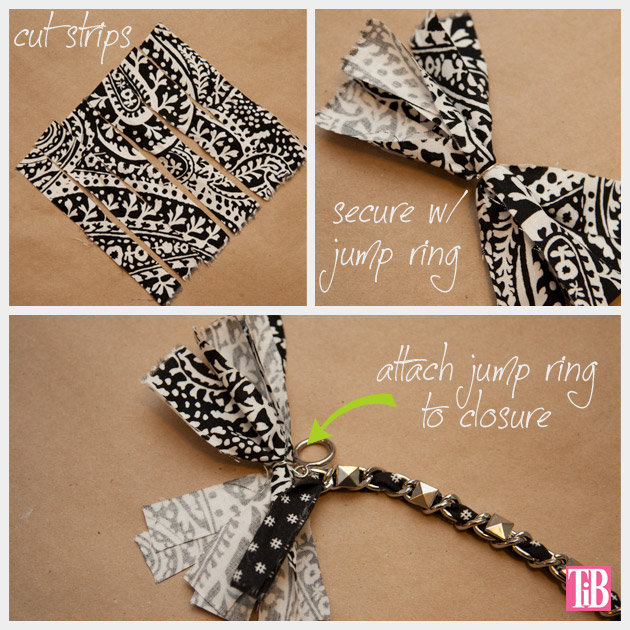
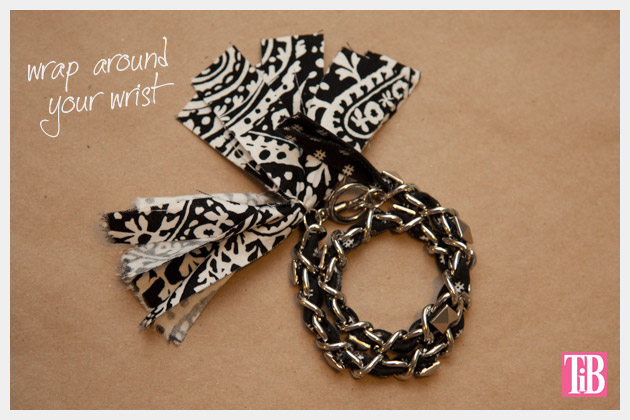
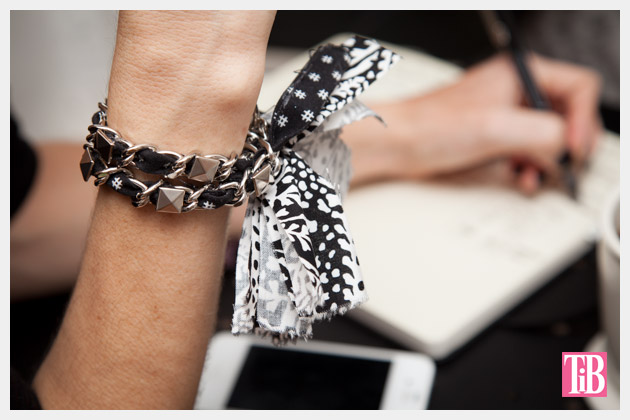
Chains are everywhere for fall, I know Im getting a jump on this early, however itll be here before you know it. And with all the new fashion mags out right now showing fall its hard not to get excited!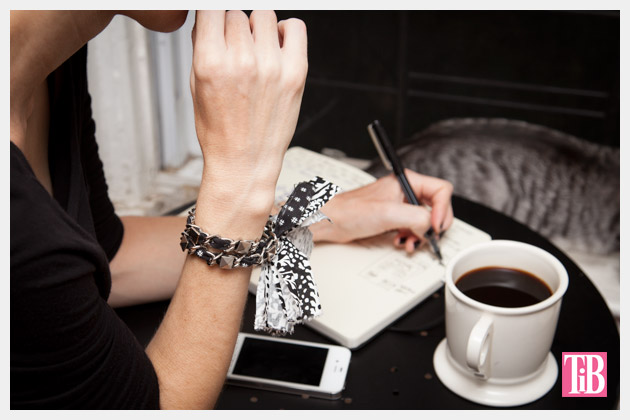
This is a really simple bracelet to make and by weaving the fabric through and adding some studs it has a great indie boutique feel to it. Im really excited about this bracelet its going to be fun to wear!

I love it, very welle explained, I also wrote a post about that : http://missbricole.over-blog.com/article-diy-friendship-en-or-122148504.html
Tell me what you think of it.
Hi,
Our company is specializing in jewelry export business.
If you need, please contact me. I will send a catalogue for you.
Emma
Hi,
Love it !I would like to know if I can sell the finished jewelry for pocket money? Thank you so much for posting!
Hi Lynn,
Thanks, I’m glad you like my bracelets. If you do sell the finished jewelry I would love it if you’d mention Trinkets in Bloom as where you got the inspiration. Thanks!
xoxo
Cathy