
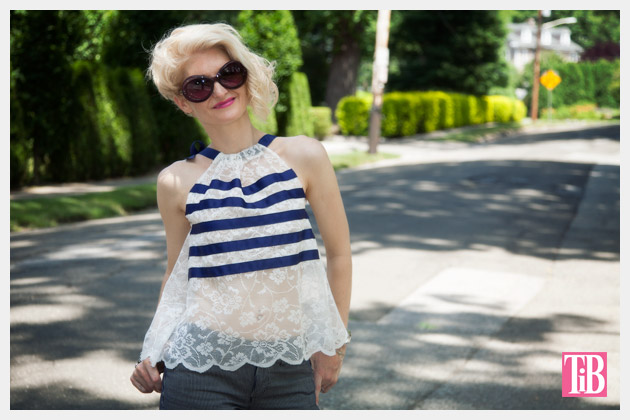
Go shear and create a DIY Lace Tank with Ribbon Stripes using unexpected fabric and grosgrain ribbon.

TEAR DOWN THE CURTAINS >

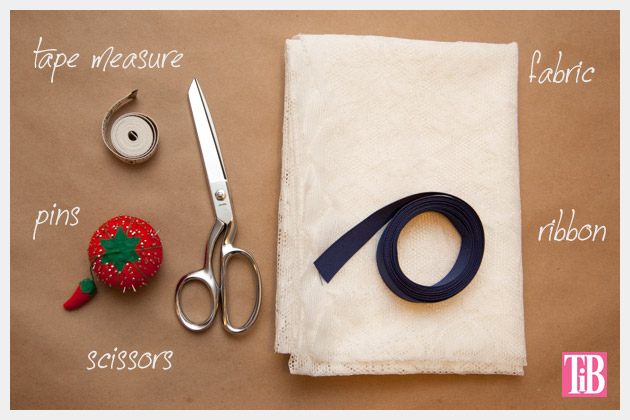
TOOLS & MATERIALS:
- Lace fabric (I used 1 yard of this fabric from Ikea)
- Grosgrain ribbon at least 4 yards (I bought mine at M & J Trimming)
- Scissors
- Pins
- Sewing machine
- Tape measure
- Safety pin
step 1
Measure how wide and how tall you want your shirt to be, its best to do this by measuring around your widest point, be sure to add at least an inch and a half at the top for folding over and an inch or so on the sides for sewing.
Lay your fabric out folded in half and cut two pieces, the same size for your front and back.
I used the scalloped edge already on this fabric for the bottom hem.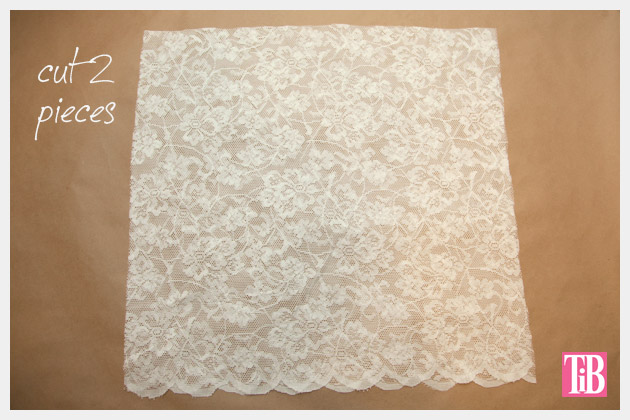
step 2
To keep this shirt from being too thick around the neck, I tapered the sides. Just be careful not to cut in too much, otherwise it will get too tight across your chest.
I made a straight/diagonal line from the neck to the bottom hem.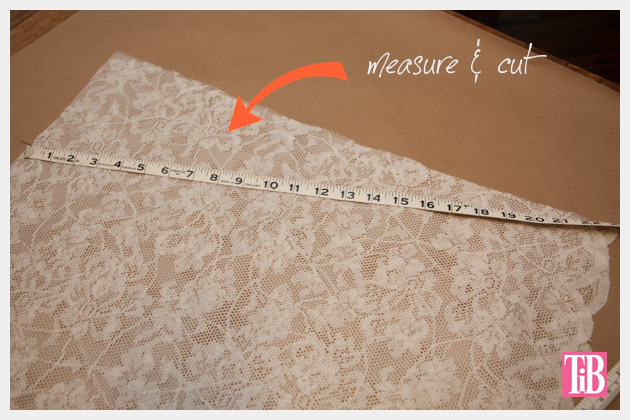
Cut your sides.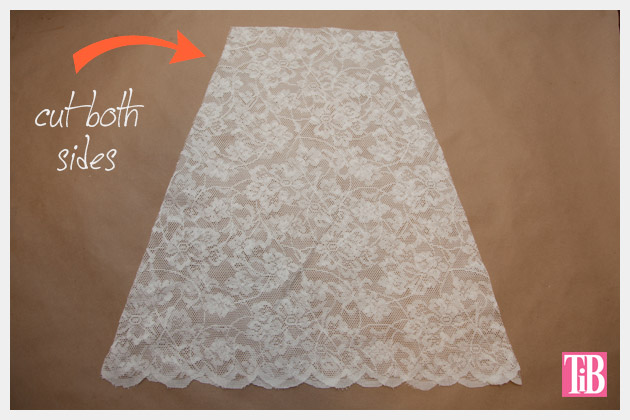
step 3
Pin your sides together up to the arm holes. You can measure where you want your arm holes to be by holding the fabric up to your body.
Dont go up too high.
Sew your side seams.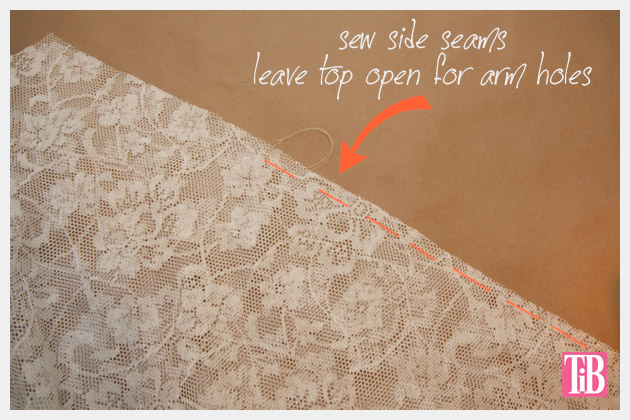
Roll a small hem along the edge of your arm holes, pin and sew.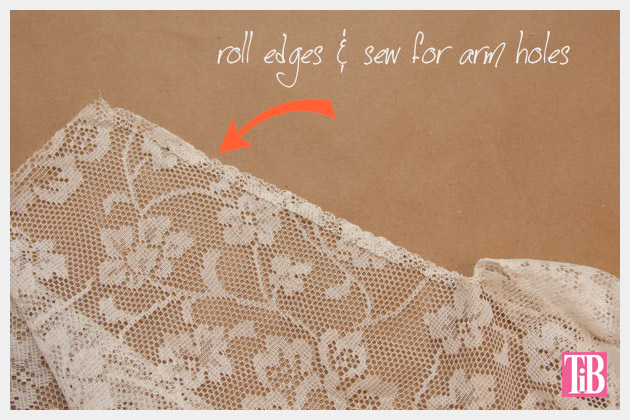
step 4
On the inside, fold over your neck (the top of your fabric) and pin.
I folded a ¼ inch and then 1 ¼†hem on the top. You need to make sure your ribbon will fit through it easily.
Sew straight across the top where you pinned your fabric, do this on both your front and back pieces.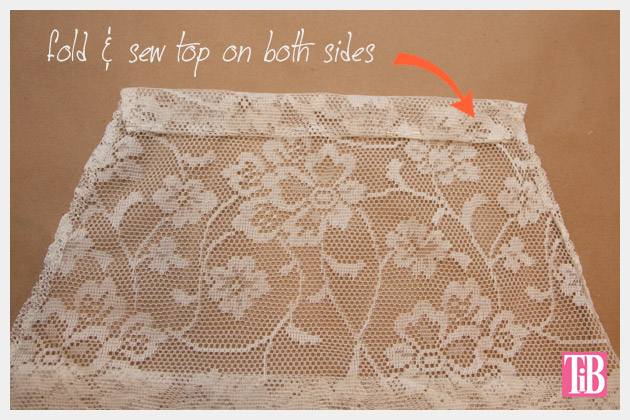
step 5
Attach a safety pin to one end of your ribbon and feed it through one side of your top, then loop it around and feed it through the other.
Leave the ends of your ribbon long enough to tie in a bow.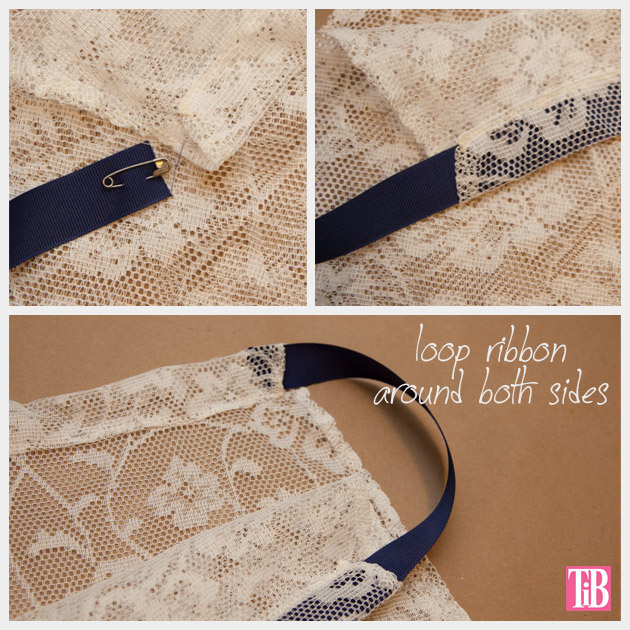
step 6
After getting to this point I decided to add a little extra fabric to the front (it was just too shear).
Note: If you don’t want this top to be shear you can line it with another fabric.
I cut a piece of lace the width of my top and about 8 inches high.
Using a needle and thread I used long basting stitches to sew this extra piece on.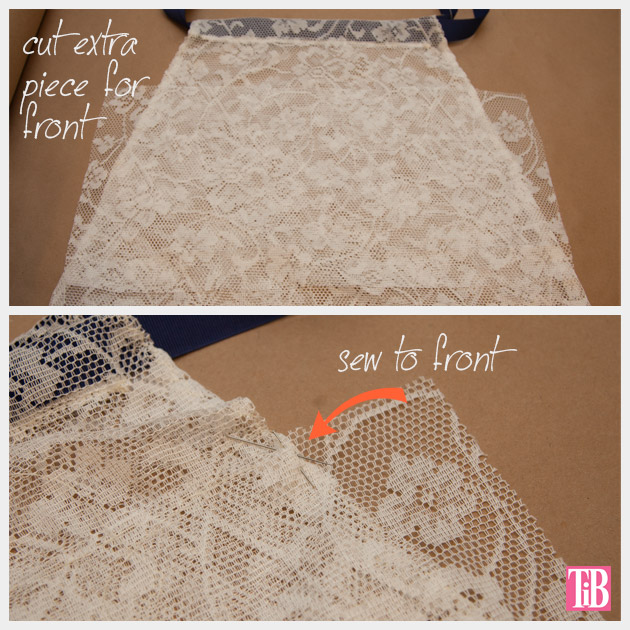
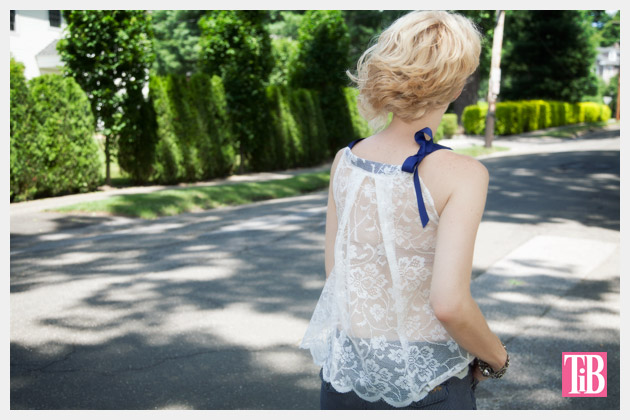
step 7
I wanted to add a little extra fabric to the back, to give the top a little more swing.
I cut a straight line up the center back of my top and a little bit across the top.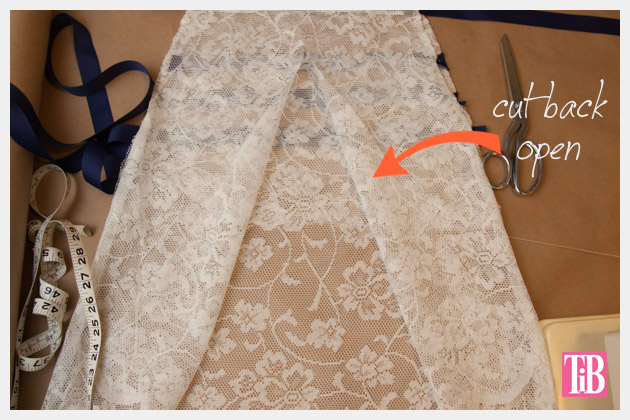
Then I cut a piece of my lace about a half inch taller than my cut and about 10 inches wide,
I pinned each side of this extra piece of fabric to each side of the cut I made in the center back and sewed it.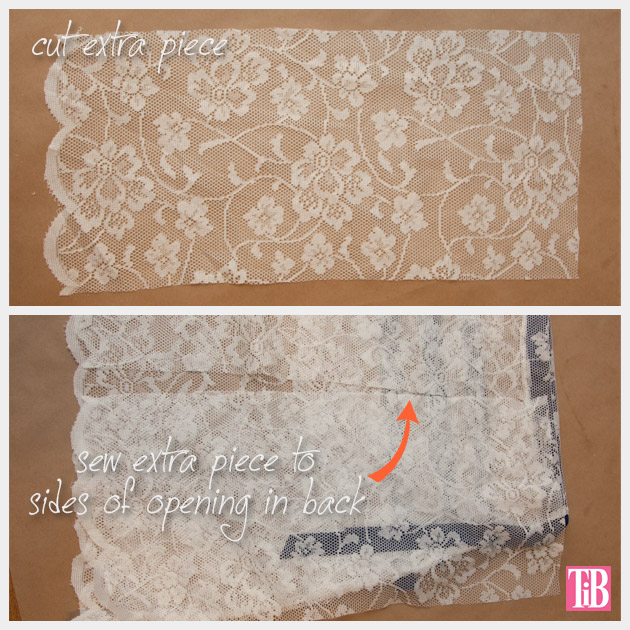
Then folding it in, making a box pleat, I pinned and sewed across the top of my pleat to hold it flat.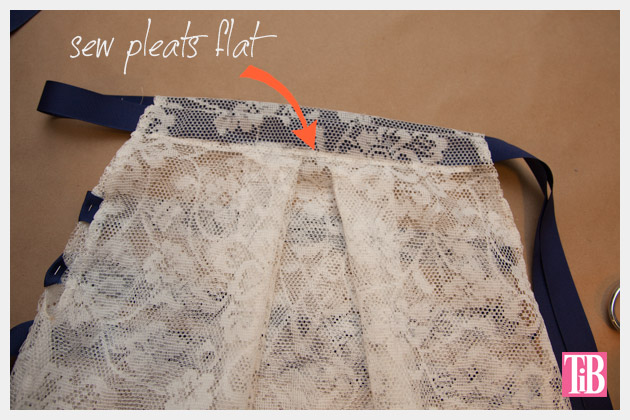
step 8
Lay your top out on a flat surface and measure your ribbons.
I made 5 stripes across the front of my top about one inch apart.
Cut and pin your ribbons to your shirt. Make sure you leave at least a half inch extra on both sides of your ribbon for folding over or sew into the side seam.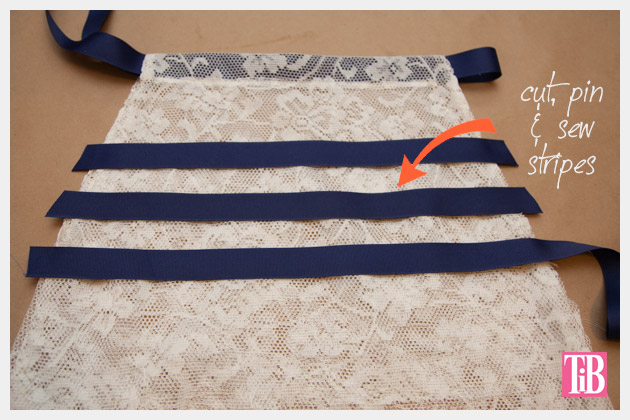
step 9
Fold the ends of your ribbon over and sew your ribbon to your top, just on the front.
If Id been planning this right I would have sewn the ribbon to the front before I sewed the side seams, however it wouldve been a little difficult to get the placement right at that point.
Do what works best for you.
Make sure you also sew your ribbon across the front of your top as well as the sides.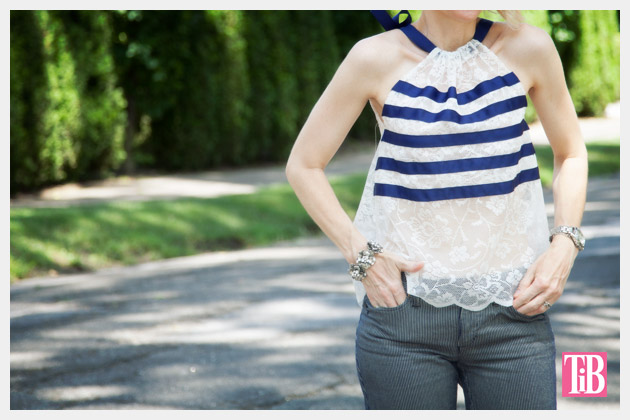
This is my third project in a series of using fabric from Ikea (read home furnishing fabric and no Im not being compensated by Ikea, although that would be awesome!), you can see the other projects here and here. I really think that you can find so many uses for things that maybe a bit unexpected, like these home furnishing fabrics or hex nuts for example seen here and here.
So maybe Im channeling a little Scarlett OHara by using curtain fabric for a top, but that never stopped her, why should it stop us! The most important thing to look for when buying supplies is, do they inspire you and do they excite you? And I have to admit that Ikea has some great prints and fabrics right now a reasonable prices. Yes, I was inspired!
This came out great!! And OMG I’m obsessed (especially because I love stripes and the color navy). I totally have to try this though, it’s just so adorable! I create different DIY shirts too and get my ribbons from M&J Trimming since they have one of the best selections. You should so check it out. They’re having a summer clearance right now and it’s a 50% discount off ribbons. Here’s the link if you want to check it out http://www.mjtrim.com/clearance.html
Thanks for sharing! :)
-Kelly
Thanks Kelly! Let me know how your top turns out! Yes, it’s definitely a great time to stock up on ribbons at M&J Trimming! Thanks for the link!
xoxo
Cathy